Monday, 19 November 2012

Craft fair!


Hey! I'm back ^_^ I was informed rather suddenly that I need to take two weeks off work and, well, it's not like I was going to argue too much ~_^

So I went and visited my mum and my nana for a couple of days and then I came back and starting crafting (and sleeping ... and playing videogames ... and reading ...). My work is having a craft fair tomorrow and the day after so I made a whole heap of things to sell ...


I used soy wax and mini mason jars to make these cute candles. I really like how they turned out!
 

I made lots of necklaces - I crocheted hearts in red, blue, green, and pink and then added long chains. I've already kept one of the blue ones for myself; it went perfectly with a new dress I brought ~_^

I also aged mini spools and made necklaces from them. I used cotton thread to wrap around them, and the 2 ply thickness was perfect.
 

These badges are made from vintage buttons and chalkboard paint - you can write whatever you like on them! I thought that was pretty cool ^_^
 

I used the cotton thread to make this other style of necklaces - it's meant to be a granny triangle but they are a bit wonky ... I think they're still cute though.
 

All the stallholder and entry fees are going to support Mo-vember so I figured I would make some mustache crafts ^_^ I made large badges in wood grain, black, and washi tape ...
 
   
... and earring sets in the same ^_^

 I made all my broken and mis-matched vintage knitting needles into bracelets (and I'm seriously tempted to keep one or two of them) ...

... and I used even more crochet hearts to make brooches.
 

These very homemade looking cards were made using stamps that I carved (the anatomical heart is my favourite!).


I have a mini suitcase filled with fat quarters featuring ten of my Spoonflower designs.
 

I also got a whole heap of cards professionally printed by Moo; the ones above are my five latest designs ...
 

... and these ones are the ones I also had last year.
 

I also made a whole bunch of record bowls - they're still pretty popular over here! ^_^

Let's hope it goes well!

- Lisa ^_^


Thursday, 25 October 2012

Yarn Christmas trees and washi tape decorated wooden bracelets


Hey! I've been working on a few WIPs lately and doing a lot of gardening and housework, but today I thought I'd do a couple of quick, easy projects so I actually had something to show you (~_^) and because simple projects are great for that sense of satisfaction that I love to get from completed crafts ^_^


First up: yarn trees! These are for my Christmas decorating (I'm getting ready early!) and they are sooooo easy to make. All I did was wrap yarn around Styrofoam cones. Yup, that's it. I really do like how they turned out though ^_^


Next: a set of wooden bracelets. I'd had these plain wooden bracelets in my craft room for quite a while and today they finally got a makeover ^_^
The top bracelet is decorated with washi tape hearts, the middle bracelet has faded circles and measuring tape washi tape, and the last bracelet is chalkboard and currently features my handwriting ~_^
 

This washi tape heart bracelet is my favourite ^_^
 

Here's how to make one of your own

1. Draw heart shapes onto baking paper with a permanent marker
2. Tear of lengths of washi tape and place them so that they overlap both the heart outlines and also each other
3. Carefully cut out the heart shapes
4. Peel the baking paper off the back of the washi tape 
5. Stick your washi heart onto the bracelet
6. Varnish with clear, matt Mod Podge

This is a really great way to showcase your favourite washi tapes and, because you can choose the colours, you can make your bracelet match any outfit!

This heart sums up this season's colours and patterns for me ^_^
 

What do you think? I hope you like them!

Lisa x

Thursday, 18 October 2012

Beware Zombies sign


Braiiinnnsss

Ahem, I mean, hi! ~_^

I'm still making things for Halloween, and here's my latest project - a faux-aged warning sign. You never can be too careful around these dangerous suburbs!


Here's how I made it ...


I started with a pristine piece of wood ... and a not so pristine table. We use this old, mostly broken table for spraypainting, resin-work, and various other messy crafts.


I used my jigsaw to cut the wood roughly in half and then cut the edges so they were jagged and rustic looking. This isn't shown in the photo, but I clamped the wood to saw horses to prevent it moving, wore safety glasses, and followed all the safety instructions - this thing could cut you pretty bad so be careful if you're going to give this a go!
 

 As you can see, I didn't make it too neat! I didn't both sanding as I want this sign to look really old and weathered. I also beat up the wood a bit with my hammer, to make it less smooth and perfect.
 

Then I added a wood stain and then (after it had dried) a black wash made from acyclic paint. The picture above shows pretty much the exact wrong way to apply wood stain/ paint wash. If you do it this way, you'll end up with variations in shade and you'll be able to see the drips and splashes when it's dry. And that's exactly what I wanted ^_^
 
P.S. To make a black paint wash: add a little bit of water to an old jar, dip your paintbrush in black paint, and then mix the paint into the water like you would if you were cleaning your brush. Easy! ^_^

After the wood stain and the wash had dried, it was dark and so I didn't take any more in-progress photos. You can use your imagination for the next part ~_^ 

I loaded up my brush with red paint and painted on the letters, making sure the paint was really globbed on. The look I was going for was "OMG ZOMBIES ARE COMING" so the paint is definitely not even ~_^
 

When the letters were dry, I added another wash of black paint and then added a few splatters of a less diluted mix.


I used my staple gun to add some thin rope to hold the two peices together and also to create a hanging string. And that's it! I can't wait to put this out at Halloween with my next project ... it involves garden ornaments and more zombies ~_^

What do you think? Do you like it? I hope you do!

- Lisa x

Friday, 12 October 2012

Button heart hoop


Hey! Yesterday I made this cute little hoop for the Harry Potter Craft-a-long Transfiguration project, and today I took a ridiculous amount of photos of it ~_^


The fabric that I used is from Spotlight, but I'm not sure what it's called; I brought it in a flat fats bundle.
 

I raided my button stash for lots of white and clear buttons, and I also added some pink to make it look a bit more interesting and also tie it in more to the fabric.
 

My favourite buttons are probably the interestingly shaped ones; the hearts, flowers, and kinda asterisk shaped buttons  ^_^
 

When I was arranging the buttons, I found that pins were a good way to keep them in place but also great because I could move everything around really easily.
 

To make this hoop, I drew a heart on my fabric with chalk, then added buttons around the edges before filling in the centre.

I hope you like it! I'm planning on doing some heavy duty crafting today; I'm getting out the power tools! ~_^

Have a great day!

- Lisa x

Sunday, 7 October 2012

Starry, starry night


Hey! How was your weekend? Mine seems to have gone so fast, but I guess they always do ^_^ I did a lot of cleaning, a lot of sleeping, and I redecorated a bit to get into the (very early) Halloween spirit ~_^ And I even did a bit of crafting - yay!


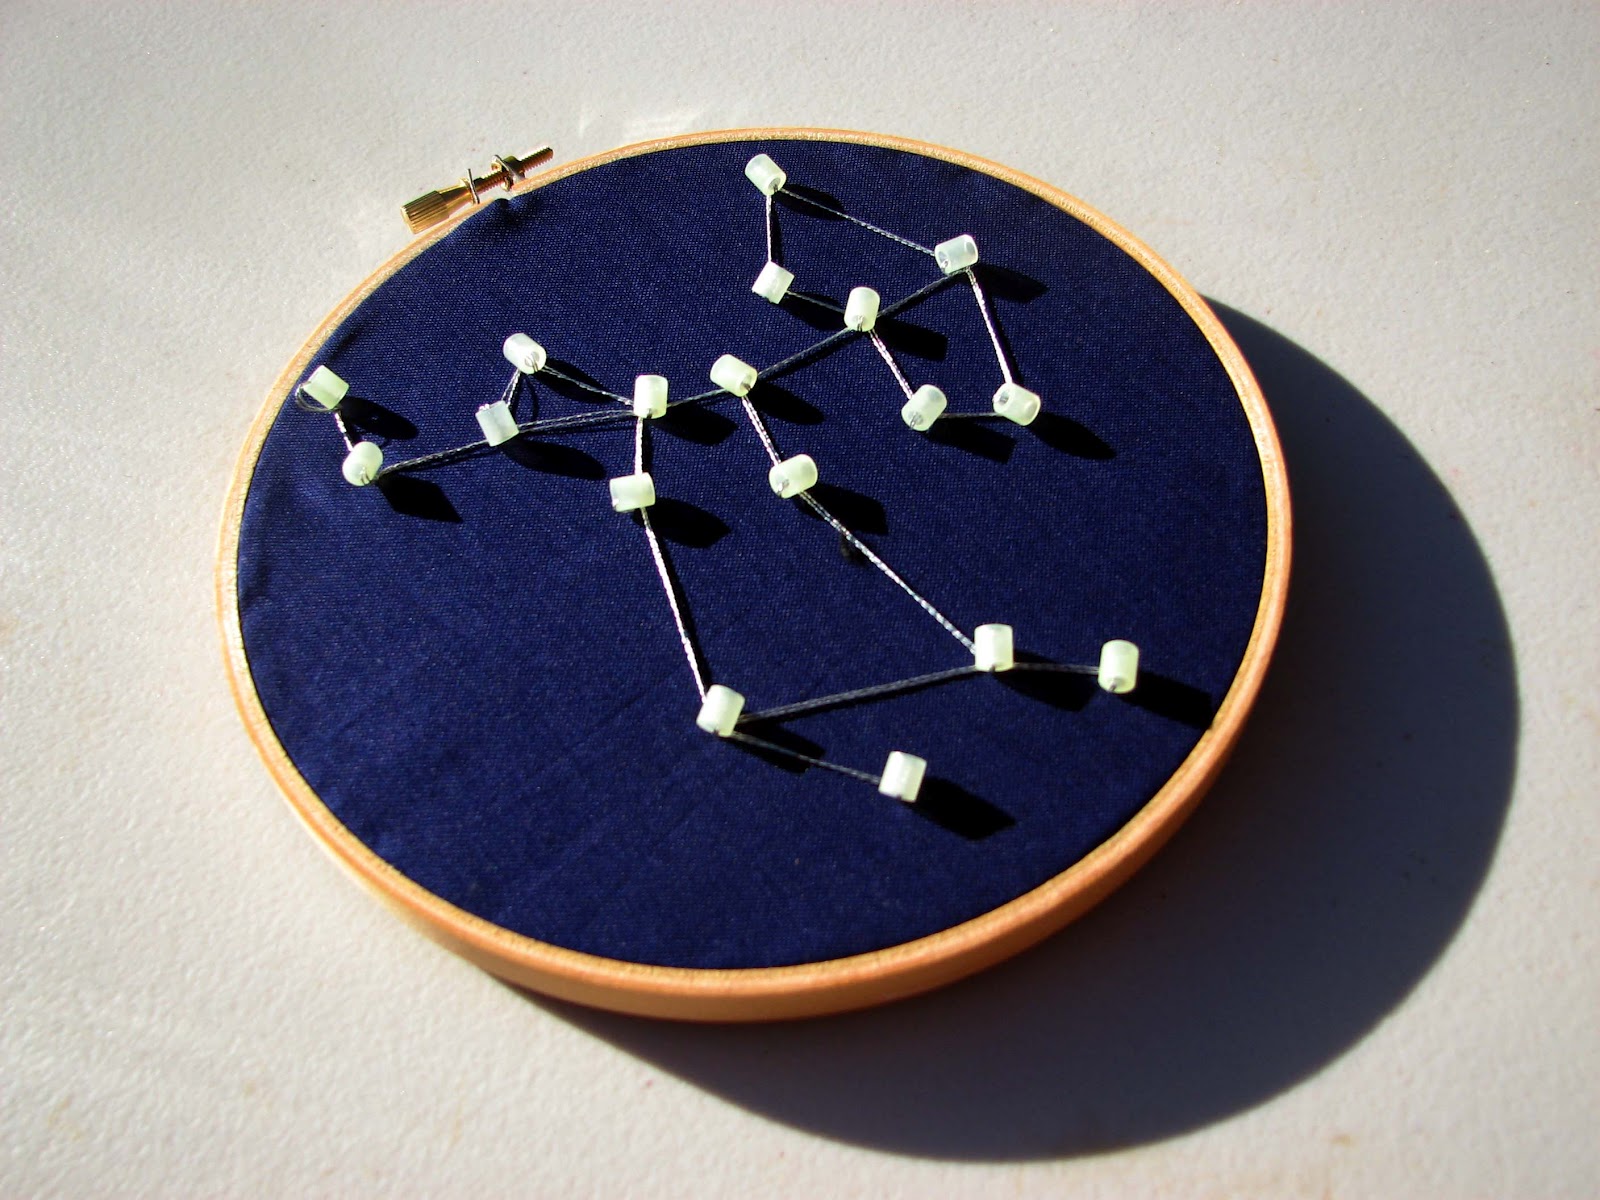
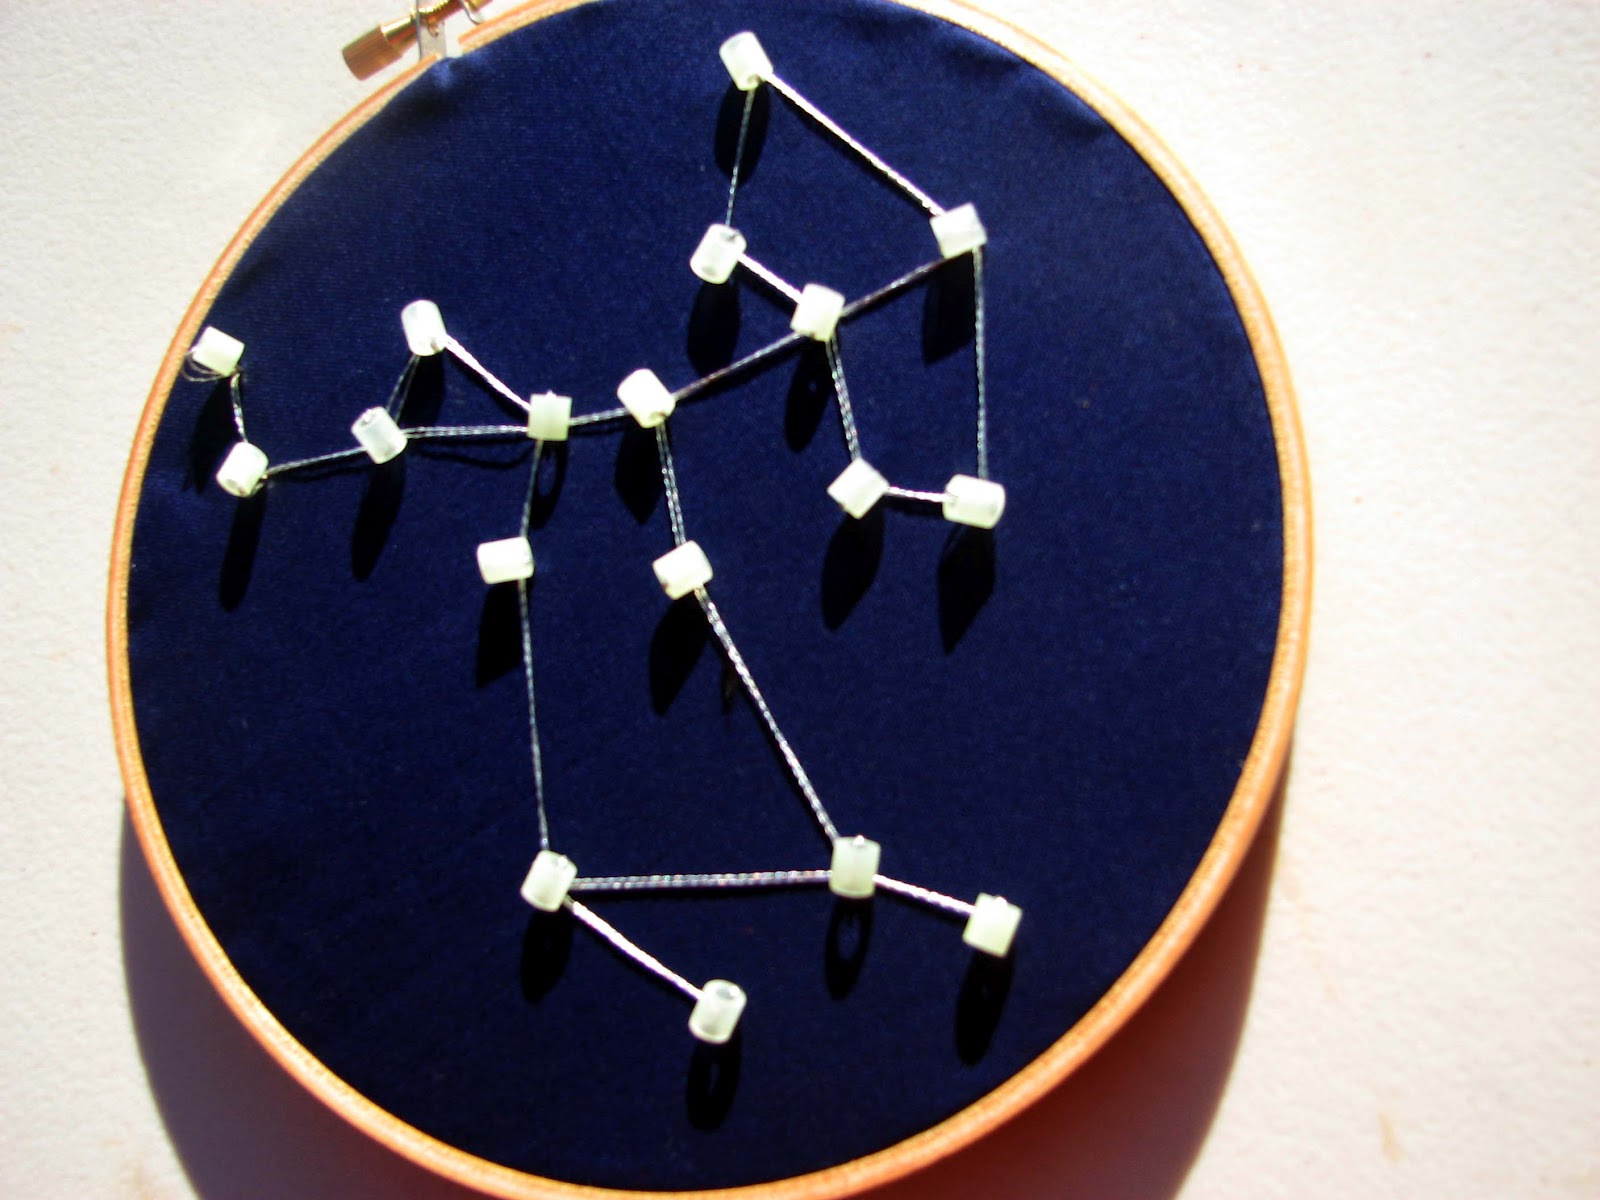
I made this constellation embroidery for the Astronomy challenge in the Harry Potter Craft-a-long. It was a really quick and easy project, and I'm really happy with how it turned out. When I was planning this project, I knew I wanted to use dark blue fabric and silver thread, but I wasn't sure how to do the stars ...
 
  
Sometimes when I can't think of a solution to a problem, I think about just before I go to sleep and then when I wake up my subconscious has thought of a solution for me. Yeah, I'm weird. Also, sometimes it backfires. Like, one time I was wanted to dream about a solution for some crafting problems but then Scott asked me a question ("What was the name of Sean Connery's character in League of Extraordinary Gentlemen?") and so when I woke up all I could think was "Allan Quatermain!" ^_^

Anyway, when I woke up this morning, my subconscious had helpfully provided the solution to how to make the stars in this embroidered contellation: glow-in-the-dark perler beads. Yes!!
 

I think it turned out really well, and I was really pleased to finally use some of these perler beads - I knew they'd come in handy some day ~_^

The embroidery also looks really cool in the dark, but I couldn't get a good photo of the glowing, so you'll just have to imagine that!

And, for those wondering, I chose the constellation Sagittarius. I was really into astrology in my teens (hey, we all have our guilty secrets ~_^) and I still think the constellation is really pretty looking ^_^

What do you think? Do you have a favourite constellation?

- Lisa x

Sunday, 30 September 2012

so. much. instagram.


Hey folks! I'm going to be pretty busy for the next couple of days with family stuff&things so I don't know if I'll have time for a proper post. So, instead, here's a whole bunch of instagram photos I've been taking. I'm really loving having a way to take pictures (that actually look nice!) with me all the time ^_^ Sorry if you already have seen these on instagram! But for those who haven't, here's a snapshot (ha ha! ~_^) into my everyday life ...


- Lisa xx