Showing posts with label amigurumi. Show all posts

Sunday, 27 January 2019

Crochet Beholder Amigurumi


Hello! One of my resolutions this year is to actually post on my blog, so here I am! I'm going to aim for at least one post a month, but if you want to see more of my nonsense, do feel free to find me over on Instagram.

So, in my last post (from JULY 2018! Far out I've been slack!) I talked about how Scott and I have been playing Dungeons and Dragons with a group of our friends. We're still doing that and when I asked Scott what he'd like for his anniversary present this year, he requested a Beholder, which is a monster from D&D.


I found a great pattern by Aja Moniz on Ravelry and used that for the base of my Beholder, but I did make a few changes.


The pattern picture shows a Beholder with six eye stalks, but Scott wanted his to have ten, so I made a few extra stalks. I also decided to use safety eyes instead of using embroidery. The mistake I made with the safety eyes is that I decided to do that after I'd finished crocheting the eye stalks so if I made another one, I'd crochet the rounded bit of the eye, stick in the safety eye, and then continue to crochet the stalk.


I also wanted the Beholder to have more teeth as the official D&D artwork shows that they are very dentulous. Instead of crocheting the teeth, I cut out strips of fangs from white felt and then used a felting needle to attach the strips to the mouth area.


I intentionally used some different types of safety eyes, but I wish I had have had even more variety in eye colours. I think that since each eye of the Beholder has a different power, having different colours would be a cool way to indicate that.


Scott picked out the yarn for his Beholder and the purple that he chose for the body is some that I actually dyed myself! I liked how the colour come out, but the wool itself was pretty stiff and scratchy so it went into the stash box instead of being used for the scarf I originally wanted to make. It was a good yarn for amigurumi though, and it wasn't rough enough that it hurt my hands to use. Unfortunately I don't actually know any of the brands I used for this project as they have all been in the stash box without their labels for a long time!


I don't think he's as scary as the "real" Beholder, but Scott likes him anyway!

- Lisa xx

Tuesday, 29 May 2018

Sushi to fish amigurumi


Hello! It has been a while since I felt the urge to get out my crochet hook, but recently it was two of my lovely friends' wedding anniversary and since we were going to be at their home to play D&D that evening, I thought a little gift would be in order! I know this is a little bit weird for an anniversary gift but there was a convoluted thought process behind this particular gift ...  but I won't bore you with that ~___^


I used a pattern by Irene Kiss which is available for free on Ravelry. I found the pattern very easy to follow, but I do suspect, as usual, that I tensioned a little too tight as it's a bit tricky to do the transition from sushi to fish and back.


No guidelines were given on hook size but if I made this again, I would maybe use a 4mm or 4.5mm hook (I used a 3.5mm for this amigurumi).  

The only real adjustment I made to the pattern was to make the nori wrap in the round so I didn't have to seam it together at the end and I also added a few more rounds as I thought it would be very difficult to get the fish into the sushi with only seven rows; I did fourteen rows instead. The trade off to this is, of course, that the sushi is bigger and takes up more room inside the fish! 
 

I used the same colours as Irene, but most likely different yarns as I used what I had in my stash.
 

Doesn't the little fish tail look cute sticking out of the sushi? ^___^


There are no photos included in the pattern regarding how the sushi and the fish are sewn together. I turned the sushi roll inside out and then stuffed it base first into the fish, so that the white square with the hole in the middle was lined up to the fish's mouth. In the photo below you can see my orange yarn stitches, but when the transition in complete it isn't noticeable.


Instead of crocheting the whiskers on the fish I tied on a length of yarn to each side and I stitched on the eyes with a little leftover black yarn. 
 

You can see how fat this fish gets when it has the sushi roll inside!
 

When I was making this pattern I wasn't convinced that it was going to work (that's more a comment on doubting my abilities than doubting the pattern though!) so when it was all sewn together and I could change it from a fish to a sushi it felt very exciting!

My friends both enjoyed their magical sushi to fish amigurumi and I really enjoying starting (and finishing!) a crochet project. 

I've been doing a lot of crafty things at work (I'm working as a Young People's Services Librarian right now which means lots of Storytime and School Holiday crafts) and I'm also working on a crafty business plan with some friends so even though I'm not posting on here as much, I am still working on things! ^___^ I hope to be able to share some things from the latter project with you soon! Although, if you want Storytime ideas, just let me know! ~___^ 

- Lisa xx

Thursday, 5 January 2017

Marceline the Vampire Queen amigurumi


Hello! The second edition of what-I-made-this-Christmas is all about Marceline! Marceline is the Vampire Queen from Adventure Time and, hoo boy, was this amigurumi an adventure to make! I made this amigurumi for my mathematical pal, Rebecca ^___^


If you're not familiar with Adventure Time, a picture of Marceline is below! I decided not to make the hat, gloves, or guitar though; mostly because I didn't think I could make the guitar and I kinda ran out of time to finish the hat and gloves.

http://adventuretime.wikia.com/wiki/Marceline_Abadeer


I started off with the Bat Girl pattern by Ilaria Caliri, which was published in the 49th issue of Simply Crochet. I used Patons Dreamtime Merino 4 ply in grey for Marceline's body and a 2.50mm hook. I did add in extra rounds for her legs and arms though, to fit in more with Marceline's proportions. I added wire to her limbs so she is slightly posable.


Marceline's lush hair was easy but time consuming to do; I crocheted a wig cap and then looped lots and lots and lots of lengths of yarn through each stitch of the wig cap. I used three balls of Bella Baby cotton wool 8ply in black for the hair, but I didn't use up the third ball completely. The good thing about this lengthy process is that her hair is super thick and therefore can totally be done up in different hairstyles without showing a patchy looking scalp.

Marceline's boots are simply tubes, with red bows tied onto them. I put a little dab of pva glue on each bow, to hopefully prevent them from coming undone. I used the same Bella Baby brand yarn for all of Marceline's hair and clothes, by the way. It's a 75% cotton, 25% wool blend and it's very soft and nice to work with.


I wanted to make all of Marceline's clothes removable so that there is potential for making more of her outfits for future gifts. Her pants were a bit tricky since I've never crocheted any dolls clothes before and had little idea of what I was doing. I crocheted two tubes to go up her legs, and then kinda crocheted a big tube around the tops of them. I sewed up the gap between the pant legs afterwards. I didn't write any of the pattern down though, which I totally should have done. A lot of the time when I am trying to create something without a pattern I just end up trying things and frogging them and trying again until I get something close to what I want, and I am terrible at keeping records during this process.


Marceline's top was very simple; it is just a rectangle with slightly curved in sides (to make it fit to the curve of her torso better) and straps made with a chain stitch. I sewed snaps onto the back edges for the closures.


The last thing to do was to add details to her face; I used embroidery thread to create her mouth, her fangs, and the bite marks on the side of her neck.

Overall I am pleased with how she turned out, although I think a haircut might be needed to give her a proper fringe and tidy up the ends a bit. I did attempt a bit of a trim, but then I was worried I was going to mess up her hair (her time consuming hair!!) and didn't go any further.

The hat and gloves are definitely on my to-make list, and then perhaps I'll do another outfit for her. There is a cute blue dress which I think might be easier to make ...

- Lisa xx

Thursday, 29 December 2016

Cherry Amigurumi


Hello! Now that Christmas is over I can start telling you about the gifts I made! First up is this adorable pair of cherry amigurumi for my derby friend, Cherry! (yeah, I'm not super original ...)


I used a pattern from Amigurumi Food to make these, which a few minor adjustments.


I wanted my cherries to be bigger than the ones from the pattern, so I used Lion Brand Yarn's Heartland Thick & Quick and Hometown USA yarns, both of which are a super bulky yarn. I used Heartland Redwood for the cherries, and Oklahoma City Green for the steam and leaves. I also moved up to a 8mm hook and used larger safety eyes; the ones I used were about a 20mm diameter. Instead of embroidering the mouths and cheek blushes, I cut light pink felt to shape and glued it on with E6000 - that felt isn't going anywhere now! ~___^


Because I find weaving in the ends quite difficult with super bulky yarns, I attempted to reduce the amount I'd have to do by joining the seams to the cherries before casting on. I'm not sure that it looks as neat as sewing them on would have looked though, so perhaps I'll have to look into acquiring a super big needle for the future.


For size reference, the Fire-King bowl they are sitting in is 18cm diameter, so these cherries are more grapefruit sized ~___^

- Lisa xx


Sunday, 10 April 2016

BB-8 amigurumi


Hello! Well, I decided it was finally time to show you the photos of my completed BB-8 amigurumi!


I used a pattern by Mysterious Cats and it was totally worth the $4.66! ^___^ It was very easy to follow and quick to work up. I actually finished making this little BB-8 at the end of last year, on the same day that I started making them. That's gotta be some kind of record!
 

But then I had all these ideas about staging for the photos - like making a background of Jakku and making a Rey costume for one of my Blythe dolls so they could pose together - and as a result I procrastinated over taking any photos for four months. I expect that is also some kind of record!


Anyway, when I was taking photos of my Bee cosplay, I also grabbed BB-8 and finally did a little photoshoot. There is a little sandy patch under our letterbox in which nothing grows, which I figured was close enough to Jakku ~___^
 

Also, can you believe it's only just over three weeks until International Star Wars Day? I haven't even decided what I'm going to make this year!


I think there is a strong possibility it will be another iteration of BB-8 though; just look at that adorable little face!


- Lisa xx

Tuesday, 4 November 2014

Hipster Princess Bubblegum costume


Sigh! Another Halloween has come and gone ... next year, when I'm not at uni, I plan to dedicate a lot more time to decorating and crafting and costume creation and just general Halloween shenanigans! However, I did still have a lovely Halloween, and I succeeded in making myself a costume so, without further ado, may I present ...


The hipster Princess Bubblegum! ^___^ Do people even do hipster versions of things anymore? This is how out of the loop I am. However, I have big, thick rimmed glasses and I didn't want to wear my contacts so this is the costume I went with! ^___^
 

The scarf, shorts, and shoes were thrifted (Bec actually found the shoes for me, so a shoutout to her! ^___^), and I already had the belt, top, tights, coffee cup, and bag so this was a fairly easy and inexpensive costume to put together.
 

After I made my crown, I guess I could have called it quits, but what is a hipster without some jewellery? (I actually don't even know. Do hipsters wear jewellery? I've heard they like triangles, do they wear triangles as jewellery?)


I watched this fantastic tutorial video by Nerd Burger and decided that I simply *must* have some donut jewellery. I'm not really sure if there are any donut people in Candy Kingdom, but I just couldn't resist.


They were really easy to make; make sure you check out the video as Cazz explains the process wonderfully. I already had some Super Sculpey in the beige colour that I used for the dough, and I picked up some pink and purple puff paints and blue and yellow sculpey from the craft store for the icing and sprinkles (I already had the sculpey in the other colours).


I made one purple donut into a brooch, and two smaller pink donuts into earrings, just by gluing the pin/earring backs on with E6000.


I also made this brooch using some of the light blue shimmery clay; mostly because I had this song in my head the entire time I was crafting things for this costume.


I also had a go at making a little Peppermint Butler brooch; it's not perfect (I need to work on making sure I don't leave nail marks on everything and I think his head stripes are too raised ...) but I think it's pretty cute anyway.


And, speaking of cute, you may have noticed that in the pictures above I have a little friend riding on my shoulder - Science the Candy Corn Rat! Yay! Pops de Milk made an adorable Science, and even shared the pattern for her so I knew I had to make one too ^___^


Patricia's pattern was lovely to follow; very simple to understand with with lots of pictures! (I always like to have photos to refer to so I can tell if I'm on the right track with a pattern!)
 

I did my Science's face differently in that I sewed on small felt shapes instead of using safety eyes and embroidery for the eyes and mouth respectively. I did actually have some 7mm safety eyes that I was going to use but when I put them in they just didn't look right. I didn't have any smaller ones, and I was too lazy to go back to the craft store, so I used felt instead! ^___^


One thing I must get better at doing is making the legs for amigurumi - mine always come out slightly bigger at the base than at the top and I think they are meant to be the same the whole way through. Practise makes perfect, I guess!
 

My Science also has more of a curly tail; this is probably because I crochet too tight. However, it may loose its curl in time so I'm not too concerned about it.


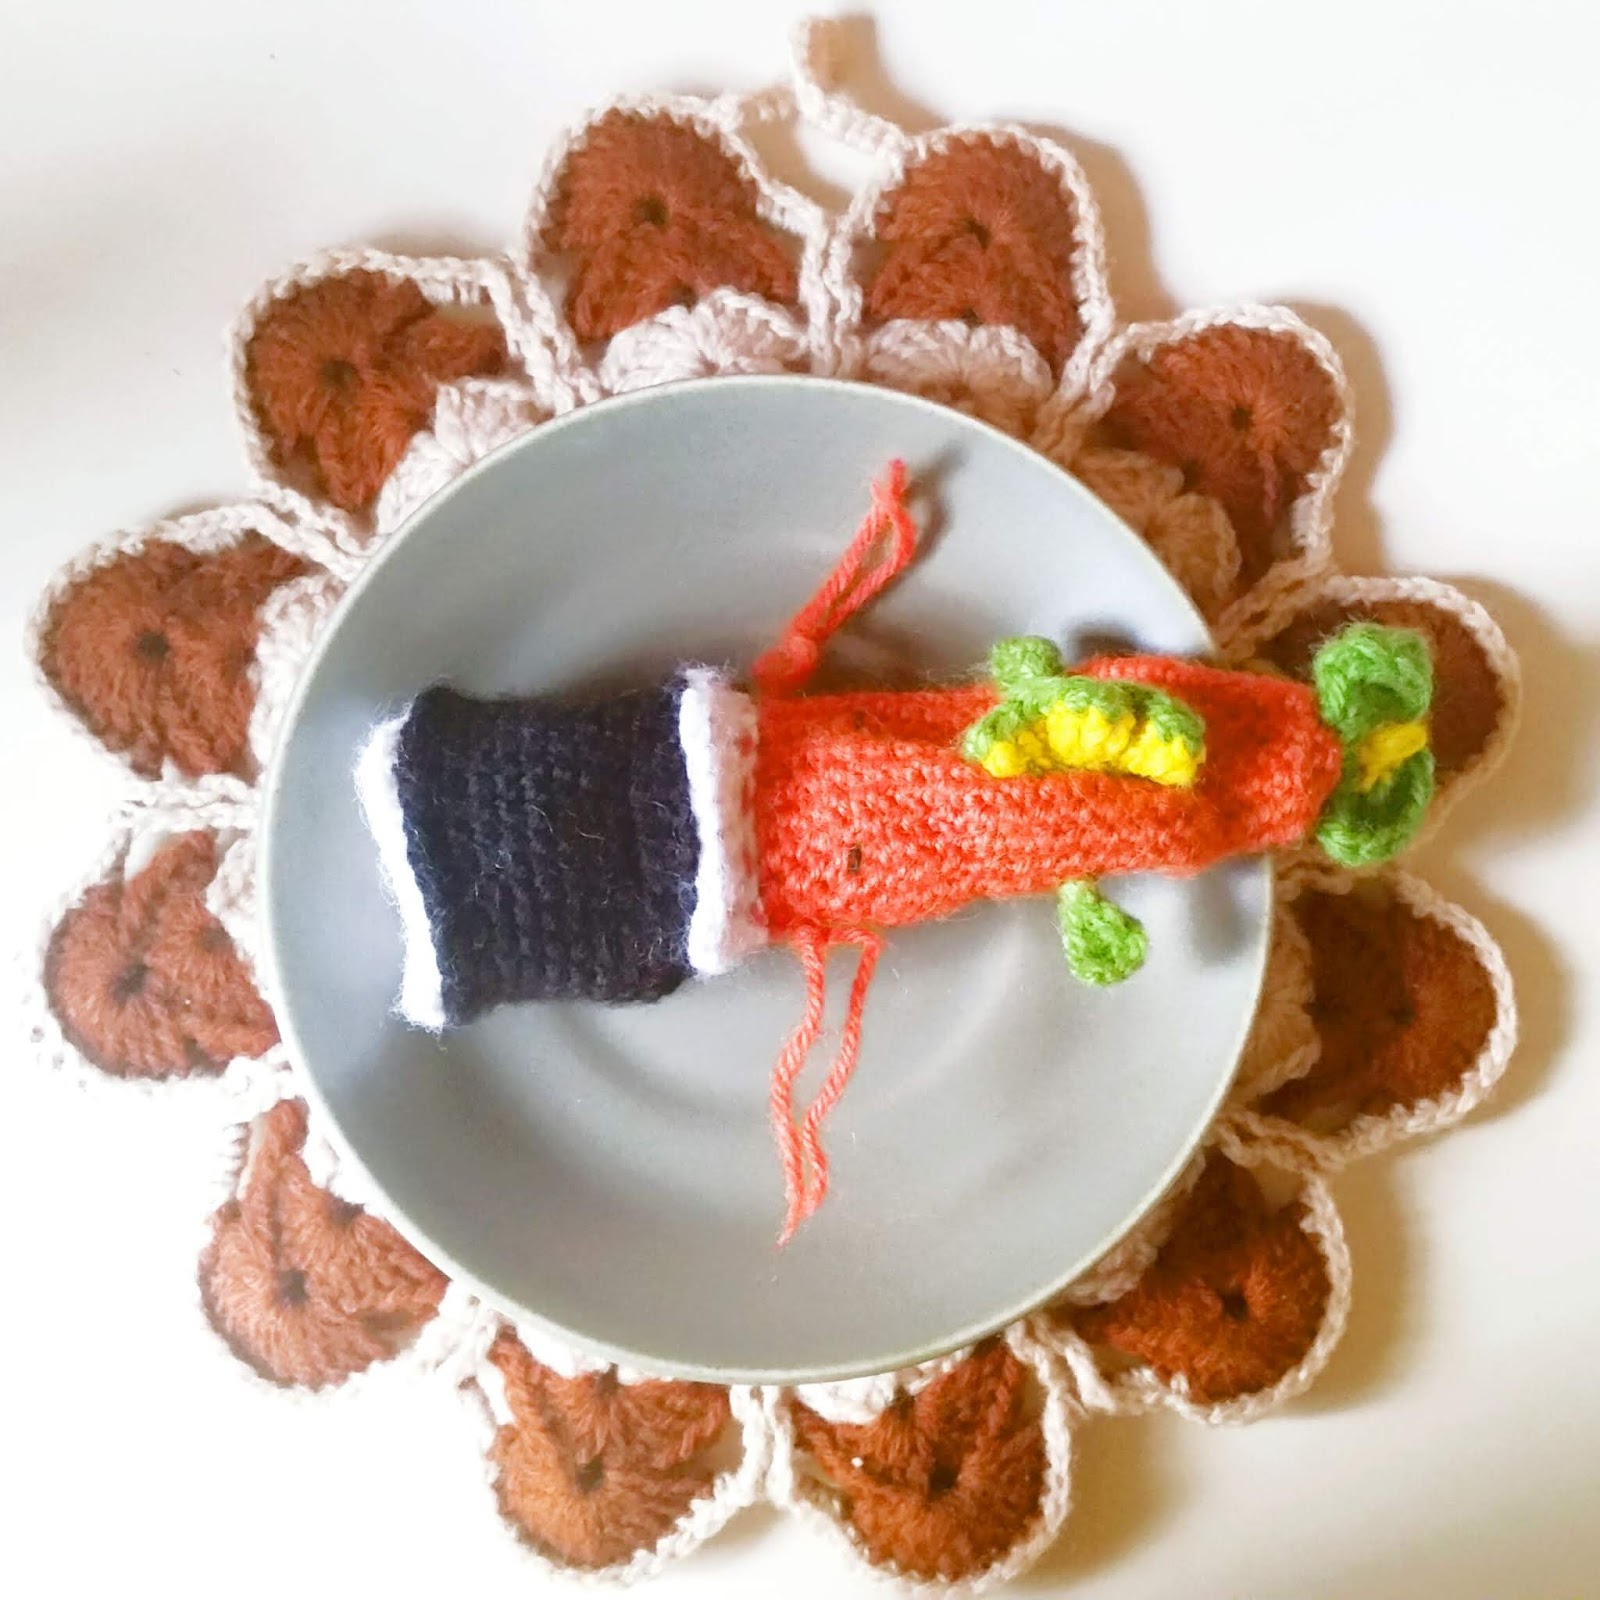
I also crocheted two more brooches (one can never have too many brooches, right? ~___^). For the lollipop I used a pattern by Twinkie Chan, but used part of a wooden skewer instead of crocheting a stick. For the sweet, I crocheted a rectangle, sewed it into a tube, put a scrunched up bit of paper in the middle, and then tied yarn around each side of a ball. Then I just glued brooch backings onto both of them ^___^
 

As always, there is so much more things I could have crafted for this costume (Peppermint Butler handbag, Lady Rainicorn bracelet, science glassware charm bracelet ...) but I think I did pretty well considering I was also finishing off an assignment ~___^


The zombie project I was planning has pretty much completely fallen through at this stage so I'm not sure if that will be appearing on here anytime soon, which is a pity since I still think it's a cool idea! I might keep working on it. I've still got eight tiny donuts to make into something though (plus three major essays, blah!) so I've got enough to keep me busy. I'm thinking maybe a bracelet? Or magnets? Or more hair bows? Hmmm.

Until next week!

- Lisa xx