Wednesday 30 April 2014

Wicket the Ewok crochet cushion


Hello! Oh my glob, this project has been a long time coming! I was meant to post this yesterday but I totally forgot that it gets dark here at like five now, and so I didn't finish in time to take photos! >___< But I remembered today - hurray! I'm keeping up my (admittedly fairly new) tradition of making a project every year for International Star Wars Day and this year I decided to make a cute little Wicket the Ewok cushion ^___^
 

Now, to be perfectly honest, I find Wicket to be a little bit creepy looking, so I didn't want to make anything too true-to-life (or, ahem, movie). I simplified the design to be as cute as possible and I think it rather worked! 
 

I used stash yarn to make this, although I'm not sure of the brands (I have a bad habit of throwing away labels as soon as I start using a new ball) I'm pretty sure it's 100% acrylic. I used the majority of two balls of brown and orange, and a tiny bit of black.


To make it, I crocheted one large flat circle and two small flat circles in brown, and one large flat ring in orange. For the orange ring I started off by chaining to the length I wanted, joining that chain into a ring and then doing the treble stitch into each each chain stitch. I wanted the opening around Wicket's face to make mostly square shaped, so I made four corners by doing a treble, two chains, and then another treble into one chain stitch.  After that first row, I switched to single stitch and eventually rounded out the square shape into something more circular. Everything else I did in 100% single stitch which I think gives it a great look and also prevents the stuffing from popping out.


By the time I got to making the back piece, I was running out of orange but I didn't want a plain brown backing so I ended up doing a striped hexagon. Hexagons are harder to make into circles than squares, and the edges ended up a little ruffled, as you can see from the picture above. Still, I like how it turned out! ^___^


His face was made by making three circles, one a little smaller than the others, and a short length of chain. I stitched everything down with some extra black wool. The orange ring is bigger than the brown head piece, so it covers up the base of the ears, which are just stitched to the brown piece. The orange ring was sewn down around both the edge of the face and the head and then sewn to the back piece with the last precious piece of orange wool. I ended up with only a tiny little bit left - I certain succeeded in using up that particular piece of stash!
 

And now he has found a home on our couch! Basically all the stuffed toys I make seem to end up on the couch so he won't be lacking for company but I'm thinking that this idea could be really easily adapted for other Star Wars characters. Wampa head cushion, anyone?


International Star Wars Day is only four days away (!!!) and it's also my best friend's and my husband's birthdays so I've got to get right back to crafting! Scott has requested a Companion Cube plushie and I'm working on a super secret gift for Pip which is out of this world ~___^

Let me know if you're making or doing anything fun for Star Wars Day and May the Force with with you! ^___^

- Lisa xx

Monday 21 April 2014

Vintage pyrex embroidery hoop


Hello! How are you? I hope you're well. It is my second week of study break today and since I managed to catch a cold on my second day of study break, I have achieved very little! However, I started being able to breathe properly again over the weekend, so I made this little hoop to show you ^___^ 
 

I really like how it turned out, I think it looks so retro and cute! ^___^ I was inspired by this project from Flora and Purl but I'm linking to a pin rather than a blog post because for some reason Blogger will not let me actually look at the website! Silly Blogger. 
 

Anyway, I decided I would try to make an embroidered version of my Snowflake Blue dish, because the pattern is relatively simple and recognisable and because it's one of the few pieces that I have both the top and bottom of ^___^
 

I had a tiny thought that maybe I would continue to make hoops of some of my favourite pyrex designs, so I added a label to this hoop. This way, if I do end up making more, I can have a little pyrex hoop gallery with the names helpfully included to match up to the actual dishes ^___^ Stitching text is still not my most favourite thing to do, so I wrote this out on paper first and then just stitched over the top.
 

This is a 17cm diameter hoop (or about 6.5 inches) so it's quite small and therefore rather cute. The hoop is a (possibly) vintage one that I found at the op-shop; I really love finding embroidery hoops while thrifting because they are usually only a dollar or two each and you can sometimes find some really interesting ones ^___^ I love the faux bois plastic used for the front of this one, and the pretty metal hanging loop.
 

I finished off the back with some red felt and a simple running stitch. This is basically how I finish off every single hoop I do, so nothing really to see here ~___^
 

The floral fabric is 100% cotton and is brand new, although I think the pattern feels a tad retro, don't you think? I only used about a quarter of the fat flat to make this hoop, so I've still got a bit to work with, once I think of another project for it ^___^

 
The pyrex is made from felt and embroidery thread and was really very simple to make. I drew a picture of the dish onto paper and then cut around it to make a template. I made sure to include my slightly wobbly lines, as that was one thing I really liked about the inspiration piece ^___^ I used two strands of DMC for the outlines and the scallops (which is just a modified lazy daisy) and then a single strand for the snowflakes and the dots. I added crosses in the scallops because I can't do french knots - they are my downfall! If you can do french knots, you could probably make a much more accurate facsimile of this pattern ^___^


I'm very disappointed that my first week of study break was essentially a wash, because now I really must spend this week doing all my homework which doesn't leave much time for crafting! I am working on a couple of crochet projects, and hopefully I will have at least one of them finished before International Star Wars Day as it is, you guessed it, a Star Wars project ^___^ I'm doing both these crochet projects in 100% single crochet stitch so they are taking me agggggeeessss. I am a very impatient crafter at times, so it was good to start and finish a quick project to keep my motivation levels up! Anyway, it's time to hit the books!

Lisa xx

Tuesday 15 April 2014

Glittery pastel bone and skull hair clips


Hello! How are you doing? Today is my second offical day of Study Break and I have certainly not done any studying ~___^ Instead, I've been working on finishing off some projects from the huge box of WIPs. So, so many abandoned projects; it's sad really. And also I've started some new projects because I am not the kind of person that will ever have all of her crafts actually finished.


This is one such project; I decided the other day that I wanted a hair clip shaped like a bone. I have no idea why, I just suddenly really wanted one. So I sat down with some sculpey and made some bones. And then I made some skulls. And then I burnt them (oops!) so I had to paint them.


I originally spray-painted them white, but then I decided that they should be pastel. And glittery. Because, why not, right? ~___^


I use Scott's Warhammer paints to paint my sculpey but of course those paints only come in dark, army-type colours; no pretty pinks in sight! So I mixed a drop of each of the acrylic colours in with some of the Bone White Warhammer paint  to create my pastels. It worked really well! I think because I used only a tiny bit of acrylic the paint still adherred really well to the sculpey. After I'd painted the bones, I gave them a thin coating of glittery Mod Podge; I absolutely love the subtle sparkle it gives the bones ^___^
 

I was going to attach alligator clips to the back of these, but then I found some great pins in the milinary section of Spotlight. They look just like bobby pins except they have a metal circle on the end of them which made them really easy to glue to the back of the bones. I wish I had found them before I made the bones though, because, as you can see, they are a teeny bit long and stick out from behind the bones.
 

I really like how these clips turned out but they are a little tricky to photograph; I took a whole set of photos yesterday but they turned out too blurry (for the close-ups) and limited in detail (for the in-action ones). So I took some new ones today but you can see from the photos with me in them that I'm still having some trouble with the latter problem; I wondered maybe if because they were so pale they were reflecting the sun too much? I don't really know. I included a couple of the in-action photos anyway, so you could get an idea of how big they are. You'll just have to imagine that you can see a bit more detail then the photo actually provides ~___^


I wore them into the city today as Scott and I checked out the new Codex release at the Warhammer store; but I didn't tell the people there that I've been using paints for non-army related purposes. That'll be our little secret, ok? ~___^

- Lisa xx

Thursday 10 April 2014

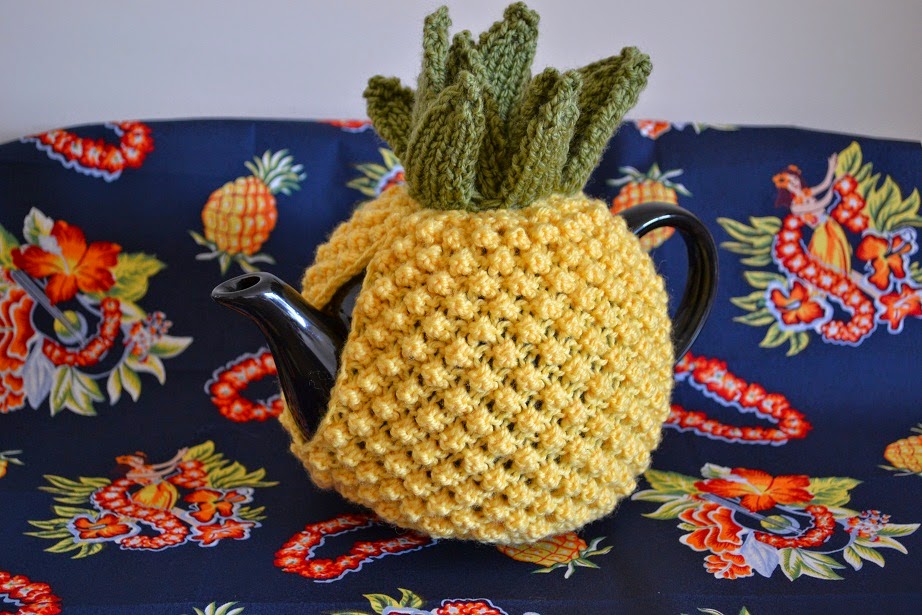
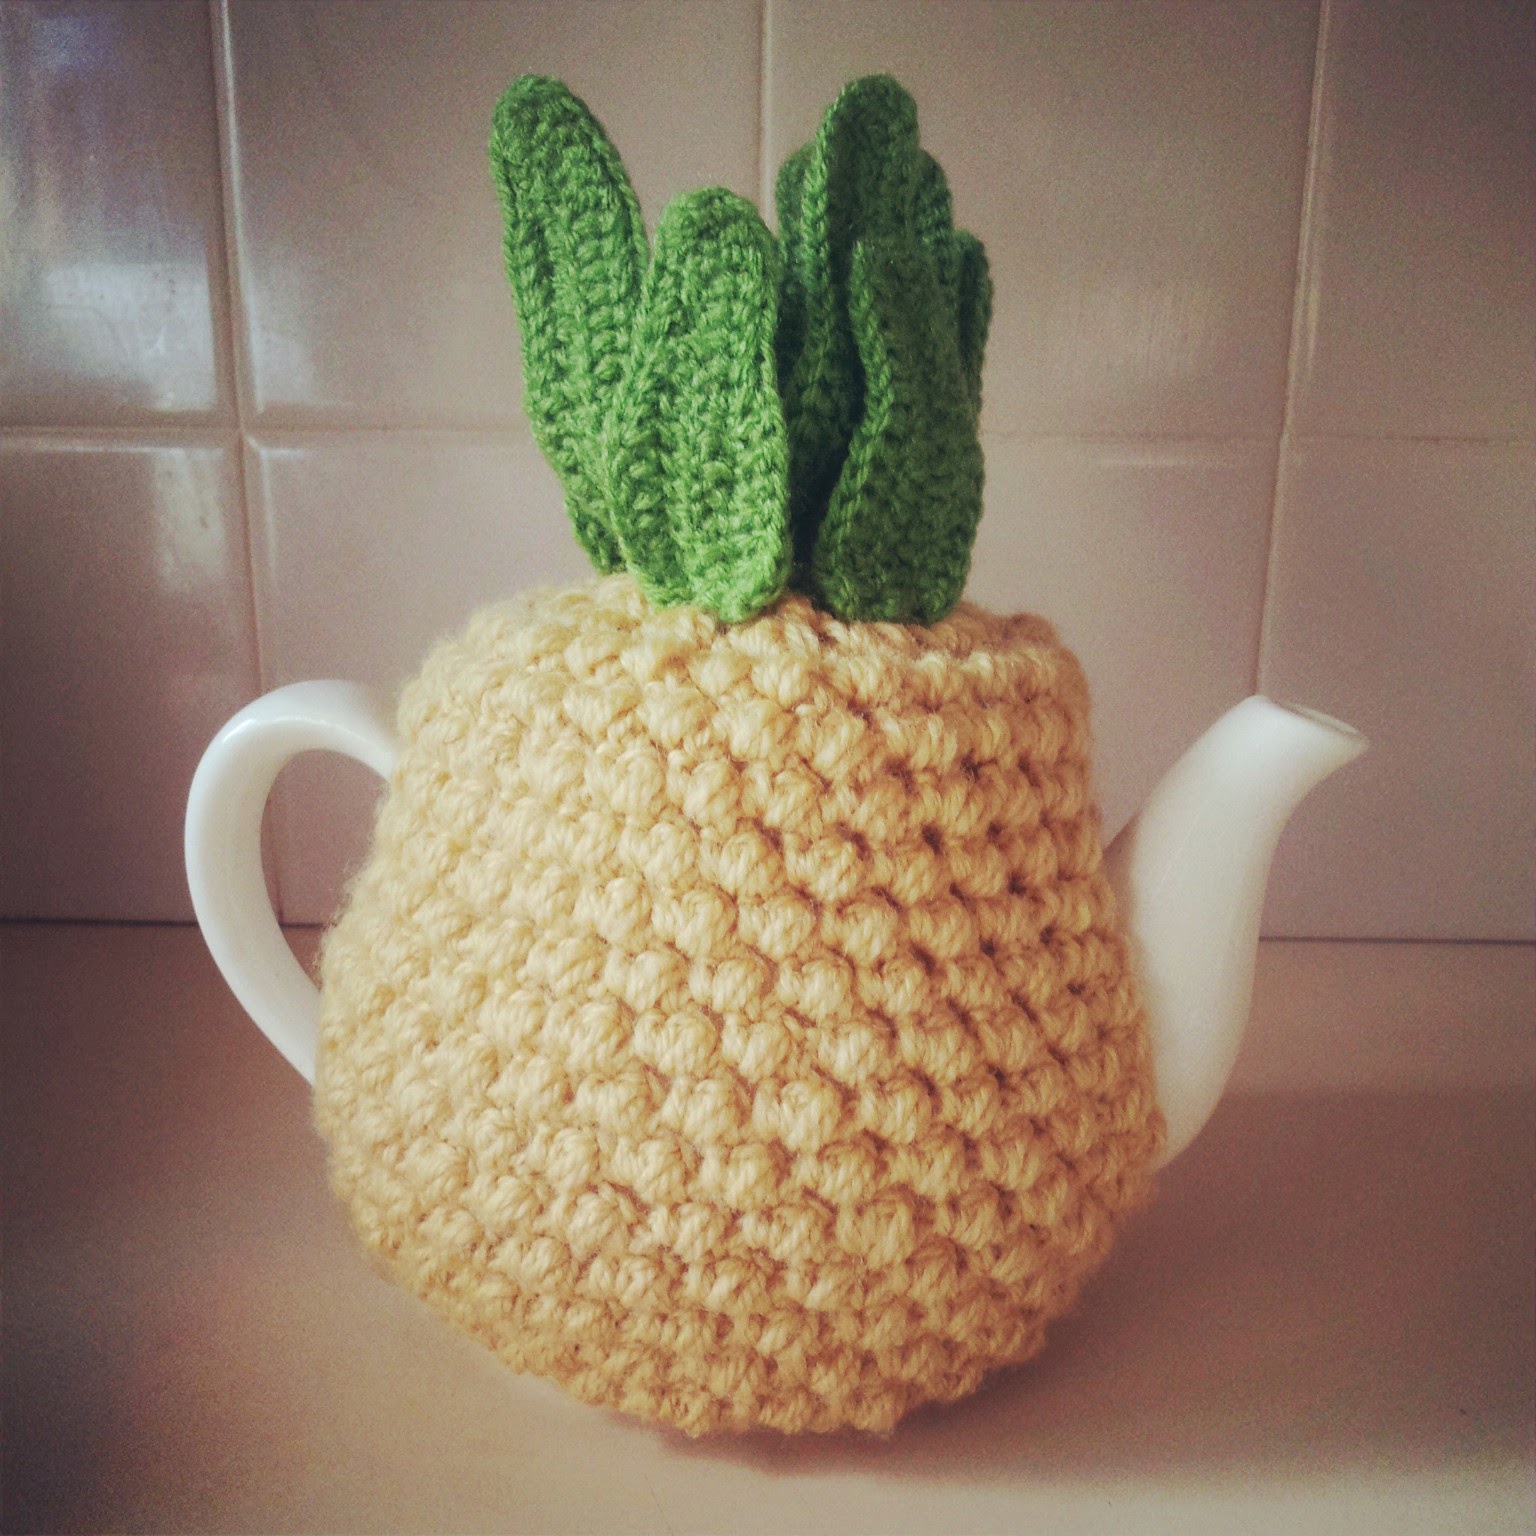
The Giant Pineapple Cosy KAL (with free crochet and knitting patterns!)


Hello everyone! Last year Tanya and I organised a Foxy KAL that was so much fun that we wanted to do another one! And it's finally happening! ^___^ 

We found a great retro knitting pattern for a pineapple tea cosy and we're excited to share that pattern with you in our new Giant Pineapple Cosy KAL! You can download the pattern straight away (just click on the image or the text below to go to the download link); it was originally made by Patons in their Nick-Nacks C41 pattern book. We don't know when it was released, but since it includes measurements in both centimeters and inches, I'm guessing it's probably from about the 1970s. Ace!

https://drive.google.com/file/d/0B_MO0cK8Qg7mYWJFTG83UWotU0U/edit?usp=sharing


Tanya made this one, so you could see what you're getting into! Isn't it lovely? She's done a super job and I'm so excited to make my own!


https://drive.google.com/file/d/0B_MO0cK8Qg7mVkdweHJKWEdLbmc/edit?usp=sharing


Now, even though we've called this a knit-a-long, we haven't forgotten about the crocheters! I've made a really simple crochet version of the original knit pattern; it looks a little different but it's still full of retro-style amazingness! You can click the image above to download the pattern from my Google Drive ^___^ The KAL will start on May 5th, and will run until June 2nd and then we'll announce the winner of this awesome prize pack! Far out! ^___^


Join our Ravelry group to stay up to date on all the KAL chatting fun and to share your awesome WIPs and FOs with us! ^___^ See ya on the flip side!

Lisa xx

Tuesday 1 April 2014

Foxy face brooches


Hello! Do you get any craft magazines? I get *a lot* ... probably too many! ~___^ Mollie Makes is one of my favourites, but I almost never get around to making any of the projects that come in the free kits. Which is a pity, as they are totally adorable!


But, this week, I realised that I couldn't show you any of the three long-term projects I've been working on (yet! I will show you soon!) so I pulled out the train case I keep full of magazine kits and decided this one was the perfect one to make ^___^
 

The felt in this kit is a lot stiffer than the felt I normally work with, but it worked really well for this project. The cream part of the fox face is just one thickness of felt, so having the stiffer felt means that it retains its shape very well.
 

The pattern for the foxes included the design for the sleepy eyes, as seen on the orange fox, but I gave my pink fox some happy eyes - just for something different! ^___^
 

Also, I had absolutely no idea how to do the stab stitch in the way the magazine had pictured, so I did a running stitch instead. It worked out fine! But I do want to know how to do the stab stitch now; any stitching experts out there who could give me some pointers? 


I reckon I'll wear these cuties as sweater clips, because it's finally getting cold enough here to actually wear cardigans! I'm so excited! Last night I was wearing pants, socks, a jumper, *and* a hat - it was actually lovely ^___^ Anyway, I best get back to my knitting - I can't wait to show you this project! But I have to finish it first; hopefully with practice I will one day be able to knit faster than at a snail's pace! ~___^

- Lisa xx