Showing posts with label costume. Show all posts

Wednesday, 9 November 2016

Louise Belcher costume


Hello! I'm so excited to be blogging about this costume! I started this SO LONG ago; I think I was originally going to wear it to one of last year's comic conventions (?) but then that didn't happen and I set it aside. Uni and life got in the side of finishing it until I needed a costume to wear to the WARD Officials Halloween Quiz Night. So I pulled out my sewing machine again and tried to fit in lots of sewing in between study and work; and this time I finished it! Yay!


If you're not familiar with Bob's Burgers (which, by the way, you should totally be watching!) I am the youngest child, Louise Belcher. One of the awesome things about the quiz night was that my friend Beks and I managed to accidentally co-ordinate costumes! Beks came as oldest child Tina so we were sisters for the night! 


 I drafted the pattern for the dress myself. The skirt is a circle skirt pattern that I have used multiple times but I had to do the bodice and sleeves from scratch since I have lost my old bodice pattern >____<


 I am not totally happy with the fit of the bodice. I think it needs some darts to make it fit a little neater, and the neckline didn't turn out as flat as I would have liked. But it fits and looks fairly correct, so overall I'm happy with the dress! The fabric I used is a cotton drill so it has a nice weight, but I think this dress would also have been good in a knit. I just went with the fabric that came in the right colour!


For the hat (really the star of this costume!) I found this video by Zoe H very helpful. I did draft a pattern to fit my own head, so if you have a 55cm circumference noggin, then feel free to download it and make your own! Just click on the preview picture below to go to the download page on my Google Drive. This pattern is designed to fit onto two A3 sheets of paper, so make sure you print it out using the tiling option for .pdf files!
 

https://drive.google.com/file/d/0B_MO0cK8Qg7mT3NjeGswUDhBaTA/view?usp=sharing

This patterns is the exact one I made for myself, so it has only been tested by me - there may be errors! Let me know if anything seems really wrong, and check out the video by Zoe H for a step by step on how to sew it together.


I also made myself a little Kuchi Kopi handbag. I used polar fleece for the majority of the bag; I originally brought some green sparkly vinyl for it - which I still think would be great! But I needed to finish the bag asap, so I decided to use the fabric which I could sew with my machine.


The bow and facial features are made from felt and were all hot glued on - again, time was of the essence with this project! The handle is ribbon and the loops attaching it to the bag are bias tape. I'm planning on turning this handbag into a plushie now and making the handbag again with the vinyl. If you'd like to make a Kuchi Kopie Bag (or plushie!) you can download the pattern I used by clicking on the preview picture below and downloading the .pdf from my Google Drive. This pattern is designed to be printed onto one A3 sheet of paper, but you could totally print it bigger or smaller depending on what size bag you prefer!

https://drive.google.com/file/d/0B_MO0cK8Qg7mZGIySllHOUdmUlU/view?usp=sharing
To make the bag you need to ...
1. Cut everything out from your desired fabrics.
2. Sew together the arms (I didn't stuff them because my fleece fabric was quite thick enough). I sewed mine right sides together, leaving the straight edge open, and then turned them right sides out. I also top-stitched around them to give them more structure.
3. Glue or sew on all the facial features to one body piece.
4. For the bow, I cut the bow shape from felt, wrapped the bow middle piece around the middle (probably kinda self-explanatory, right? :P), and then glued it onto the bow strap
5. I also cut a rectangle in the back body piece (i.e. the one with nothing glued to it!) and hemmed the edges down so it wouldn't fray. I sewed a flap of polar fleece over the top of this hole to allow access but also to make it easy to sew up for when I make this bag a plushie, but adding a zip would be a better idea for a long term handbag.
6. Cut two short lengths of ribbon or bias tape and hold in half to make the strap loops of the bag. Place them on the right side of the back piece, pointing inwards.
7. Lay the arms on the right side of the back piece, pointing inwards.
8. Place the right side of the front piece down onto the back piece. 
9. Sew around the body shape, you don't have to leave a gap because you can use the bag hole to turn it right sides out.
10. Top-stitch around the entire bag.
11. Attach ribbon or chain to the bag loops for your strap.


I haven't quite got the Kuchi Kopi expression down pat, but we still had a lot of fun together! 

- Lisa xx

Monday, 2 November 2015

Halloween 2015: Mermaid costume and spooky sweets review


Hello! So, Halloween is over for another year. I adore Halloween; I'm always so sad when it's finished! I've been told a few times this year that my hair looks like "mermaid hair", which is SUCH a lovely compliment that I decided to go as a mermaid for my costume ^____^


Rebecca and I were planning on hitting our regular rink for their Halloween skate session and then a party afterwards so I wanted something that would be comfortable enough to skate in.
 

I figured leggings and a skirt would be a practical combination and when I found this gorgeous shimmery scale fabric at Spotlight, I knew I was on the right track. I used this tutorial by Cal Patch to make my own pattern for the leggings and, aside from making them a little tighter around the knees next time, they worked out wonderfully!


I'm not yet at the stage where I feel comfortable enough wearing only leggings, so I also made a circle skirt with the same fabric. This video tutorial by Annika from The Pineneedle Collective was extremely helpful for this, but as my sewing machine was still broken at this stage, I had to get a little creative with sewing it together. I ended up doing the entire thing on my overlocker, and not hemming the skirt or adding elastic to the waistband. I'm a little worried that the waistband fabric will eventually stretch out; if that happens I'll have to reverse engineer in some elastic, but it was fine for a costume.


For the top, I printed out a picture of clamshells and used them to make a freezer paper stencil. I mixed up some light blue and light green fabric paint (I just diluted the colours I had with more white fabric paint) and used sponge brushes to add the blue on the top and green at the bottom. Then I used a brush dipped in both colours to mix them together in the middle of the shells and create a colour gradient look.


And then I put silver glitter all over them! One can never have too much glitter ^___^ Lastly, I made some hair accessories simply by attaching, with E6000, hair pin backings to some shells and starfish I had in my stash  (hoarding from childhood holidays *does* come in handy! ~___^)


The day after Halloween I hosted a crafternoon, and took the opportunity to test out some spooky recipes!


The strange pink lumps below were meant to be the Bloody Popcorn Brains by Not Quite Nigella, but mine are not quite as pin-worthy! My popcorn turned out really sticky, so making them into any real shape was seemingly impossible. I just ended up blobbing down lumps, adding some raspberry jam and calling them Blood Clots! They taste amazing though and are perfect for a special dessert treat or for curing diabetic hypoglycemia (I'd personally opt for the former!). 
 

The Spooky Worm Halloween Jello by A Spicy Perspective was voted "grossest-looking" by my guests; some wouldn't even try it due to its appearance! I'll grant that it's creepy looking, and the tapioca pearls lend an interesting texture to the jelly, but Scott, Rebecca, and I all quite liked the taste. I used lime and grape jelly and they turned out these lovely pastel colours, which went really well with the "witchetty-grub" lollies I found in the supermarket (I couldn't find plain old jelly worms like the recipe called for anywhere!). I used little ramekins as my moulds, but the jelly didn't come out cleanly. No matter, I think it looks even more gross this way ~___^
 

I'd never made chocolate bark before, and I found The Pioneer Woman's Halloween Bark tutorial very helpful even though I didn't follow her recipe completely. I melted white cooking chocolate, poured it into a tray lined with baking paper, and then pressed in salted pretzels, Star Wars character cookies, mini M&Ms, and pop-rocks. After sitting in the fridge for a while, it was ready to be broken up and served! This was the most popular dessert at the crafternoon; the salty-sweet combination was considered most superior by my friends ^____^ I personally think that the addition of the pop-rocks makes it a very appropriate Halloween treat as there is something rather creepy about your sweets making random cracking noises ...


Scott's favourite was the coffin cake; which is just a plain chocolate cake with peppermint icing. Can't beat the classics, I guess! I got the coffin-shaped pan from Spotlight and it does have a cross indentation on it, but that didn't show through very well on the finished cake, so I added my own with writing icing.


And that's it! Gosh! Did you have a fantastic Halloween? I hope you did, and that you dressed up! I love hearing about and seeing other people's costumes ^____^

- Lisa xx

Wednesday, 25 February 2015

Crochet chevron cowl, a 60s mod costume, plus photos from Singapore!


Hello! I'm back! I spent last week in Singapore, which was so much fun! I'd never been overseas before and we were in time for Lunar New Year, which meant everything was decorated and everyone seemed in a festive mood ^____^ One thing I was worried about though was that I wasn't going to finish a project for the Get Geometric KAL! I'd started Tanya's knitted cowl pattern a few times, but I just couldn't get my head around it! I think I need to do some more simple knitting and work my way up to it.


I also figured I'd want something to do on the plane flight over, so I packed some balls of chunky yarn and a big plastic crochet hook in my check in luggage. I did double check with the lady who checked me in at the airport, and she said I should be fine. Luckily, security also didn't mind and I was allowed to keep my crafting supplies!

I used the same stitch pattern that I used to make my chevron fingerless mitts, but I worked this cowl in the round. I crocheted with two balls of black yarn, then changed to green for two rows, and then finished off with another ball of black. It's very squishy and cosy, but not really appropriate for Australian, or Singaporean, weather!

My phone started playing up basically as soon as I left Australia (maybe it got homesick?) so I didn't get as many photos as I would have liked to. Nonetheless, I took a fair few!


On the first day we went to Gardens on the Bay, which was really lovely. We went into the Flower Dome and the Cloud Forest which were amazing feats of both technology and gardening, and I found the information on sustainability fascinating. However, my favourite part was probably the goats made of flowers! They're just so adorable!


We saw the Sultan Mosque, and spent some time wandering around the Arab Quarter. There were so many silk and carpet stores; the tiny camel carpet was especially tempting for me! We had coffee in a tiny Turkish coffee shop which was covered in beautiful tiles and lanterns; I wish I could have photographed that! Also, we saw lots of interesting street art!


Chinatown on Lunar New Year was amazing, and absolutely packed with people! We lined up to see the parade, but nothing happened for hours and we were too weak to wait until midnight to see the fireworks so instead we had dinner; at a Thai restaurant in Chinatown, ironically!


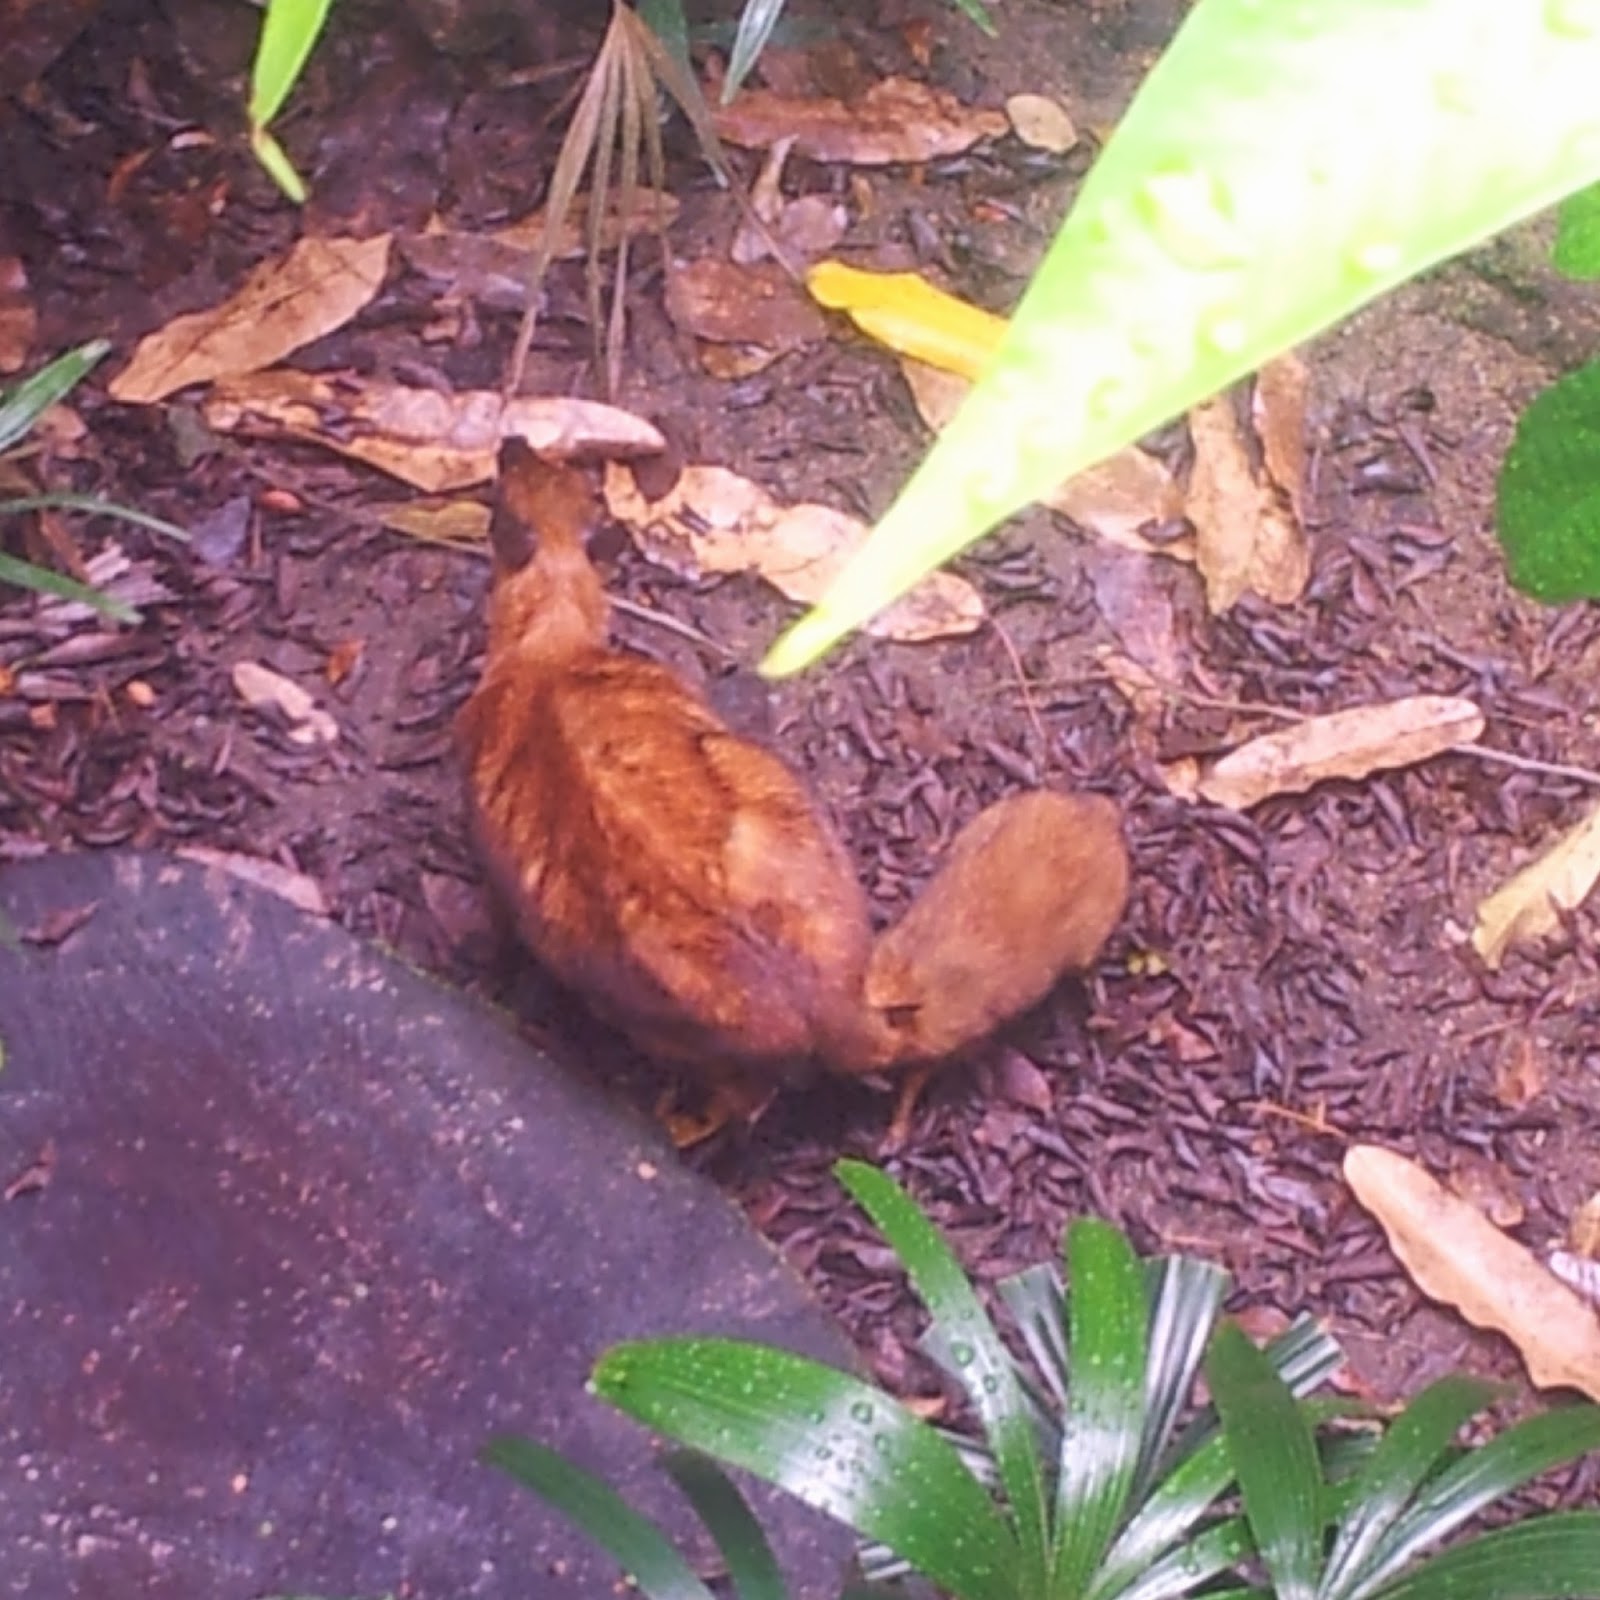
We also went to the Singapore Zoo, where my phone took many blurry photos. Damn! I did get these two of the flamingos and the mouse deer. I'd never heard of a mouse deer before and they were so cute! They are tiny and one of them had a baby, which was even smaller and more adorable! We also saw elephants, giraffes, a polar beer, a white tiger, a komodo dragon, giant turtles, otters, and many many monkeys ... it was incredible fun!


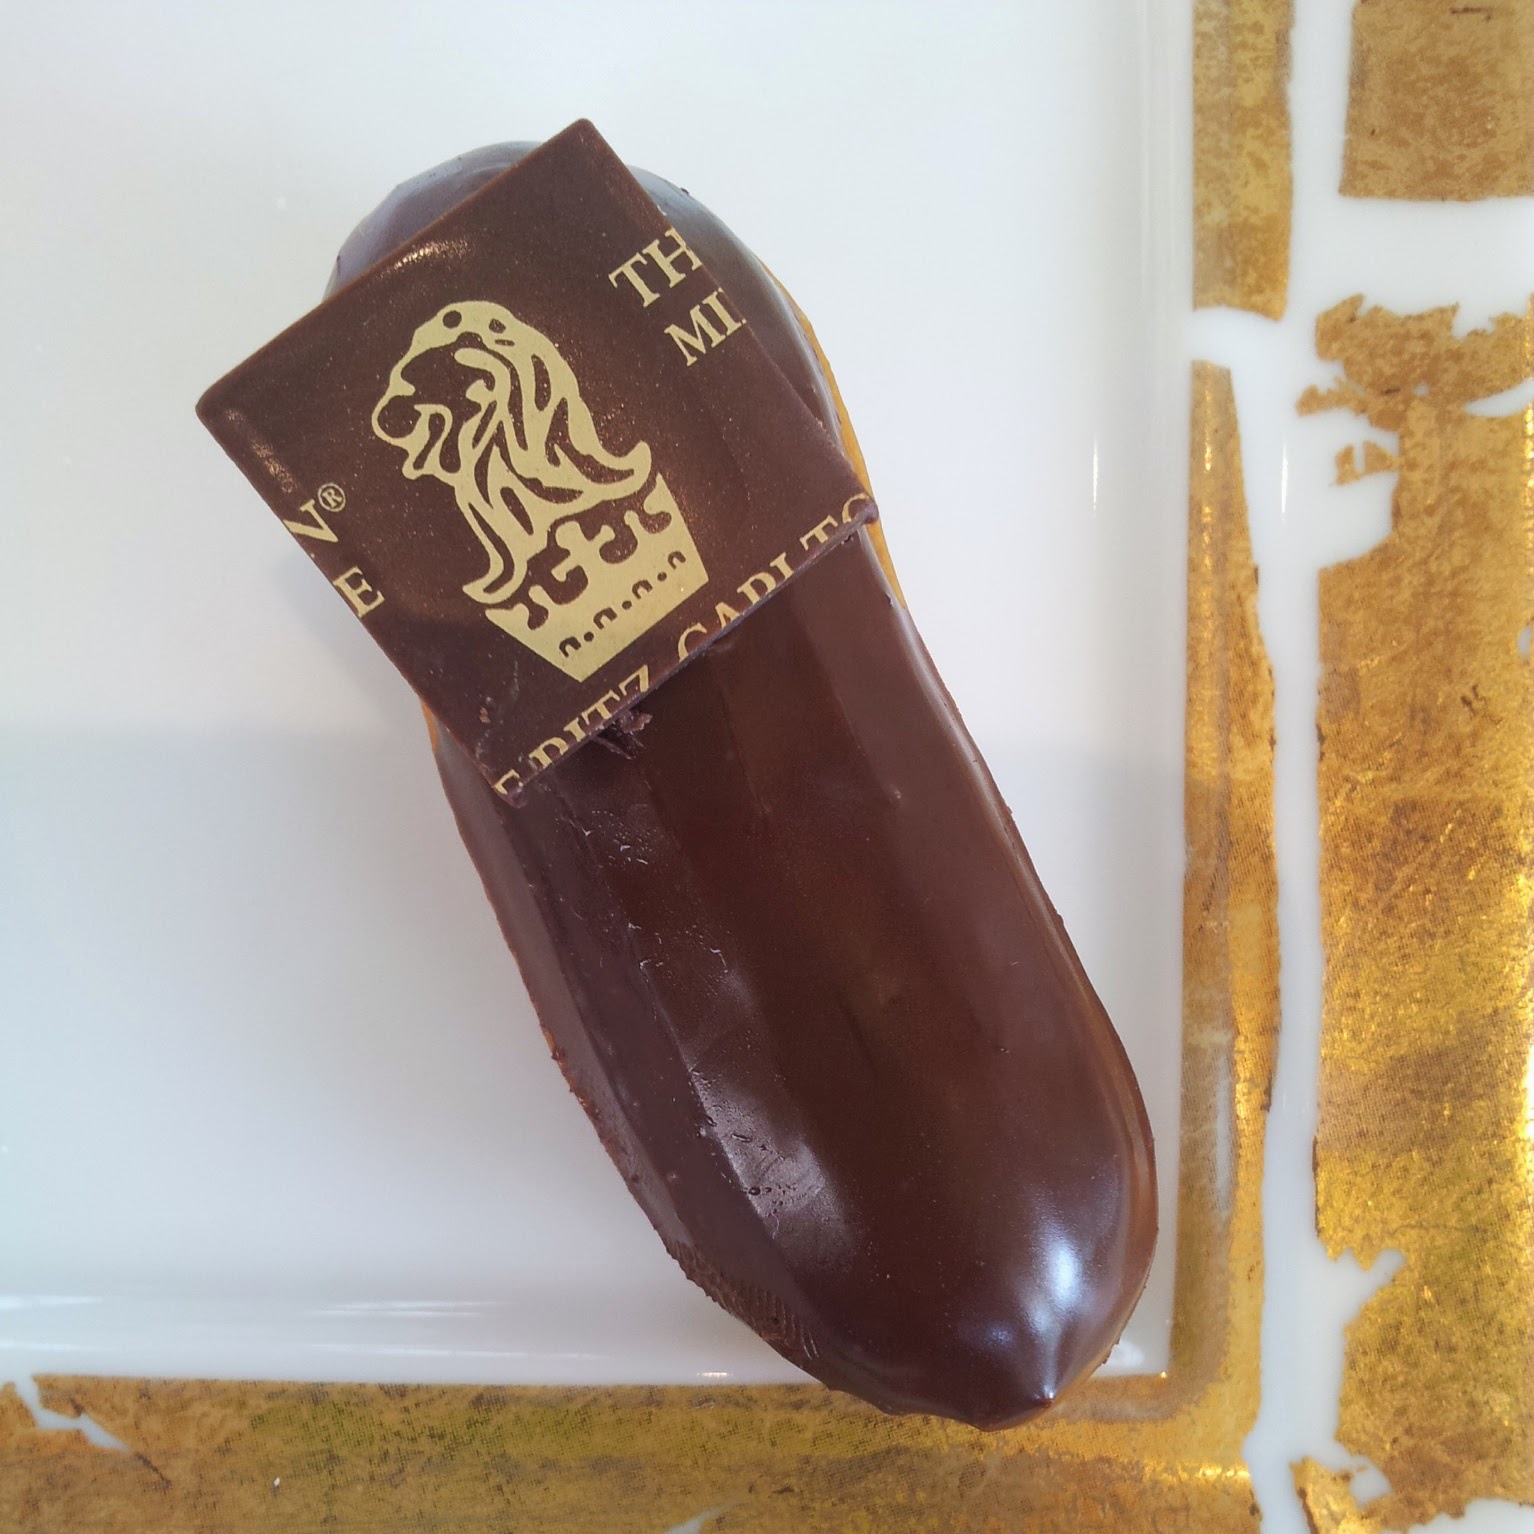
I'm a big fan of froyo here in Australia, and I thought it was cool how different it is in Singapore! Still very delicious though ~___^ The chocolate eclair I thought was cool because it had a merlion on it! Seriously, merlions are everywhere in Singapore! By the way, if you're ever in Singapore, I can highly recommend the high tea at the Ritz Carlton - eight courses of pure deliciousness and more tea than any one mortal could possibly consume.


And then, the day after I got back, Bec and I headed out to a 60s themed birthday party. It was so much fun! We hit up the opshop earlier that day, and found enough mod/beatnik-ish clothing to make some fun outfits ^____^


My outfit consisted mainly of a black polka-dot mini dress with an aqua collar and waist tie; it cost me $7! I also wore knee high black socks and black wedges, which I already owned. My handbag is one left to me by my Nana Tess; I don't know what era it is actually from, but I felt that it worked well with the rest of my outfit. I wore contacts so that I could wear massive false eyelashes, and I used a bump-it to fake a bit of a bouffant hairstyle.


Bec hit the jackpot and found a black turtleneck (high necked knitwear is very difficult to find in Australian opshops!) and this super cute overall dress. She also wore black ballet flats, round sunglasses (yes, at night; that's dedication to a costume!), and a vintage pendant she had found previously at an antique store.


Bec and I also spent some time before the party icing the birthday girl's cake. It's well ... it's not pretty. But, it tasted amazing! I used this recipe to make the two cakes, but I left out the milk (I used plain water instead), used coconut oil instead of vegetable oil, substituted self-raising flour for the plain flour, baking powder, and baking soda, and added 2.5 teaspoons of peppermint essence to the cake mixture. I also ended up doubling the recipe for each cake ... this thing is pretty massive as I used a deep square tin, about 12 inches wide. I made the icing from unsalted butter, icing sugar, peppermint essence, cocoa, and a *lot* of black food colouring. The dots are made from store-brought fondant, although I did colour the yellow dots myself using gel food colouring. If I had the option, I would buy pre-coloured fondant though, because I think the food colouring slightly changed the consistency of the fondant which made it sticky and harder to work with. Plus, I dyed my hands yellow >____< If I made this again, I would change the ratio of butter to icing sugar to make the icing thicker because the icing did seem to slowly kinda ooze off the cake ... the hot weather here also probably doesn't help with that! Anyway, Bec and I had a good time putting it together, and all the guests had a wonderful time eating it ~____^
 

 And that's it from me right now! Next week I start roller derby training and I can't wait! I did catch a cold the day after the party though (I'm blaming the aeroplane) so I'm really really hoping that clears up before then! My current plan is to eat lots of garlic bread and spend a lot of time resting (aka crafting) on the couch so I'm fighting fit by Monday! Any cold cures would be greatly appreciated ~____^

- Lisa xx