Showing posts with label crafternoon. Show all posts

Sunday, 10 July 2016

Terrarium Crafternoon


Hello! Making terrariums has been on my craft group's to-do list for a looong time - and this month we finally made them!


We ended up with 18 terrariums! (Two aren't pictured here because Boulder had to leave early, but don't worry, photos of her creations are below!) Most of our terrariums are open; you can decide for yourself if you think if they count as terrariums or not!


I loved this triangular vessel that Fran used for her terrarium; most of the plants in here are ones that I propagated, so it will be interesting to see how they look after growing a bit more!
 

Fran also made a garden within an Erlenmeyer flask! There is also a plastic skeleton inside, which makes it delightfully creepy


Miriam not only created the garden inside her terrarium, she also brought along a customised jar! Unfortunately it filled with condensation quite quickly, but you can kinda see one of the toy hippos that is enjoying life among the succulents.


Miriam's second terrarium features a very confused soldier discovering a dinosaur - due to the combination of plastic toys I brought along this was a common theme for our gardens!
 

Lara's terrarium is going to be a lush jungle when it grows some more! 


Rebecca's terrariums are both kinda creepy, with a skeleton and a Weeping Angel in each - aren't they great!?


Boulder's large terrarium has a TARDIS in it! I love the vessel she chose to use as well; it looks gorgeous.
 

You can also see her mini terrarium, with a LEGO Derby girl in it!


Dom's terrarium has an Ivysaur in it! I didn't realise that I didn't get close ups of all the terrariums, but Dom and Clara also created a fantastic terrarium with a Link figurine inside. They are totally convinced me that video game stores are a must before future terrarium creations.
 

I got this hanging glass orb as a Secret Santa gift last year so I was pleased to finally use it! It was quite difficult to plant in though, as the opening isn't very large which made getting the plants into position tricky. I added a little rock wall at the front to prevent soil and plants from escaping. Now I just need to add a hook somewhere in my home to hang it from!


This glass jar seems like it was just made to be a terrarium! I think deep vessel are definitely the way to go.


I think the next step is to get our group soldering our own terrarium vessels! :P 

- Lisa xx

Saturday, 27 February 2016

Felt and clay cacti


Hello! I have mostly been working on granny squares lately (in light grey, dark grey, and black; Death Stars do not have the most inspiring colour scheme!) but I did finally take some photos of the cacti that I made at the last crafternoon my friends and I had. Huzzah!


 We used a tutorial from A Beautiful Mess for the felt cacti and a tutorial from Darby Smart for the clay.


Both tutorials were very simple to follow, although unfortunately A Beautiful Mess didn't include any patterns for their cacti. We drew our own, but patterns would have been nice to have!


Gemma, Catherine, Miriam, and I made clay cacti as well as felt but we all ended up taking our projects home to finish them! I gave mine two coats of Americana Multi-Surface Satin paint (which I am quite impressed with so far!) and then added the spikes by dipping a rectangular brush in white paint and gently pressing it to the surface of the cacti.
 

We did managed to finish quite a lovely contingent of felt cacti on the day, and Gemma, Boulder, and Miriam also sent me some pictures of their finished projects ^___^


Gemma ended up making not one, not two, but three pots of cacti! I love the purple flower on her little round clay cactus ^___^


Boulder (yes, I know her from Roller Derby, why do you ask? ~___^) went seriously hardcore and made a little companion to go with her tall cactus that has so. many. leaves. Look at them all! It looks so amazing though, so her hard work was obviously worth it.


And Miriam made these gorgeous little cacti gardens with pretty button flowers and lots of springy grass. I love how she made her tall cacti with different colours of felt; it gives such a cool effect!

I'm hoping to finish the Death Star blanket soon (#eternaloptimist), but my pals and I will be crafternooning again next week so I'll show you that results from that sooner! 

- Lisa xx

Thursday, 7 January 2016

Pretzel Pillows Crafternoon


Hello! So, usually at my crafternoons everyone just brings whatever they're currently working on and we just sit and chat and eat cake and even occasionally craft ~____^ But when the last one was still in the organisation stages, one of my new-to-crafternoon friends asked, "what are we making?" And so we decided that it might be fun to all focus on making a specific project! We did a little vote on crafts and the winner was the Pretzel Pillow by Studio DIY!

We used brown polar fleece to make our pretzels, and stick on felt for the salt. The backing on the felt is not super sticky, but so far mine has held up ok! I know Bec has been adding some little stitches to her salt pieces to ensure they don't fall off, but the sticky backing actually helps a bit with that, since they don't move while you sew!
 

Bec and Miriam cut our strips of fabric to be 30cm x 200cm, which is little bit bigger than Kelly's instructions recommend, but it worked out fitting better to our fabric ^____^ Boulder and Fran cut up felt salt flakes and I used my sewing machine to turn the fabric strips into tubes.Then we turned them right way out. This part was surprisingly tricky! We left the holes large enough to fit a hand in, but then the tubes were so long, we had polar fleece bunched up around our elbows! We were thinking that a piece of string sewn into the end of the tube might help with the turning, but we didn't try it out (since all the tubes were sewn by the time we started coming up with ideas!).
 

A long dowel is super, super helpful for stuffing and I think we probably used about 1.5kg of polyfill between five of us (which doesn't sound like much, until you remember how light that stuff is!). Then all we had to do was twist and tack and then stick on the salt!


All of our pillows turned out super cute, and we took a group photo to celebrate! Trying to get us and our pretzels in the photo was a bit tricky since my yard is very small - we're thinking that for the next crafternoon I need to set up a photobooth, with a background and all! ~____^


We've got a few more projects planned for our next couple of crafternoons, so it'll be fun to see how they come out! 

- Lisa xx

Monday, 2 November 2015

Halloween 2015: Mermaid costume and spooky sweets review


Hello! So, Halloween is over for another year. I adore Halloween; I'm always so sad when it's finished! I've been told a few times this year that my hair looks like "mermaid hair", which is SUCH a lovely compliment that I decided to go as a mermaid for my costume ^____^


Rebecca and I were planning on hitting our regular rink for their Halloween skate session and then a party afterwards so I wanted something that would be comfortable enough to skate in.
 

I figured leggings and a skirt would be a practical combination and when I found this gorgeous shimmery scale fabric at Spotlight, I knew I was on the right track. I used this tutorial by Cal Patch to make my own pattern for the leggings and, aside from making them a little tighter around the knees next time, they worked out wonderfully!


I'm not yet at the stage where I feel comfortable enough wearing only leggings, so I also made a circle skirt with the same fabric. This video tutorial by Annika from The Pineneedle Collective was extremely helpful for this, but as my sewing machine was still broken at this stage, I had to get a little creative with sewing it together. I ended up doing the entire thing on my overlocker, and not hemming the skirt or adding elastic to the waistband. I'm a little worried that the waistband fabric will eventually stretch out; if that happens I'll have to reverse engineer in some elastic, but it was fine for a costume.


For the top, I printed out a picture of clamshells and used them to make a freezer paper stencil. I mixed up some light blue and light green fabric paint (I just diluted the colours I had with more white fabric paint) and used sponge brushes to add the blue on the top and green at the bottom. Then I used a brush dipped in both colours to mix them together in the middle of the shells and create a colour gradient look.


And then I put silver glitter all over them! One can never have too much glitter ^___^ Lastly, I made some hair accessories simply by attaching, with E6000, hair pin backings to some shells and starfish I had in my stash  (hoarding from childhood holidays *does* come in handy! ~___^)


The day after Halloween I hosted a crafternoon, and took the opportunity to test out some spooky recipes!


The strange pink lumps below were meant to be the Bloody Popcorn Brains by Not Quite Nigella, but mine are not quite as pin-worthy! My popcorn turned out really sticky, so making them into any real shape was seemingly impossible. I just ended up blobbing down lumps, adding some raspberry jam and calling them Blood Clots! They taste amazing though and are perfect for a special dessert treat or for curing diabetic hypoglycemia (I'd personally opt for the former!). 
 

The Spooky Worm Halloween Jello by A Spicy Perspective was voted "grossest-looking" by my guests; some wouldn't even try it due to its appearance! I'll grant that it's creepy looking, and the tapioca pearls lend an interesting texture to the jelly, but Scott, Rebecca, and I all quite liked the taste. I used lime and grape jelly and they turned out these lovely pastel colours, which went really well with the "witchetty-grub" lollies I found in the supermarket (I couldn't find plain old jelly worms like the recipe called for anywhere!). I used little ramekins as my moulds, but the jelly didn't come out cleanly. No matter, I think it looks even more gross this way ~___^
 

I'd never made chocolate bark before, and I found The Pioneer Woman's Halloween Bark tutorial very helpful even though I didn't follow her recipe completely. I melted white cooking chocolate, poured it into a tray lined with baking paper, and then pressed in salted pretzels, Star Wars character cookies, mini M&Ms, and pop-rocks. After sitting in the fridge for a while, it was ready to be broken up and served! This was the most popular dessert at the crafternoon; the salty-sweet combination was considered most superior by my friends ^____^ I personally think that the addition of the pop-rocks makes it a very appropriate Halloween treat as there is something rather creepy about your sweets making random cracking noises ...


Scott's favourite was the coffin cake; which is just a plain chocolate cake with peppermint icing. Can't beat the classics, I guess! I got the coffin-shaped pan from Spotlight and it does have a cross indentation on it, but that didn't show through very well on the finished cake, so I added my own with writing icing.


And that's it! Gosh! Did you have a fantastic Halloween? I hope you did, and that you dressed up! I love hearing about and seeing other people's costumes ^____^

- Lisa xx

Friday, 15 June 2012

Crafterweekend!


Hey, hey! I'm back! ^_^ I recently took six days off work and headed down south for a crafterweekend with Bec and Pip. It was really great! Aside from just not being at work (which I think everyone will agree is nice), we had great fun visiting markets, op-shopping, eating epic breakfasts, chatting a lot, and crafting a bit. I don't think I took a single photo the whole time (because I'm just that clever) but I did a bit of a photo shoot today with my creations and goodies so I can show them to you ^_^


First up: Mocha angels. Yup, they're a bit weird. I made them because I decided to start making tree decorations for the end of the year, and after brainstorming a few themes Scott and I decided on the broad category of "things we like". Scott really likes Mocha. Like, a lot. I'm not really sure how to convey just how much he likes this drink. I think he would have it for every meal if he could, and I'm not convinced that he didn't do just that while I was away.

Anyway, I think they are rather sweet ^_^ I made a template for a regular milk carton then scanned it into Photoshop (all I had access to over the crafterweekend) and added the front colours. Then I printed it out, put it together, and added wings cut from glittery silver card stock and a halo from a silver pipe cleaner.
 

With these expressions I feel like they should be constantly singing arias ~_^

Next: results from my op-shopping expedition. Isn't this little tablecloth cute? It's black gingham with purple and white embroidery and I think it will look great on my coffee table ^_^ 


I also found this sweet little cot blanket. The yarn is so soft and the colours are lovely and vibrant ^_^ This one's going to be saved for the distant future when Scott and I might have kids ...
 

I found this gorgeous teapot at the markets. Isn't it lovely? I am so darn pleased because although I have a stack of vintage cups, saucers, plates, bowls, and jugs, this is my first vintage teapot!


All my vintage china is mismatched, but I try to keep it to a broad theme of flowers and/ or gold trim. This teapot fits both! Yay! ^_^ I am going to have to have a tea party very soon!

Also from the markets; a headband featuring measuring tape ribbon, an awesome pen that looks like a giant pencil, and a plate of Italian biscotti (not shown because we ate them all!).

Going back to the crafting, I finally finished my last computer key cushion! This has been in my WIP box for a really long time! But now that the embroidery is done on this one, I can stuff it and add it to my day bed ^_^


 I also made some ridicuously simple earrings. All I did for these was put charms onto earring hooks. But they are really cute so I thought I'd show you anyway ^_^
 

If I wear one cup and saucer earring and one scissor earring, I can have a tea and craft earring set ~_^
 

These shrinky-dink Harry Potter characters are a little bit of a craft fail. They were meant to be ornaments for my tree but I didn't do the maths and they came out much too small. That's ok though! I'm going to add some badge backs to them and have a collection of wizarding pins ^_^


I've only made Harry, Dumbledore, Draco, and Voldemort so far because Ron's head snapped off (0_0) and I didn't have a brown permanent marker to colour in Hermione's/Neville's/Hagrid's hair. I'll do some more later and share with you the results ^_^

I also made a whole heap of wool and crochet hook baubles. They are really hard to photograph! This was the best image I had after taking about 20 photos >_< Still, you can see the basic guist of them, and I'm sure they'll look good on the tree.


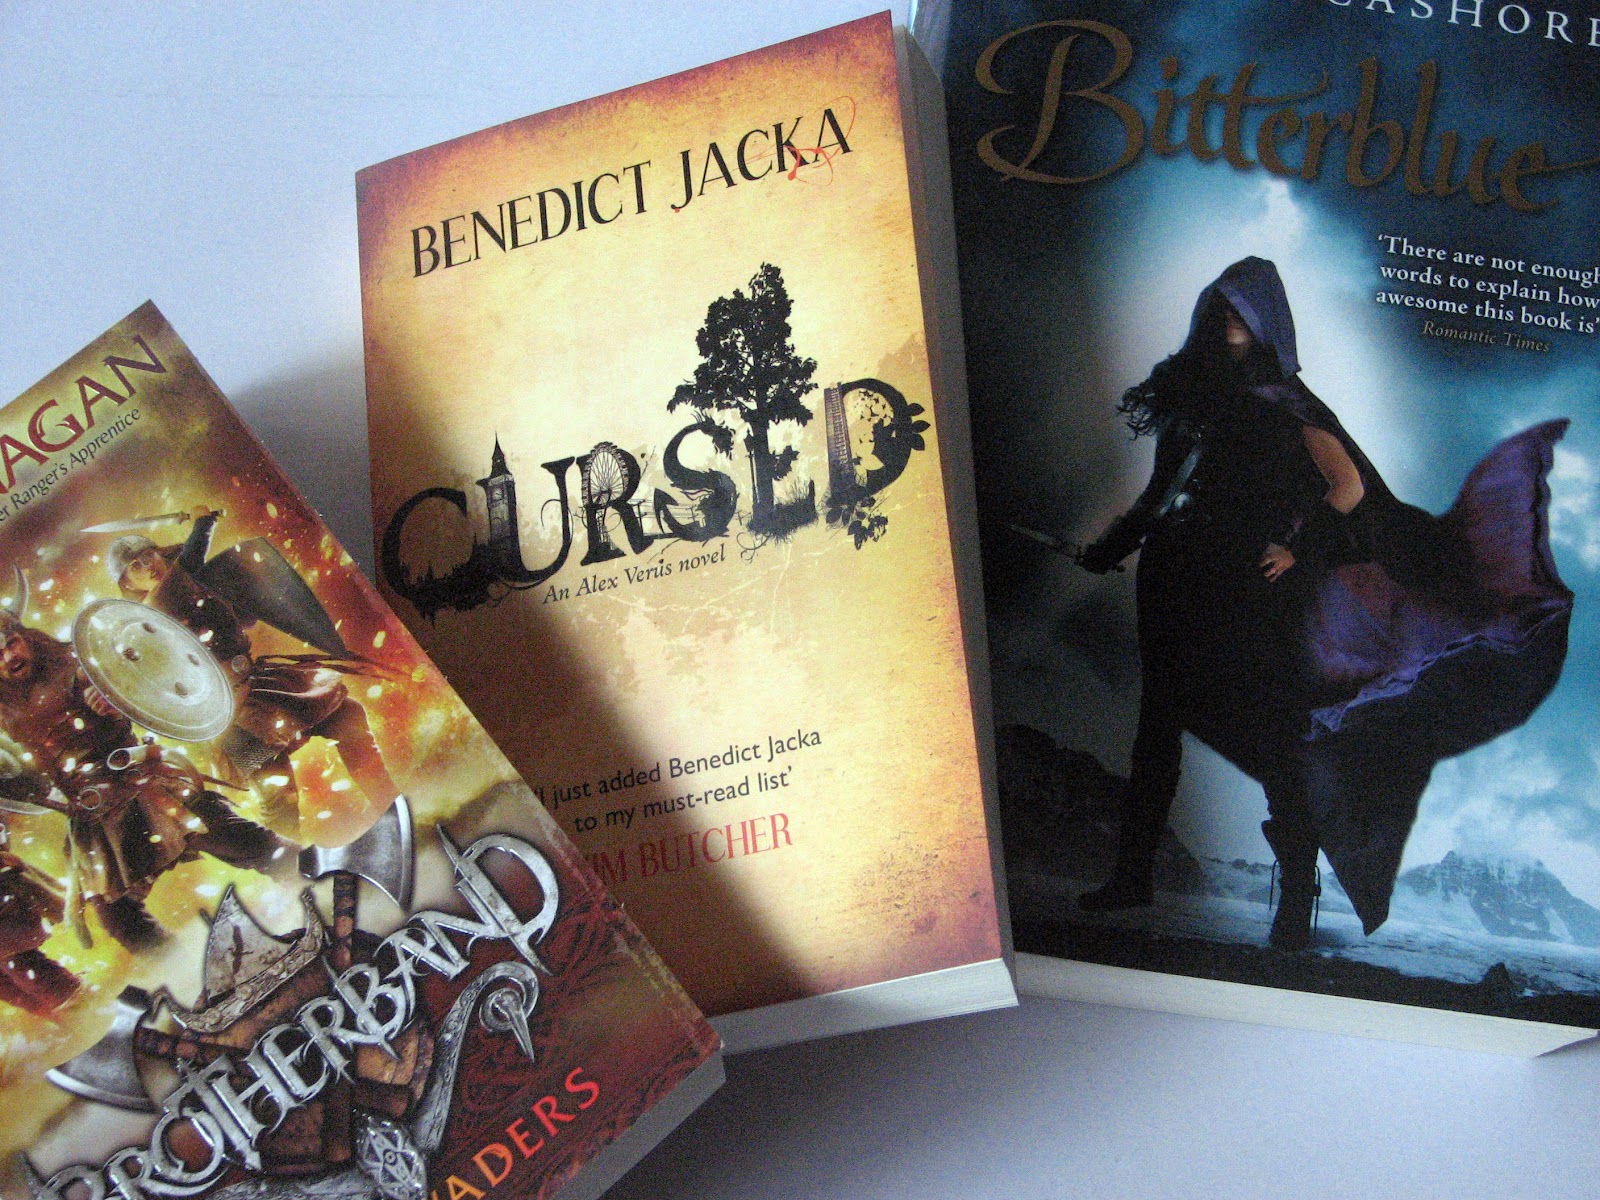
And, lastly, this is what I've been doing yesterday and today! ^_^ I read Bitterblue yesterday and totally loved it - I love it when sequels just make your favourite worlds more awesome and the characters even more fleshed-out. I finished Cursed today and thought it held up really well; I can't wait for the next book! And this afternoon (after I force myself to do some housework ~_^) I'm going to get stuck in to The Invaders. I'm sure it will be great - John Flanagan is a great author. ^_^

What are you up to this weekend?

- Lisa x