Showing posts with label succulents. Show all posts

Sunday, 1 May 2016

How to make succulent planters from ceramic moneyboxes


Hello! My experiments in growing succulents from cuttings and leaves have reached the stage where I have a *lot* of new plants, and no where near enough pots. To remedy this, I headed off to the discount store (because I am nothing if not cheap) but they only had plain plastic pots in their gardening section, which didn't rouse much excitement. However, as I was heading back out via the homewares section, I spotted an amazing unicorn money box and a really sweet little bunny dish. You know what they say, "when life gives you moneyboxes, make planters!" ~___^


I'm really pleased with how well they turned out, so read on if you'd like to make your own versions! ^___^


I started off with the unicorn moneybox by using a permanent marker to measure out a rectangle shape. I made mine 5.5cm x 3 cm, but the size is really dependent on the shape of your object and the size you want the plant hole to be.


I attached the ceramic cutting wheel to my Dremel (#EZ545, with the EZ Lock Mandrel, for those playing along at home) and started cutting along the marked lines.
 

It cut through the ceramic like butter! Only with, like, a hecka ton of dust. I was wearing safety glasses, ear muffs, and a dust mask during this project which kinda seemed like overkill when I began but, hey, at least I didn't get any ceramic dust in my lungs.
 

To tidy it up a bit, I went around the edges with a long rounded pink grinding stone attachment (no idea what number is this, sorry!) which really helped make everything look neater and also feel less sharp.


Since the moneybox came with a hole in the bottom, I decided just to take out the rubber plug and use that for drainage. If you don't think that is sufficient for your project though, you can drill some extra holes!
 

I'm not actually sure what this bunny thing is; I guess maybe it's a decorate trinket dish? It's cute and already had a hole in the top for plants, so the only thing it needed is some drainage holes.
 

 I used  a permanent marker to put dots where I wanted my drainage holes to be. I didn't manage to drill exactly on top of the dots, but they worked as a guideline anyway.


I got a 6mm P&N diamond core drill bit for this part of the project, which is designed to cut through ceramics and glass. It is meant to be used only for wet drilling, so I also grabbed my trusty spray bottle.


 As you can see, my holes are not the neatest, but probably no one will be looking at them from this angle anyway! To drill them, I started with the drill on an angle to make a notch in the ceramic and then I slowly straightened the drill. I sprayed the bit with water once every ten seconds and didn't get any cracks - yay!

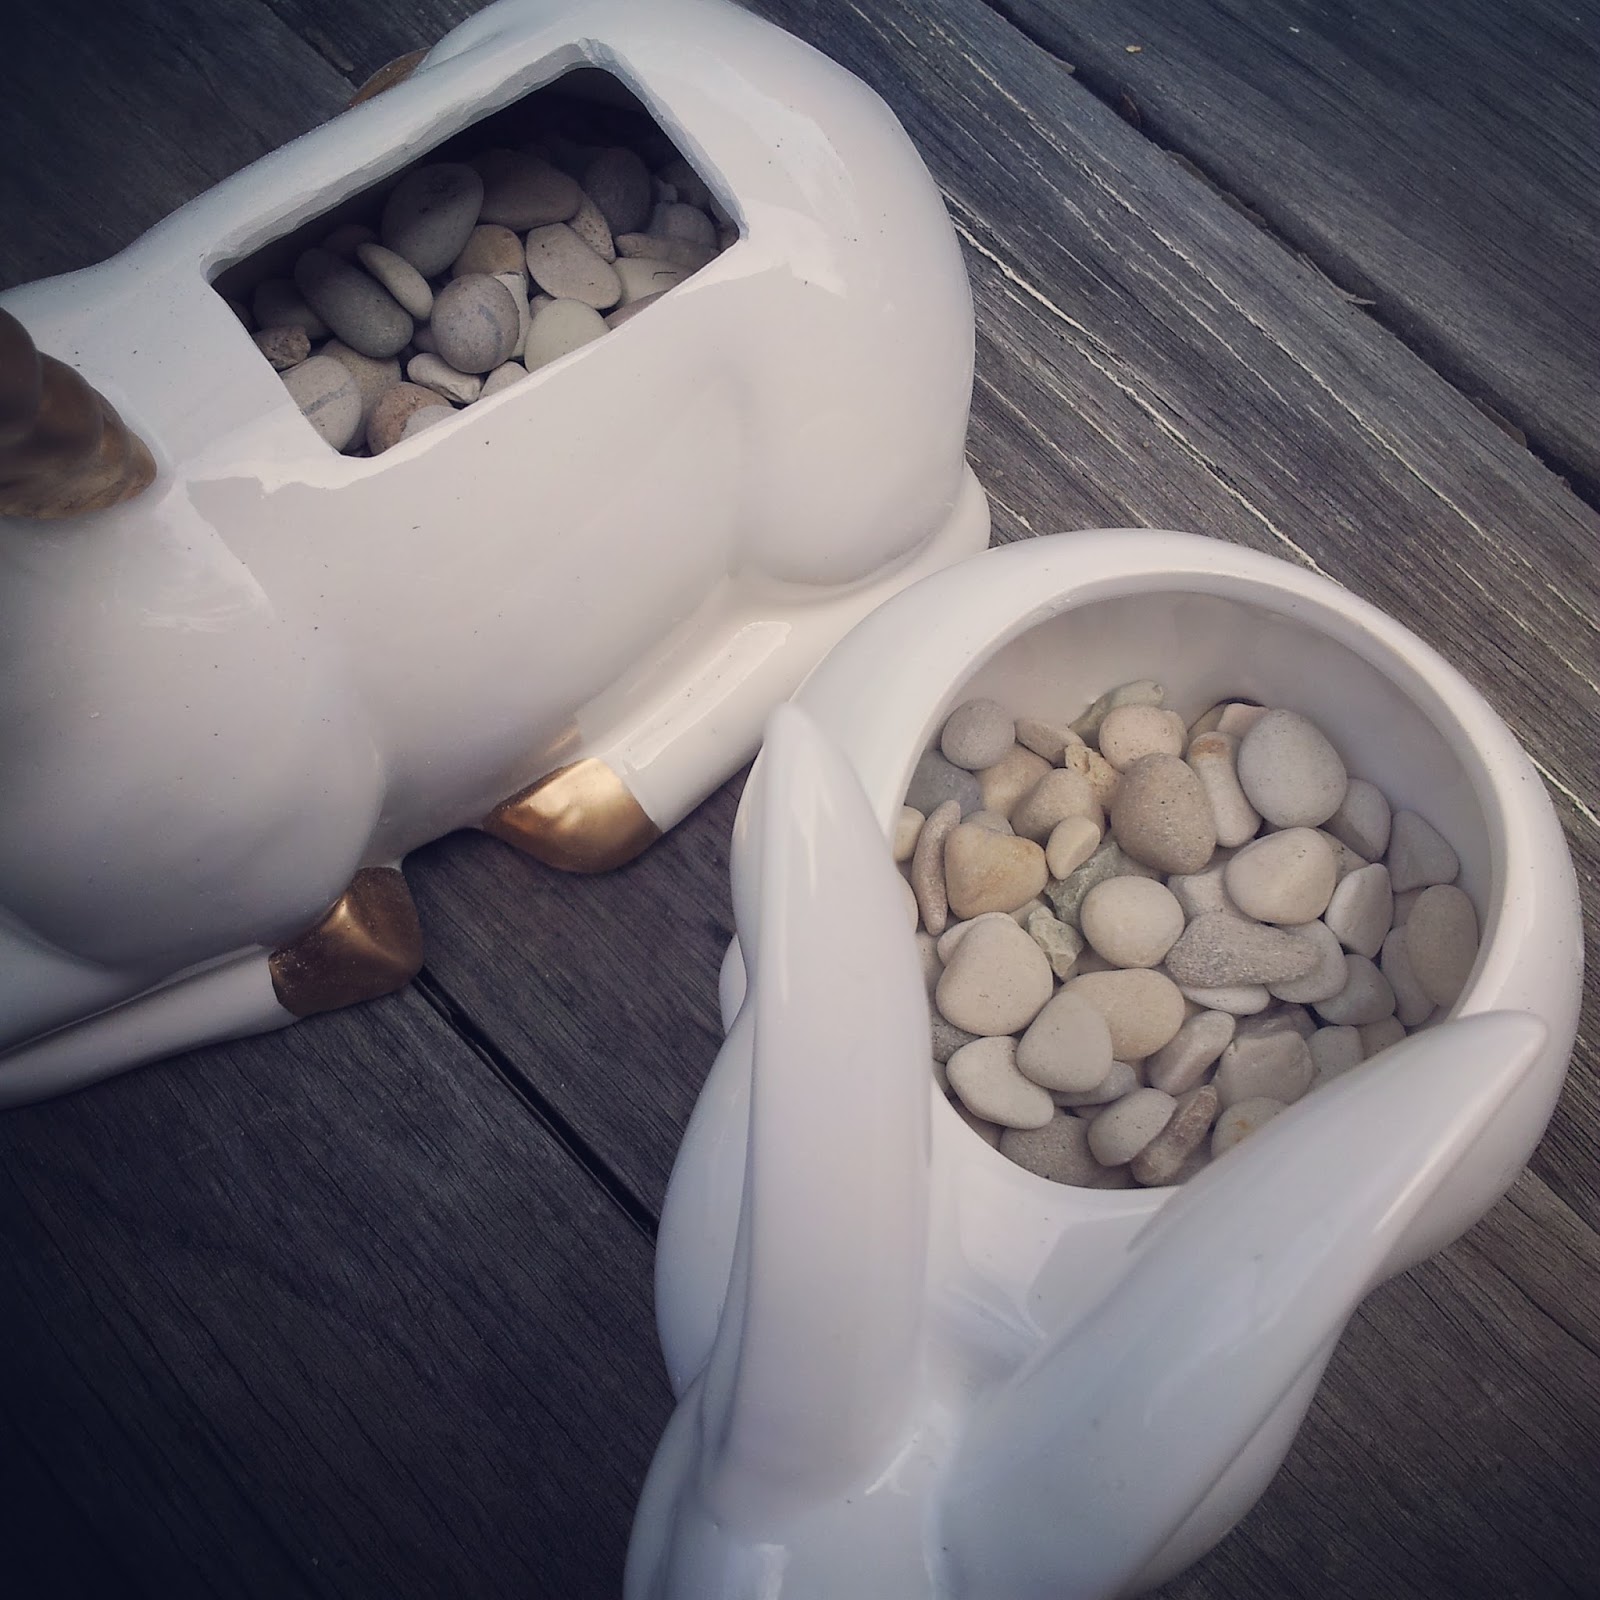


I placed a large flat rock over the hole in the base of the unicorn, and then added a layer of small pebbles on the bottom of both planters. Then all that was left to do was add some cacti and succulent soil, and the plants!


The unicorn planter has a Jellybean plant (Sedum pachyphyllum, I think, but I'm not sure) and a mystery succulent. It kinda looks like Sedum praealtum, but it doesn't have the red edge. Whatever it is, it grows from leaves really well! The host leaf doesn't die though, so it does end up a bit funny looking; a tiny new plant with one huge leaf!


The bunny planter was intended as a birthday present for my friend Catherine, so I decided to try and fit a few different plants in there. Catherine may have to transplant them out if they all live! 
 

The large plant on the top is Hoya, next to that with the pink tipped leaves is Mother of Thousands (Kalanchoe daigremontiana), on the bottom is another pup of the mystery plant, and left of that is a tiny Jellybean plant, and another mystery plant; I think it's a type of Sedum but I haven't been able to make a positive ID. I brought the Hoya as is, but all the other plants are pups from other plants that I own; I thought it was pretty cool that I had enough little graduates from the plant nursery to fill this planter!
 

I'm excited to go looking for more unsuspecting victims ceramic vessels at the op shop now that I know I can turn them into planters! In fact, I have a ceramic owl figurine on my bookcase which I'm thinking might need to have a plant or two in it ...

- Lisa xx

Monday, 25 January 2016

Baking, succulents, and parties


Hello! I realised recently that I have an awful lot of photos of little things I have made/ baked, but I haven't shared them with you! You may have seen some of these on Instagram, but here we can talk about them a little more without having to make those huuugggeeee comments that end up looking like a really dense wall of text ~___^

First up: ugly cake! Scott and I recently celebrated our sixth wedding anniversary for which the traditional gift is salt. I thought that sounded a little boring so instead I decided to make a salted caramel cake. I wanted to make a layered cake, but I also didn't want it to be huge so I made a rectangle shaped upside down cake, and cut it into smaller circles. The caramel part of the upside down cake means that I didn't have to put anything between the layers.


However, cutting nice looking circles from cake is actually a lot harder than I expected it to be! When I layered them up, I realised how wonky my cake was! >___<


I thought about covering the entire thing in buttercream icing to try and make it look nicer, but ultimately decided that salted caramel layers and a salted caramel sauce poured over the entire thing was probably enough forms of sugar for one small cake so I left it naked and ugly ~___^ We ate it anyway, and it tasted pretty good!

I also made a simple card for Scott. I used a black and white chevron paper to cover a blank card, glued on a square of gold heart patterned paper, and stuck a black and gold embellishment in the middle. I messily scribbled a border around the heart paper with my silver metallic pen and it was done!


Bunnings had a heap of tiny succulents for sale recently, so I brought, ummm, way too many of them. I put one in a tiny teacup to give to a friend for her housewarming, and put two more in two empty tins I kept because they're cute. I added dinosaurs because dinosaurs are awesome.


I put the rest in a bigger pot, and added more dinosaurs and some pretty little rocks. I'm not sure how well that one in the middle is going; I brought it because I thought it was a cool colour, but I'm now thinking that perhaps I brought a dying succulent. Hmm.

I designed a badge to give to some of my derby pals, and recently two of my buddies from skating star classes had their birthday so I used two of the leftover pins to decorate some hair bows. The fabric I used is the same design as the badges, which I got printed from my Spoonflower store.

For my birthday I had an Adventure Time themed party - I didn't take many photos but I did remember to photograph some of the food (the most important part, right! ~___^)

I made Lumpy Space Crackles with using this recipe ... except I didn't put in any cocoa and I used honey instead of maple syrup. I also added some blue and red food colouring which didn't mix in that well. I was hoping for it to make purple, but it mostly didn't. I also put on some star shaped sprinkles to make them more space like ^___^


I brought some Adventure Time cookies, but they didn't taste that great so I made them into chocolate bark, with the addition of salted pretzels and pop rocks. They were a big hit!

I also made a Tree Trunks apple pie; the fancy lattice top was trickier to make then I expected it to be! It tasted really great and even though it was huge, it got demolished really quickly.

These sunglasses were made for my friend Clare for Christmas. Clare has an adorable style and is a big fan of daisies, so I wanted to make her something to suit her look.


All I did to make these was glue little daisy cabochons around the frame of some round sunglasses. It was really easy, but they turned out really cute!

I also made these Wookiee cookies after seeing these super cute biscuits by Sugared Nerd.

I used a mini gingerbread person cutter, and melted chocolate for the details. I adore how they turned out!


I made this chocolate bark for my dad for Christmas - I added almonds, pepitas, pistachios, dried cranberries, and white chocolate chips to melted dark chocolate. I also made Dad some coconut ice using this recipe (except I used Stevia instead of rice malt syrup), a trail mix, and more gingerbread. I added twice the amount of ginger into Dad's batch than I used for the Wookiee cookies because both of us like our gingerbread really spicy (not that he wanted to share! ~___^)


Inspired by Messy Nessy Chic, I made this cheese platter Christmas Tree for after our family lunch. Honestly, we were all a bit too full for this, but we did our best anyway! ^___^


Lastly, I've been working on the Death Star blanket. If you've been a long time reader of this blog, you may remember that I started this project in, oh, 2011. It's been in the WIP box for a long time, but the new movie inspired me to get it back out. I've started joining the squares, which makes the whole project a little more inspiring - I've almost finished the rows with the laser! (Baby steps!) ^___^

- Lisa xx

Tuesday, 15 December 2015

How to make a succulent birdcage


Hello! So, my neighbour Serene has two green thumbs and is also very generous; this works out well for me since she keeps giving me plants - especially succulents, which I love! But it was getting to the stage where I had so many succulents that I needed to work out a new way to keep them, rather than just having them in the little pots she gave them to me in. I've had a decorative metal birdcage hanging around my house for literally years, so I decided to upgrade it to a succulent cage! ^___^


Since I was planning to keep this cage inside I didn't treat the metal in anyway. If you're planning on hanging yours outside, I'd recommend coating it with a rust preventative. Also, check that the hinges are going to hold up! My cage is pretty heavy now, and I'm not sure I'd trust it hanging for a long time. 
 

I brought a hanging pot liner from the hardware store; mine was made from coconut fiber and has a circular base shape.
 

I used secateurs to trim down the edges of the liner and also cut darts into the sides so that it would fit better in my hexagon shaped cage. It was pretty tricky to cut the edges so that they were the same height all around, and mine is higher at the back. If you want the edges perfectly even, just keep trimming! I decided that having the back higher would make the plants at the back of my cage easier to see while it's on the shelf, so I left it. I'm also hoping that as the plants grow the liner will be less visible.


After adding the liner, all that's left to do is to fill the cage with soil and plants! I used a specialised cacti and succulent soil mix which, again, I got from the hardware store. The bag I got was quite large, but I've been using it for lots of my succulent replanting, so it's not going to waste ^___^


I'm not a very good plant mum as I don't know the names of all the succulents I have, but here's what I do know. The tall plant is a Sedum rubrotinctum, also known as Jelly Bean. The tips of the leaves go red when left in the sun; mine is going redder by the day which I hope means it's happy next to the lounge room window.


The three plants that look the same (two of them are next to the dinosaurs and they form a triangle within the cage) are actually all from the same plant. I think they are Sempervivum giuseppe, also known as Hen and Chicks. The pot Serene gave me had one plant in the middle of the pot and six smaller plants surrounding it; at her advice I broke off the smaller plants and planted them separately. I put three in this cage, and have the other four in pots by themselves.

The plant with wavy leaves, behind the left dinosaur, I think is an Echerevia Zorro and the plant kinda hiding behind Jelly Bean with the large rounded leaves with red tips is a Kalanchoe luciae, also called Flap Jacks. Hmmm, jelly beans and flap jacks; who knew succulents could be so delicious? ~___^

On the other side of Jelly Bean is a bushy little succulent which I think is Sedum Goldmound. I'm not sure what the brighter green plant at the bottom of the photo above is though, or the skinny ones which look like creepers.


This photo has a better view of Flap Jacks and Goldmound, and also shows how the back of the cage has the liner and plants on a higher angle. Once all your plants are in, give the soil a good watering. Some will probably drip out of the bottom of the liner at this stage, so hang it outside for a bit until it's not leaking anymore. I've been told that the best way to water succulents is to give them a little bit, and then wait until the soil is dry before watering again. This usually means that I'm watering them small amounts every couple of days, and that's not enough for the liner to drip inside. If the soil gets really really dry and your plants look like they're suffering, hang them outside again and give them another good watering.


Do you have a favourite type of succulent? Scott recently brought me an awesome doll head planter for my birthday, so now I really want a brain cactus (Mammillaria elongata cristata, for those playing at home) ~____^

- Lisa xx