Showing posts with label garden. Show all posts

Sunday, 1 May 2016

How to make succulent planters from ceramic moneyboxes


Hello! My experiments in growing succulents from cuttings and leaves have reached the stage where I have a *lot* of new plants, and no where near enough pots. To remedy this, I headed off to the discount store (because I am nothing if not cheap) but they only had plain plastic pots in their gardening section, which didn't rouse much excitement. However, as I was heading back out via the homewares section, I spotted an amazing unicorn money box and a really sweet little bunny dish. You know what they say, "when life gives you moneyboxes, make planters!" ~___^


I'm really pleased with how well they turned out, so read on if you'd like to make your own versions! ^___^


I started off with the unicorn moneybox by using a permanent marker to measure out a rectangle shape. I made mine 5.5cm x 3 cm, but the size is really dependent on the shape of your object and the size you want the plant hole to be.


I attached the ceramic cutting wheel to my Dremel (#EZ545, with the EZ Lock Mandrel, for those playing along at home) and started cutting along the marked lines.
 

It cut through the ceramic like butter! Only with, like, a hecka ton of dust. I was wearing safety glasses, ear muffs, and a dust mask during this project which kinda seemed like overkill when I began but, hey, at least I didn't get any ceramic dust in my lungs.
 

To tidy it up a bit, I went around the edges with a long rounded pink grinding stone attachment (no idea what number is this, sorry!) which really helped make everything look neater and also feel less sharp.


Since the moneybox came with a hole in the bottom, I decided just to take out the rubber plug and use that for drainage. If you don't think that is sufficient for your project though, you can drill some extra holes!
 

I'm not actually sure what this bunny thing is; I guess maybe it's a decorate trinket dish? It's cute and already had a hole in the top for plants, so the only thing it needed is some drainage holes.
 

 I used  a permanent marker to put dots where I wanted my drainage holes to be. I didn't manage to drill exactly on top of the dots, but they worked as a guideline anyway.


I got a 6mm P&N diamond core drill bit for this part of the project, which is designed to cut through ceramics and glass. It is meant to be used only for wet drilling, so I also grabbed my trusty spray bottle.


 As you can see, my holes are not the neatest, but probably no one will be looking at them from this angle anyway! To drill them, I started with the drill on an angle to make a notch in the ceramic and then I slowly straightened the drill. I sprayed the bit with water once every ten seconds and didn't get any cracks - yay!

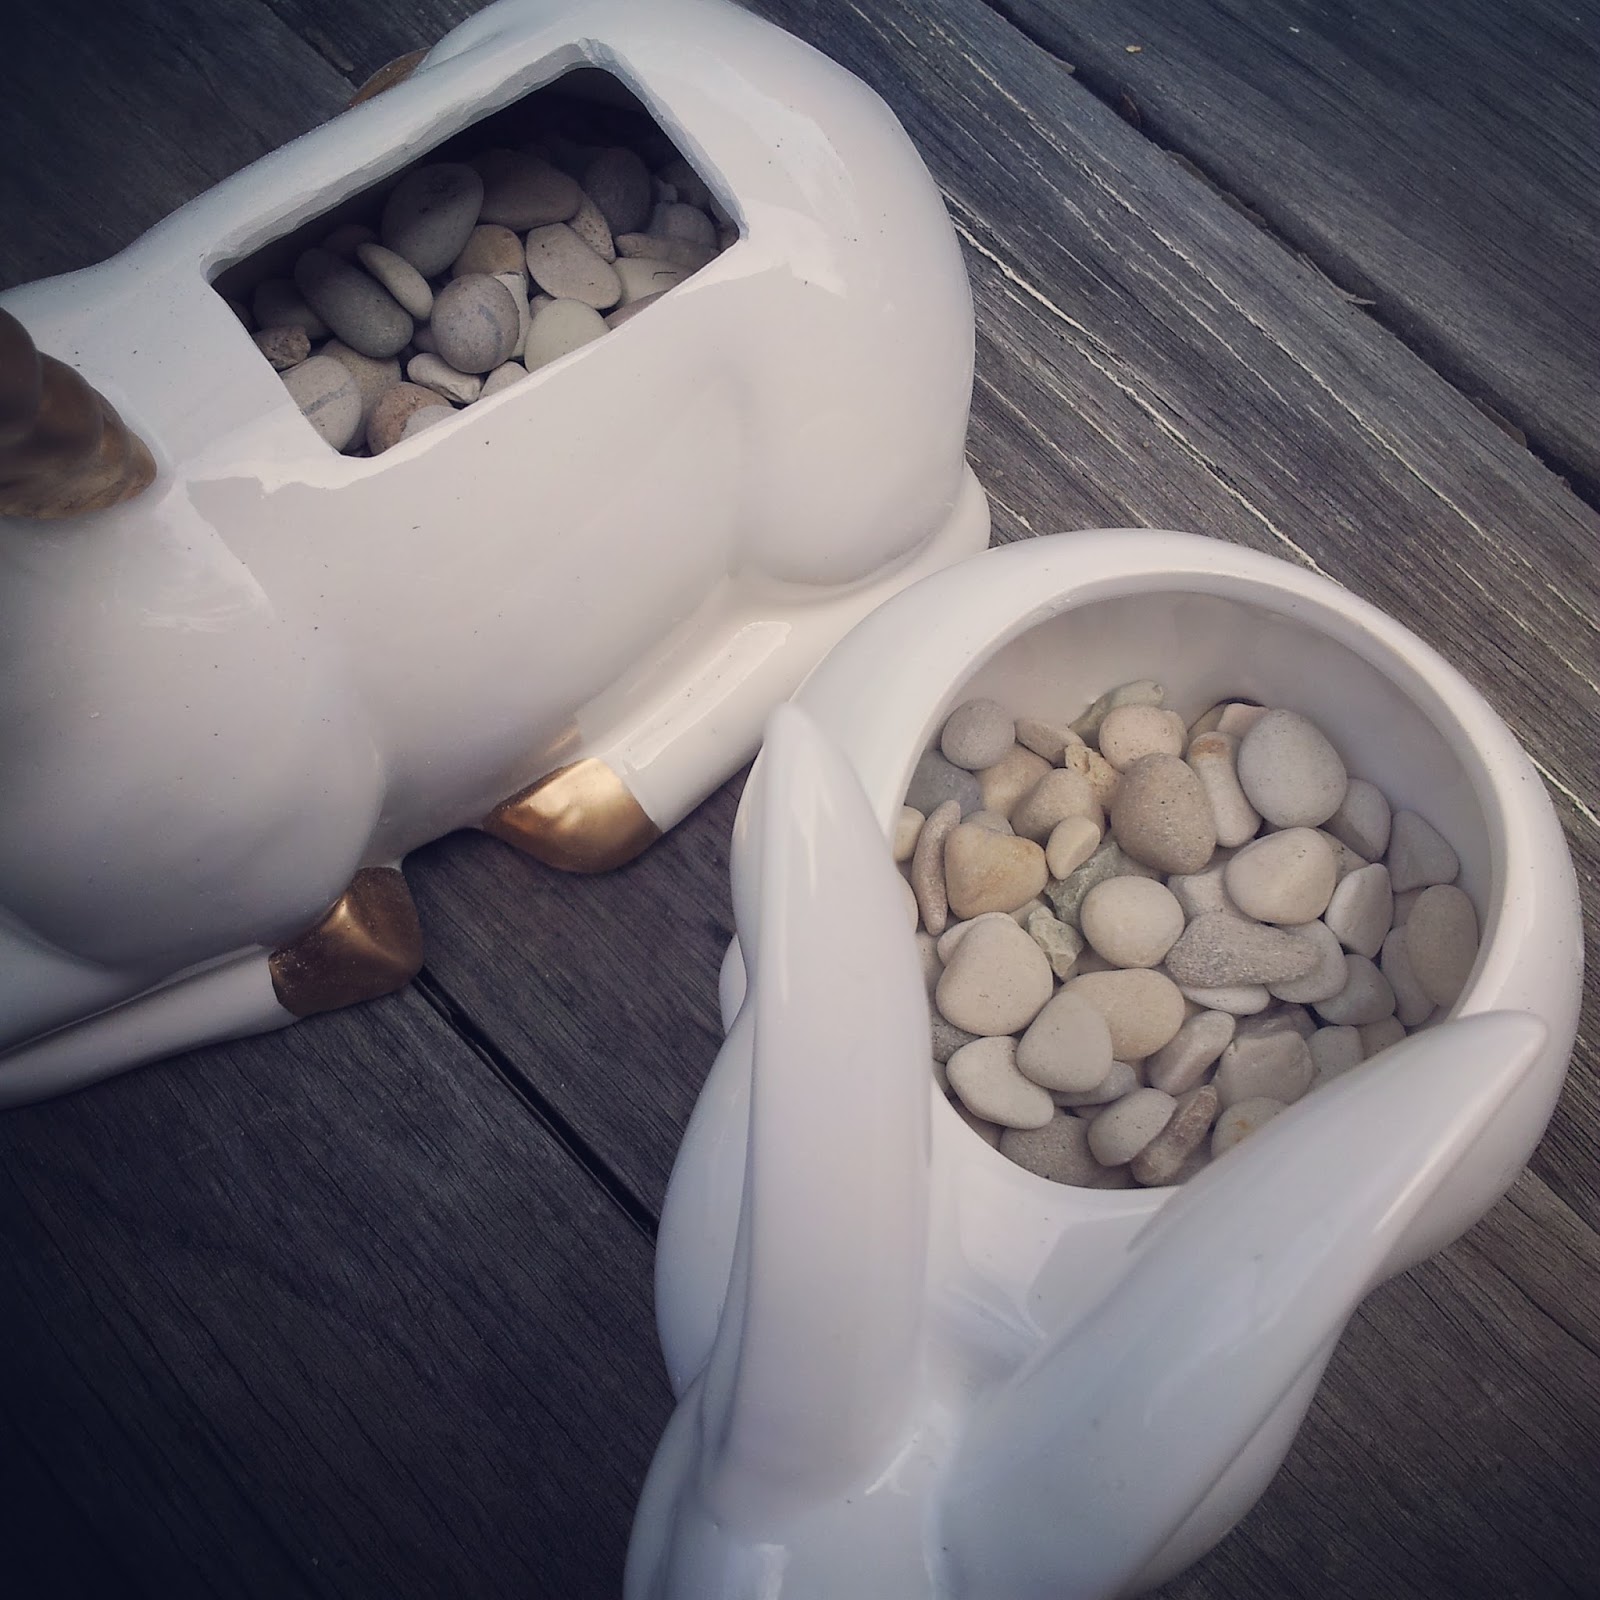


I placed a large flat rock over the hole in the base of the unicorn, and then added a layer of small pebbles on the bottom of both planters. Then all that was left to do was add some cacti and succulent soil, and the plants!


The unicorn planter has a Jellybean plant (Sedum pachyphyllum, I think, but I'm not sure) and a mystery succulent. It kinda looks like Sedum praealtum, but it doesn't have the red edge. Whatever it is, it grows from leaves really well! The host leaf doesn't die though, so it does end up a bit funny looking; a tiny new plant with one huge leaf!


The bunny planter was intended as a birthday present for my friend Catherine, so I decided to try and fit a few different plants in there. Catherine may have to transplant them out if they all live! 
 

The large plant on the top is Hoya, next to that with the pink tipped leaves is Mother of Thousands (Kalanchoe daigremontiana), on the bottom is another pup of the mystery plant, and left of that is a tiny Jellybean plant, and another mystery plant; I think it's a type of Sedum but I haven't been able to make a positive ID. I brought the Hoya as is, but all the other plants are pups from other plants that I own; I thought it was pretty cool that I had enough little graduates from the plant nursery to fill this planter!
 

I'm excited to go looking for more unsuspecting victims ceramic vessels at the op shop now that I know I can turn them into planters! In fact, I have a ceramic owl figurine on my bookcase which I'm thinking might need to have a plant or two in it ...

- Lisa xx

Tuesday, 15 December 2015

How to make a succulent birdcage


Hello! So, my neighbour Serene has two green thumbs and is also very generous; this works out well for me since she keeps giving me plants - especially succulents, which I love! But it was getting to the stage where I had so many succulents that I needed to work out a new way to keep them, rather than just having them in the little pots she gave them to me in. I've had a decorative metal birdcage hanging around my house for literally years, so I decided to upgrade it to a succulent cage! ^___^


Since I was planning to keep this cage inside I didn't treat the metal in anyway. If you're planning on hanging yours outside, I'd recommend coating it with a rust preventative. Also, check that the hinges are going to hold up! My cage is pretty heavy now, and I'm not sure I'd trust it hanging for a long time. 
 

I brought a hanging pot liner from the hardware store; mine was made from coconut fiber and has a circular base shape.
 

I used secateurs to trim down the edges of the liner and also cut darts into the sides so that it would fit better in my hexagon shaped cage. It was pretty tricky to cut the edges so that they were the same height all around, and mine is higher at the back. If you want the edges perfectly even, just keep trimming! I decided that having the back higher would make the plants at the back of my cage easier to see while it's on the shelf, so I left it. I'm also hoping that as the plants grow the liner will be less visible.


After adding the liner, all that's left to do is to fill the cage with soil and plants! I used a specialised cacti and succulent soil mix which, again, I got from the hardware store. The bag I got was quite large, but I've been using it for lots of my succulent replanting, so it's not going to waste ^___^


I'm not a very good plant mum as I don't know the names of all the succulents I have, but here's what I do know. The tall plant is a Sedum rubrotinctum, also known as Jelly Bean. The tips of the leaves go red when left in the sun; mine is going redder by the day which I hope means it's happy next to the lounge room window.


The three plants that look the same (two of them are next to the dinosaurs and they form a triangle within the cage) are actually all from the same plant. I think they are Sempervivum giuseppe, also known as Hen and Chicks. The pot Serene gave me had one plant in the middle of the pot and six smaller plants surrounding it; at her advice I broke off the smaller plants and planted them separately. I put three in this cage, and have the other four in pots by themselves.

The plant with wavy leaves, behind the left dinosaur, I think is an Echerevia Zorro and the plant kinda hiding behind Jelly Bean with the large rounded leaves with red tips is a Kalanchoe luciae, also called Flap Jacks. Hmmm, jelly beans and flap jacks; who knew succulents could be so delicious? ~___^

On the other side of Jelly Bean is a bushy little succulent which I think is Sedum Goldmound. I'm not sure what the brighter green plant at the bottom of the photo above is though, or the skinny ones which look like creepers.


This photo has a better view of Flap Jacks and Goldmound, and also shows how the back of the cage has the liner and plants on a higher angle. Once all your plants are in, give the soil a good watering. Some will probably drip out of the bottom of the liner at this stage, so hang it outside for a bit until it's not leaking anymore. I've been told that the best way to water succulents is to give them a little bit, and then wait until the soil is dry before watering again. This usually means that I'm watering them small amounts every couple of days, and that's not enough for the liner to drip inside. If the soil gets really really dry and your plants look like they're suffering, hang them outside again and give them another good watering.


Do you have a favourite type of succulent? Scott recently brought me an awesome doll head planter for my birthday, so now I really want a brain cactus (Mammillaria elongata cristata, for those playing at home) ~____^

- Lisa xx

Tuesday, 5 August 2014

Easy loom daisy flower crown


Hello! Today I had my first day back at uni - I can't believe this is my last semester ever!! I only had one class today, but it did go for three hours (gah!). It was totally fun though; I'm doing a cultural studies unit as my elective and for this class we get to spend the entire semester analysing fantasy and sci-fi texts! I'm so, so keen to get properly into it. I decided today to try and blend in with the cool kids on campus who are all wearing '90s fashion (it's everywhere now!) so I made this quick and easy daisy flower crown to wear ^___^

To make it, I wove five daisies using my largest round loom and some white and yellow wool. I have a Hana-Ami loom, which is really easy to use; making this headband took me one viewing of Coraline ~___^ If you click on "Hana-Ami", I've linked to a short video showing what it looks like and how it is used. However, I did my centres a little differently to the all videos I could find; the loom comes with an instruction sheet that shows you different ways to finish off the flowers. It's in Japanese, but there are pictures so you can get the general gist of things. Instead of using the darning needle to sew from the centre of the flower, I used it to tie knots in a circle around the centre. I knotted together four strands of wool with each knot and each knot contains one strand of wool from the previous knot. Hmm. I hope that makes sense. Perhaps I should make a video to show you what I mean, what do you think?
 

I wanted the centres of the daisies to be a solid colour, so after knotting the circle I used my darning needle to criss-cross the yarn through the centre of the flower. The darning needle I got with my loom has a huge eye on it, which makes threading it super easy, but it's not great for filling in the centres. I recommend changing to a smaller darning needle, if you have one handy.


The actual headband is just a length of crocheted chain stitch; I used a 4mm hook and green yarn. The chain stitched wool is about 70cm long, and I left the 15cm tails on each end to ensure I'd have enough yarn to tie my crown around my apparently massive head ~___^ To attach the flowers, I threaded the chain stitch through the massive darning needle and simply stitched through the back of each flower. You can move the daisies around on the chain to ensure they are positioned well, but they don't move about on their own.

This would also make a really cute daisy bunting, and using the smaller looms produces flowers small enough to be worn as jewellery. Daisy chain necklace, anyone?


Since I'm back at uni now, I'll have less time to craft and blog (boo!); but you can always find me on Instagram and Twitter if you want to catch up! ^___^

- Lisa xx

Thursday, 22 November 2012

stuff&things


Hey, so, last post you saw all the things I'd been making for my craft fair; here's what else I have been doing ...  (some of these are from a while ago, so if you follow my Instragram you've probably them - sorry about that!)


I built up our tiny front garden with soil and mulch and then planted three varieties of lavender and a dwarf apple blossom. I basically chose plants that had "hardy" written on them, our front garden is a bit of a danger zone for plants ...

I made a cross-stitch for Rebecca's birthday and finished it only 15 days late! Sorry Bec! >_< 
 

Our workplace has been really getting into Movember! I thought these posters were pretty cool - good design always deserves Instagramming ^_^
 

I crocheted this little Death Star for my friend Heather. It's pretty cute! I'm currently working on another one, just for me ^_^
 

I did a little project in which I used scrapbooking paper and a lot of washi tape (you'll see that soon!)
 

When I went down South to visit my family, I met this cute group of llamas! I couldn't get closer because there was a ditch in the way ... plus I didn't want to get spit on!
 

This is one of the many artworks by high-school Lisa that my parents have hanging up in their house. This one is probably my favourite; it was one of the first paintings I did with oils.
 

I'm *still* working on my Penguin Book blanket! I had some trouble with the lettering, but I think I've got a solution for that now ... hopefully I should finish it soon.
 

My washi tape holder is so pretty! Phillipa gave it to me for my birthday and I dropped it >_< So it's a bit wonky now, but it has a new use ^_^
 

This is the project using washi tape! I made these night and day elephant bookends for my new nephew, Nicolas ^_^
 

 This is my new Bubble Boom Blythe! Isn't she lovely? ^_^


I finally finished unpicking a skirt that I royally messed up, like six months ago. I take a long time to admit my failures sometimes ~_^
 

Like this; this was meant to be a cute little necklace pendant ...

... only it's ENORMOUS! Opps >_< So, now I have a neon pink skull wall pendant.
 

This is a sneak peek of a new project I'm working on - I think it's going to be pretty awesome ^_^ (fingers crossed!)
 

And finally, I made this little brooch from a kit. It's a bit hard to see, but the pattern is of a toadstool. I've got a few more shapes to test out, so I'll be showing those to you soon ^_^

 What have *you* been doing? I'd love to hear from you!

- Lisa x