Showing posts with label cross-stitch. Show all posts

Sunday, 3 May 2015

Darth Vader Coffee Cup Cosy


Hello! Wow, ok, International Star Wars Day is tomorrow! The good news is, if you want to make your own version of this Darth Vader coffee cup cosy, you've still got time! It's a really quick and fun project, and will help you spot other nerds in a crowd (they'll be the ones who get what it is!).


First, chain 52 stitches using a 4mm hook and DK weight yarn. Check that this is going to be long enough by wrapping your chain around your cup; the ends should touch without having to stretch too much. Join the ends of your chain with a slip stitch, single stitch in each chain, and then slip stitch and chain one to start the next row. I did 15 rows of single stitches, but if your hands are bigger you might need more! 
 

Once you've made your cosy as tall as you'd like it to be, fasten off and weave in the ends. Now it's time to cross-stitch! I used a tapestry needle and coloured cotton thread to do the control panel details. Click here to download the cross-stitch pattern from my Google Drive.
 

Once I'd finished my cross-stitching, I decided the inside of the cosy looked a little messy so I used black thread to sew in a lining of black felt. You can't even see the stitches from the outside, and the inside looks lovely and neat ^____^


And that's it! Wasn't that easy? ^___^


Don't forget to check out my other Star Wars crafts and have a totally wonderful International Star Wars Day!

May the Force be with you.

- Lisa xx

Thursday, 26 March 2015

Imperial Eagle Cross-Stitch on a Crochet Dice Bag


Hello! If you've been reading this blog for a while, you've probably heard about the elusive creature that I call my husband, aka Scott. Scott is very, very patient with me as I constantly promise him things and then take ages to actually make them so his presents are quite often late. But, a strange thing has happened! I promised Scott a dice bag for his birthday this year and it's finished ... two months in advance! I think this means I better make him something else to give him on the actual day, what do you think?


I used this pattern by Geek's Dream Girl to crochet this bag, but made a few changes so that it could accommodate Scott's largish dice collection, which he uses (along with *a lot* of tiny, hand-painted army figurines) when he plays Warhammer 40K. The pattern suggested doing five rounds to make the base of the bag, but I did eleven. I did 21 rounds to make up the majority of the bag, and then seven rounds to make the bit that ruffles when you close the drawstring.


I used a DK weight wool to crochet the bag, and a thinner acrylic yarn to be the drawstring. For the drawstring, I just threaded two lengths of yarn through the trebled section of the bag (that will make more sense if you take a look at the pattern!), knotted the ends, and added a toggle.


One of the other advantages of making the dice bag bigger was that I had room to test out a technique I'd been keen about giving a go; cross-stitch over crochet!


I made a pattern for a very simplified version of the Imperial Eagle (which you can grab from my Google Drive here if you'd like to!) and cross-stitched it onto the bag, using the lines of the crochet as a guideline. It's certainly not as easy as cross-stitching onto Aida cloth, but I'm pretty happy with the result! 


Here's a kind of action shot, with Scott's Space Marine Centurion and Chaos Space Marine Maulerfiend looking on. Open ...


... and closed!


I'm currently working on some ~secret things~, which I absolutely can not wait to share with you, as well as a couple of gifts ... I think I better whip up something for myself too so I have something to show you next week! ^___^ What I'd really like right now is a bathtub to soak my skating-induced aches in, but I think that's a little beyond my abilities ~____^

- Lisa xx

Monday, 19 January 2015

WTNV mountains painting and a cussing awesome cross stitched gift


Ok, first of all: the Get Geometric KAL starts TODAY! Eeeep! I've got my needles and yarn out and I am ready to knit! But, first, I want to show you the final Christmas gift that I made last year (it still doesn't feel like it was last year though!) which was this Welcome to Night Vale inspired painting for Rebecca ^____^
 

This was really easy and fun to do! I was inspired by this mountain mural; the first time I saw it on Pinterest I thought of Night Vale and then I simply *had* to make this painting for Bec ^____^
 

I started off by painting the entire canvas with a thin layer of spearmint green. Then, I used a pencil to lightly plan out how my mountains would look. This is not accurate to any set of mountains at all - I just scribbled along going "uppey bit here .... now a downey bit ... time for a plateau ..." until it was done ~____^


Next I poured out a generous glob of "tropical water" by Kaisercolour and painted in the first mountain range. I gave it three coats of colour to make sure it was properly opaque. I have a wet palette which means my paint doesn't dry up between layers. It's probably one of the more awesome crafting supplies I have. Once I was happy with the first layer, I added three drops of black paint to the blue and mixed it all together. I used this darker shade to do the three layers on the second mountain, and then I darkened it again to make the next mountain ... you can probably fill in the rest of this explanation ...
 

Once all of the mountains were done, I painted some chipboard letters white and stuck them on to the bottom on the canvas with PVA glue. Then I used a teeny tiny paintbrush to add in the first part of the quote. So tiny!


And here's Bec with her gift! Isn't her hair awesome?! I'm always slightly tempted to try a pixie cut, but I'm really unsure if it would suit me. It looks so good on Bec though! And even though Bec is a seriously talented artist, she still liked my painting! Isn't she sweet?
 

And this is the Christmas gift Rebecca made me! I think is the most awesome hoop I own ^___^ I love it so so much! The photo above makes me look very serious about it, but all of the outtakes are more like the one below ...


I can't laugh with my eyes open, apparently! I've hung this little beauty above my desk so whenever I'm testing my blood sugar levels or doing an injection or treating a hypo I can look at it ~___^ My diabetes birthday was two weeks ago ... hopefully we're another year closer to a cure! That would be the best diabetes birthday present ever.

- Lisa xx

P.S. I've been thinking about what I'll make and blog about this year, is there anything you particularly would like to see on here? Do you have any favourite parts (or non-favourite parts!) of this blog? I'd love to hear from you! ^____^
 

Friday, 27 December 2013

Cross-stitched rose lavender sachet and faux vintage jars


Hello! Did you have a nice annual festival of togetherness? I'm on to my *fourth* day of celebration today; wowzers! Today is the day I get to open my presents too, but while I'm waiting to do that I thought I'd show you two presents that I made for other people! ^___^


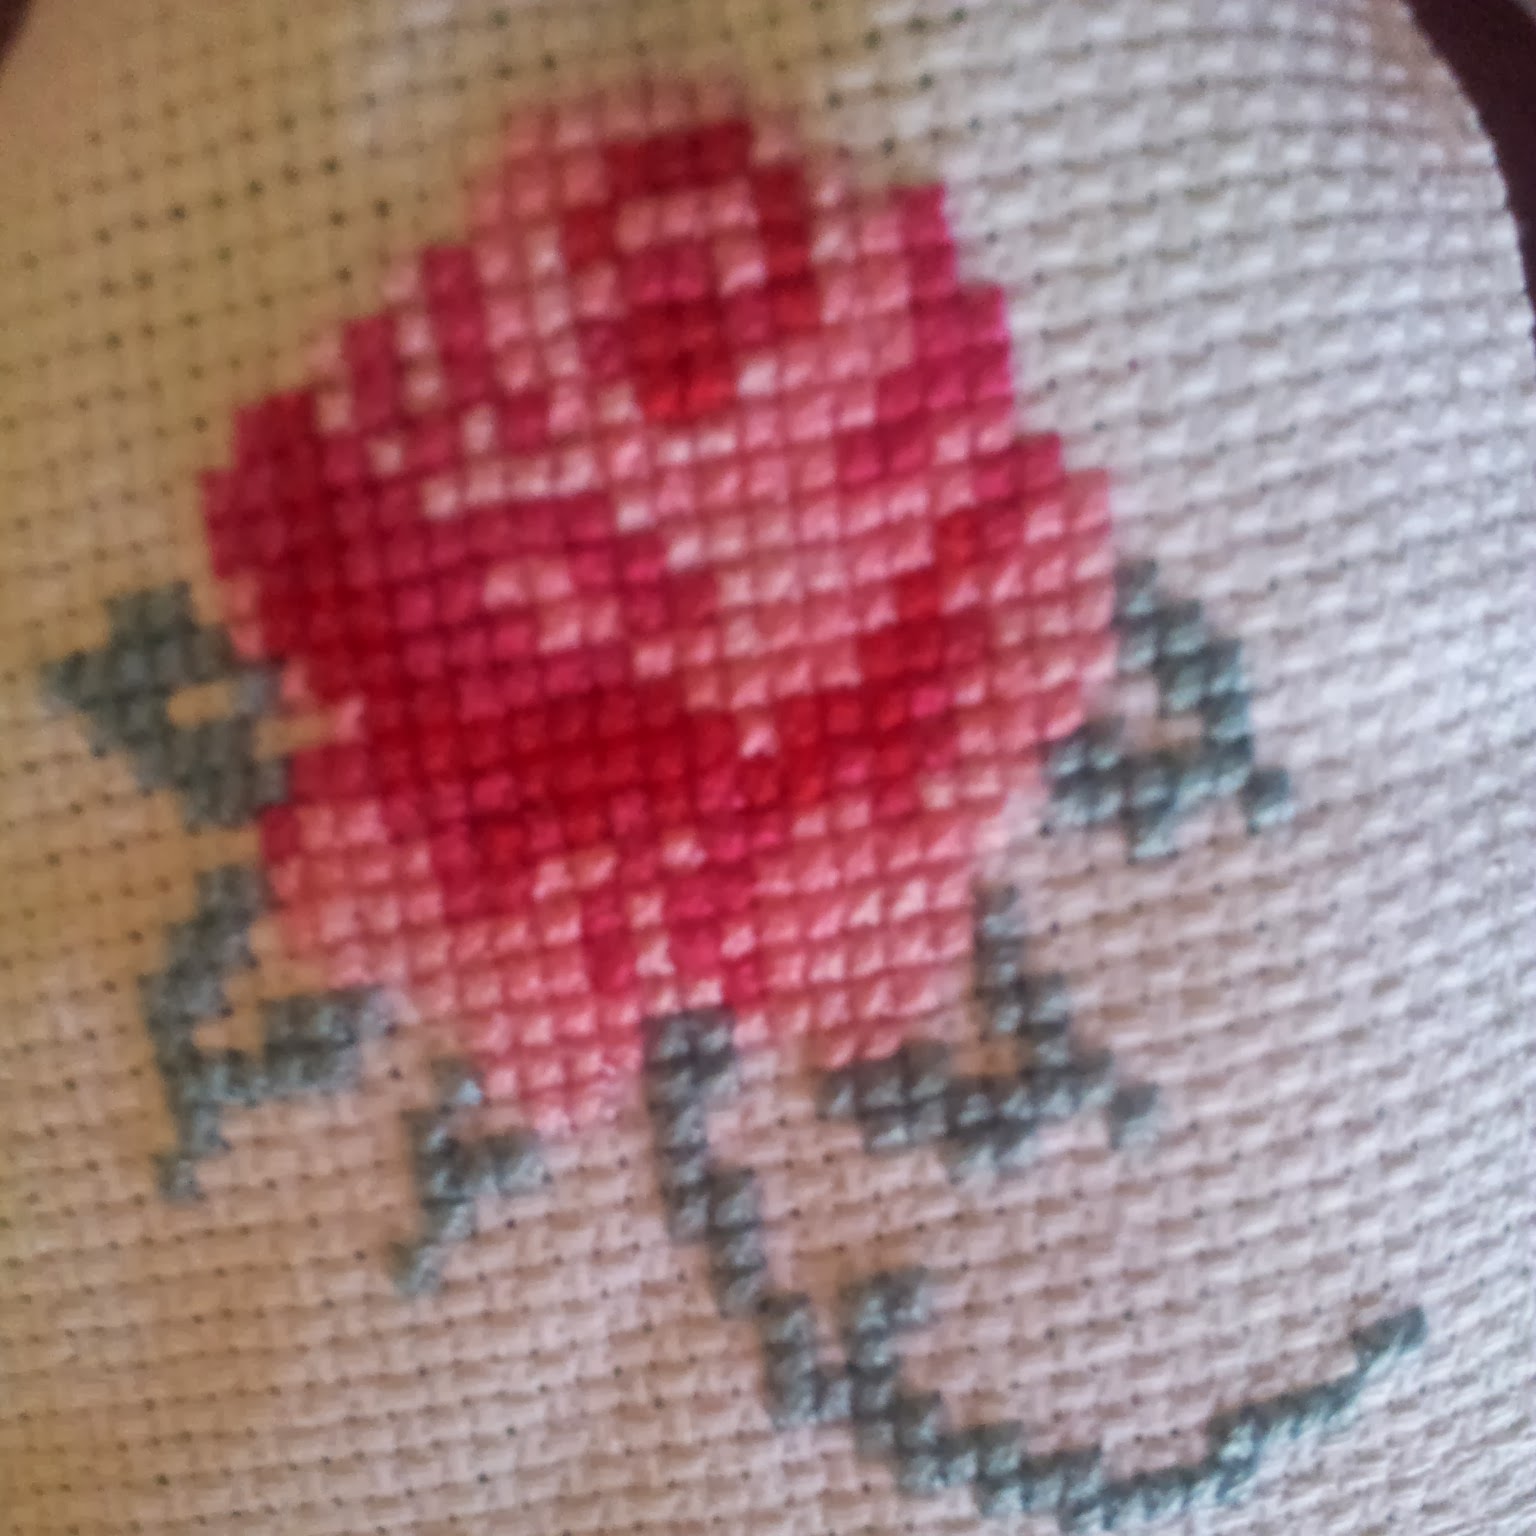
For my Nana I made this lavender sachet, embellished with a cross-stitched rose. Yeah, I didn't really think that one through, huh? ~___^
 

The rose pattern is from Mollie Makes issue thirty, but I did change it a bit. Originally there was a heart to the left of the rose, as well as some additional buds above the main flower; I didn't want the sachet to be huge though, so I reduced the rose into more of a square shape.

Lavender sachets are super easy to make, as all you need to do is sew a rectangle that is open at one end. After scooping in the dried lavender, I added a few stitches across the top and then tied on the ribbon. 

My house smelt like lavender for days after making this; it was so lovely that I may have to make one of these sachets for myself! ^___^
 

For my mum, I made this set of faux vintage bottles. They were also quite simple to make, but they look really effective. I used this tutorial and some of the jars that I kept because they are interesting shapes. (I swear I'm not a hoarder!)


I thought they looked a bit plain straight out of the oven though, so I decorated them a little bit. My mum likes a vintage, country-rustic aesthetic, so I used baker's twine, old book pages, brown paper, vintage buttons, and thick jute twine. The Coca-Cola bottle and the Sarsaparilla bottle I left mainly as is; I just removed everything except the front logos before I coloured the bottles.

I also gifted some bright yellow chrysanthemums with these bottles, but they look pretty good as is, don't you think? ^___^

Did you make any gits this year? Did you receive anything handmade? And did you/ are you having a lovely holiday? I hope you are!

- Lisa xx

Saturday, 1 June 2013

Ninja Time hoop, a flamingo WIP, and a birthday gift for Pip


Hey! Oh my gosh - how is it possible for a week to go by this fast?! I have my three final assignments due for uni next week! Eek!

But, let's procrastinate for a while and I'll show you what's been happening craftwise ... ~_^


Ninja Time embroidery hoop! Yay! This is another project for the Summer Nerd Games, inspired by Adventure Time. Bec made an awesome Pirate Time hoop, which you can also see on the thread ^_^


She's made almost entirely out of felt, but I did use metallic thread to make her shuriken since they are so tiny!
 

You may remember that a while ago I made a skirt out of the background fabric - I love it when I find a use for offcuts! And even though it's quite busy, I think it's perfect for some ninja-style hijinks! ~_^
 

I also changed the original Adventure Time sword into a katana ^_^
I wanted this project to be quick and easy, so while it's not my best work (I find making felt look polished and neat very tricky!) I am happy with how it turned out ^_^ And now I have another hoop for my wall!


I've also been working on this flamingo cross-stitch. It's slow going - I am *not* a skilled cross-stitcher, but I hope that I'll get it finished sometime this month.

I can't wait to show you the entire thing though; I think it's going to turn out rather sweet! ^_^


Now, this project is actually from the start of May (!) but I couldn't share it with you until it arrived safely at Pip's house for her birthday! And then I got lazy and just didn't do anything for an entire month ... ~_^

Bec and I conspired to make Pip a '50s style dress, using a fabric that she had mentioned liking; the fabric is of fancy French ladies and it's really lovely ^_^ I've got to confess - I was so pleased with how sneaky we were. Pip had no idea! Yay! Birthday surprises are the best! ^_^

Since Bec is the best at making dresses, I didn't do much apart from cut things out and follow her instructions ~_^ So I also made a little poodle brooch to go with the dress ^_^ I just used shrinky-dinks and a brooch baking, and it turned out really cute! I used some Eiffel tower washi tape to attach it to, and decorate, a little piece of card-stock.

Here's the whole gift, ready to be sent off! I also made the swing tag for the dress - which is possibly the biggest swing tag ever ~_^ The hair bow is also made with French-inspired fabric; I picked this up at a little market, but unfortunately forgot to note down the name of the lady who made it. Oops! >_<


And here's Pip in her dress! Yay! Doesn't she look wonderful?


  And that's it for me today! Back to the books ... I can't wait until study week; I'm going to craft my little heart out! ^_^

- Lisa xx

Sunday, 7 April 2013

Pom-poms headband, cross stitched rose brooch, and a mermaid scarf


Hello! Do you ever end up with weird sentences due to autocorrect? I do, and that's how this first project came to be! I made a note in my phone to make a pom-pom garland but then when I looked at my notes the next day I had *actually* written pom-pom headband. At first I was just going to change it back, but then I thought how cool a pom-pom headband could actually be!


So I made this one! Yay! ^_^


If you'd like to make your own, they are very easy to create! Here's what I did:

1. Make three big pom-poms and two smaller pom-poms. I used Moda Vera Shiver yarn, the same pink that I used for my chunky winter hat, and some black that I had in my stash.

2. Make a long braid using some of the black yarn. Black is perfect for me as it blends in with my hair and makes it look like the pom-poms are just balancing on my head ~_^ 

3. Using a short length of either black or pink (depending on which pom-pom you are attaching) and a needle, thread the wool through the centre of the pom-pom and then tie it onto the braid. You could also use glue, but I find that that can sometimes be itchy, and this way you can also make adjustments to how to pom-poms sit while you're wearing it ^_^

That's it! Pretty easy, huh? ^_^


My next project is from the April issue of Cross Stitcher and was meant to be a key fob. However, since my keys already have waaayyy too many things hanging off them, I decided to make it into a brooch instead.

I stitched up the rose just like the instructions said, but then instead of attaching the key ring, I added a short length of chain which is then attached to a cute little felt bow.

I think it looks even cuter like this! ^_^ You can't see this from the photos, but I have used two badge backs for this brooch; one on the bow and one on the back of the cross-stitch. I did that because I didn't think the bow would be strong enough to hold the weight of the wooden stitching panel. I also added a circle of felt onto the back of my stitching, which makes it look *much* neater and gives a better surface for attaching the badge back ^_^

And, lucky last, here is my finished scarf! Yay! It looks *so* much better since I have blocked it ^_^

Does it remind you of anything? I wanted to make something a little bit different from just a straight scarf and the combination of the emerald green yarn and the shell stitch inspired me to make this my Mermaid Tail scarf! ^_^


I didn't write down the pattern, but if you want to make your own it would be pretty easy - you just have to decrease a couple of rows after your foundation row and then stitch straight for the rest of the scarf ^_^

Here's a close-up of the stitch pattern; I used the Crochet Bible for the instructions and it's an easy stitch to do once you get into the rhythm of it.


These pictures show the colour a bit better - isn't the difference between colours inside and outside amazing?


What do you think? What have you been working on? 

- Lisa x

Thursday, 22 November 2012

stuff&things


Hey, so, last post you saw all the things I'd been making for my craft fair; here's what else I have been doing ...  (some of these are from a while ago, so if you follow my Instragram you've probably them - sorry about that!)


I built up our tiny front garden with soil and mulch and then planted three varieties of lavender and a dwarf apple blossom. I basically chose plants that had "hardy" written on them, our front garden is a bit of a danger zone for plants ...

I made a cross-stitch for Rebecca's birthday and finished it only 15 days late! Sorry Bec! >_< 
 

Our workplace has been really getting into Movember! I thought these posters were pretty cool - good design always deserves Instagramming ^_^
 

I crocheted this little Death Star for my friend Heather. It's pretty cute! I'm currently working on another one, just for me ^_^
 

I did a little project in which I used scrapbooking paper and a lot of washi tape (you'll see that soon!)
 

When I went down South to visit my family, I met this cute group of llamas! I couldn't get closer because there was a ditch in the way ... plus I didn't want to get spit on!
 

This is one of the many artworks by high-school Lisa that my parents have hanging up in their house. This one is probably my favourite; it was one of the first paintings I did with oils.
 

I'm *still* working on my Penguin Book blanket! I had some trouble with the lettering, but I think I've got a solution for that now ... hopefully I should finish it soon.
 

My washi tape holder is so pretty! Phillipa gave it to me for my birthday and I dropped it >_< So it's a bit wonky now, but it has a new use ^_^
 

This is the project using washi tape! I made these night and day elephant bookends for my new nephew, Nicolas ^_^
 

 This is my new Bubble Boom Blythe! Isn't she lovely? ^_^


I finally finished unpicking a skirt that I royally messed up, like six months ago. I take a long time to admit my failures sometimes ~_^
 

Like this; this was meant to be a cute little necklace pendant ...

... only it's ENORMOUS! Opps >_< So, now I have a neon pink skull wall pendant.
 

This is a sneak peek of a new project I'm working on - I think it's going to be pretty awesome ^_^ (fingers crossed!)
 

And finally, I made this little brooch from a kit. It's a bit hard to see, but the pattern is of a toadstool. I've got a few more shapes to test out, so I'll be showing those to you soon ^_^

 What have *you* been doing? I'd love to hear from you!

- Lisa x