Showing posts with label reduce reuse recycle!. Show all posts

Thursday, 24 July 2014

Time to play video games! An upcyled BMO clock


Hello! As you probably already know, I really like Adventure Time. In fact, I'm watching it right now. And getting very distracted from writing this blog post. Ahem, anyway, turning my back on the plight of Tree Trunks, I was hunting around my craft room for inspiration and found an old metal clock that was truly crying out for a makeover. I didn't take a photo of it before, but it was browny beige and very ugly. I gave it three layers of white spray paint as a primer and then I got to work with my acrylics!


I drew my BMO based on my tiny action figure, but I think the button placement is a little off. Ooops! Nonetheless, BMO is very cute and I like how excited he is! I used Kaisercraft colours for the entire painting; BMO's case cover was made by mixing together "Sea Breeze" and "Spearmint", his face is a mixture of "Spearmint" and "Lime". The buttons are the aforementioned colours, plus red, yellow, and black, and the background is "Hot Pink" mixed with a lot of white. I also gave his screen a coating of glow in the dark paint, so I'm hoping that this evening I will be able to see his screen glowing like he is a real computer ^___^

"Video Games" is written in Lobster font and "time to play" in TallAndSkinny font (which I can't find a link to unfortunately). To transfer the fonts onto the painting, I printed out the phrases and coloured in the back of the paper with a lead pencil. Then I placed the paper onto the painting, and traced around the letters with the pencil. You just have to make sure your paint is really, really dry before you do this, otherwise you might get some smudging around your words >___<

I saved the original hands from the clock and while they don't totally match the rest of my painting I think they still look ok. I am not sure where I will hang this new clock up, but I think it will be best in the lounge room, where Scott and I *do* spend a lot of time playing video games. The great thing about this clock is that it means that every time is video game playing time! ^___^


I'm really happy with how this clock has been transformed and it's great to have another Adventure Time piece in the house. There are so many great characters in Adventure Time, there are plenty of future projects left to create! 

Do you have a favourite Adventure Time character? I've done three Lumpy Space Princess crafts so far (including a cosplay!) so I should continue to craft tributes to some different characters now I think! ^___^

- Lisa xx

Monday, 24 March 2014

A pillbox hat for a night at the theatre


Hello! Do you like dressing up? I do! I love to wear costumes and pretty dresses but sometimes it just feels like there aren't enough reasons to really get out the glad rags, you know? So I really try to seize any opportunity to overdress! ~___^ Rebecca and I decided to go and see A Murder Is Announced last week and since it's a stage show, and set in the '50s, we went all out! ^___^


I wore a gorgeous halter-neck dress with a sweetheart neckline and the most fluffy skirt ever - which I promptly made even fluffier by adding my petticoat underneath. There is no such thing as a skirt that is too fluffy. We had decided we wanted to look like '50s ladies, so I added a set of vintage pearls, a vintage handbag, and a handmade pillbox hat and gloves. I also had a lot of fun trying out victory rolls! Rebecca did credit to the motto of "make do and mend" by making her skirt, and thrifting her top and clutch purse. I wish I had a better photo of her hairstyle too! She did a great job working her shorter hairstyle into victory rolls and twists ^___^ Since it was an evening show, Rebecca also wore a gorgeous vintage fur stole while I favoured vintage black velvet.


My pillbox hat was a lot easier to make than I thought it would be and really adds that little something something to the outfit, but unfortunately I didn't take any photos while I was making it! I did take some additional photos in better lighting though, as it is a little hard to see the full hat in the outfit photos above.
 

I made it from the lid from a plastic container, black satin, a big black and white ribbon (it's reversable), some black tulle, and a lot of hot glue!


Here is how to do it!
1. Cover the outside of the lid in black satin
2. Add a circle of black satin to the inside of the lid
3. Glue one end of the ribbon to the inside of the lid, wrap it around the lid in a nice-looking way, adding glue to twists to prevent movement
4. Secure the other end of the ribbon to the inside of the lid
5. Arrange the tulle over the lid, wrapping the gathered end into the inside of the lid
6. Fasten the tulle by adding glue to scraps of ribbon and pressing them over the tulle
7. Make a big bow with the rest of the ribbon and glue it to the back of the lid. I made this bow by making two circles with the ribbon, one smaller than the other, then wrapping a smaller length of ribbon around them both and gluing everything into position. I also glued the ties to the underside of the bow.
8. Glue on a small hair comb of the inside of the lid, underneath the bow.
 

The inside isn't very pretty looking,but it gives you more of an idea of what's going on under there ~___^ The hair comb I used doesn't secure the hat to my head perfectly, but it does add stability while I add in bobby pins and means that I don't need to hold it on my head while I'm fastening it on.


We were definitely the most overdressed people at the theatre, but it was so much fun! I think I've also overcome my fear of victory rolls now, which is very good since as I looked at so many photos of actual vintage hats in preparation for making this one I've got many many millinery plans, so I'll need to be getting better at the hairstyles to match! ~___^

- Lisa xx

Friday, 27 December 2013

Cross-stitched rose lavender sachet and faux vintage jars


Hello! Did you have a nice annual festival of togetherness? I'm on to my *fourth* day of celebration today; wowzers! Today is the day I get to open my presents too, but while I'm waiting to do that I thought I'd show you two presents that I made for other people! ^___^


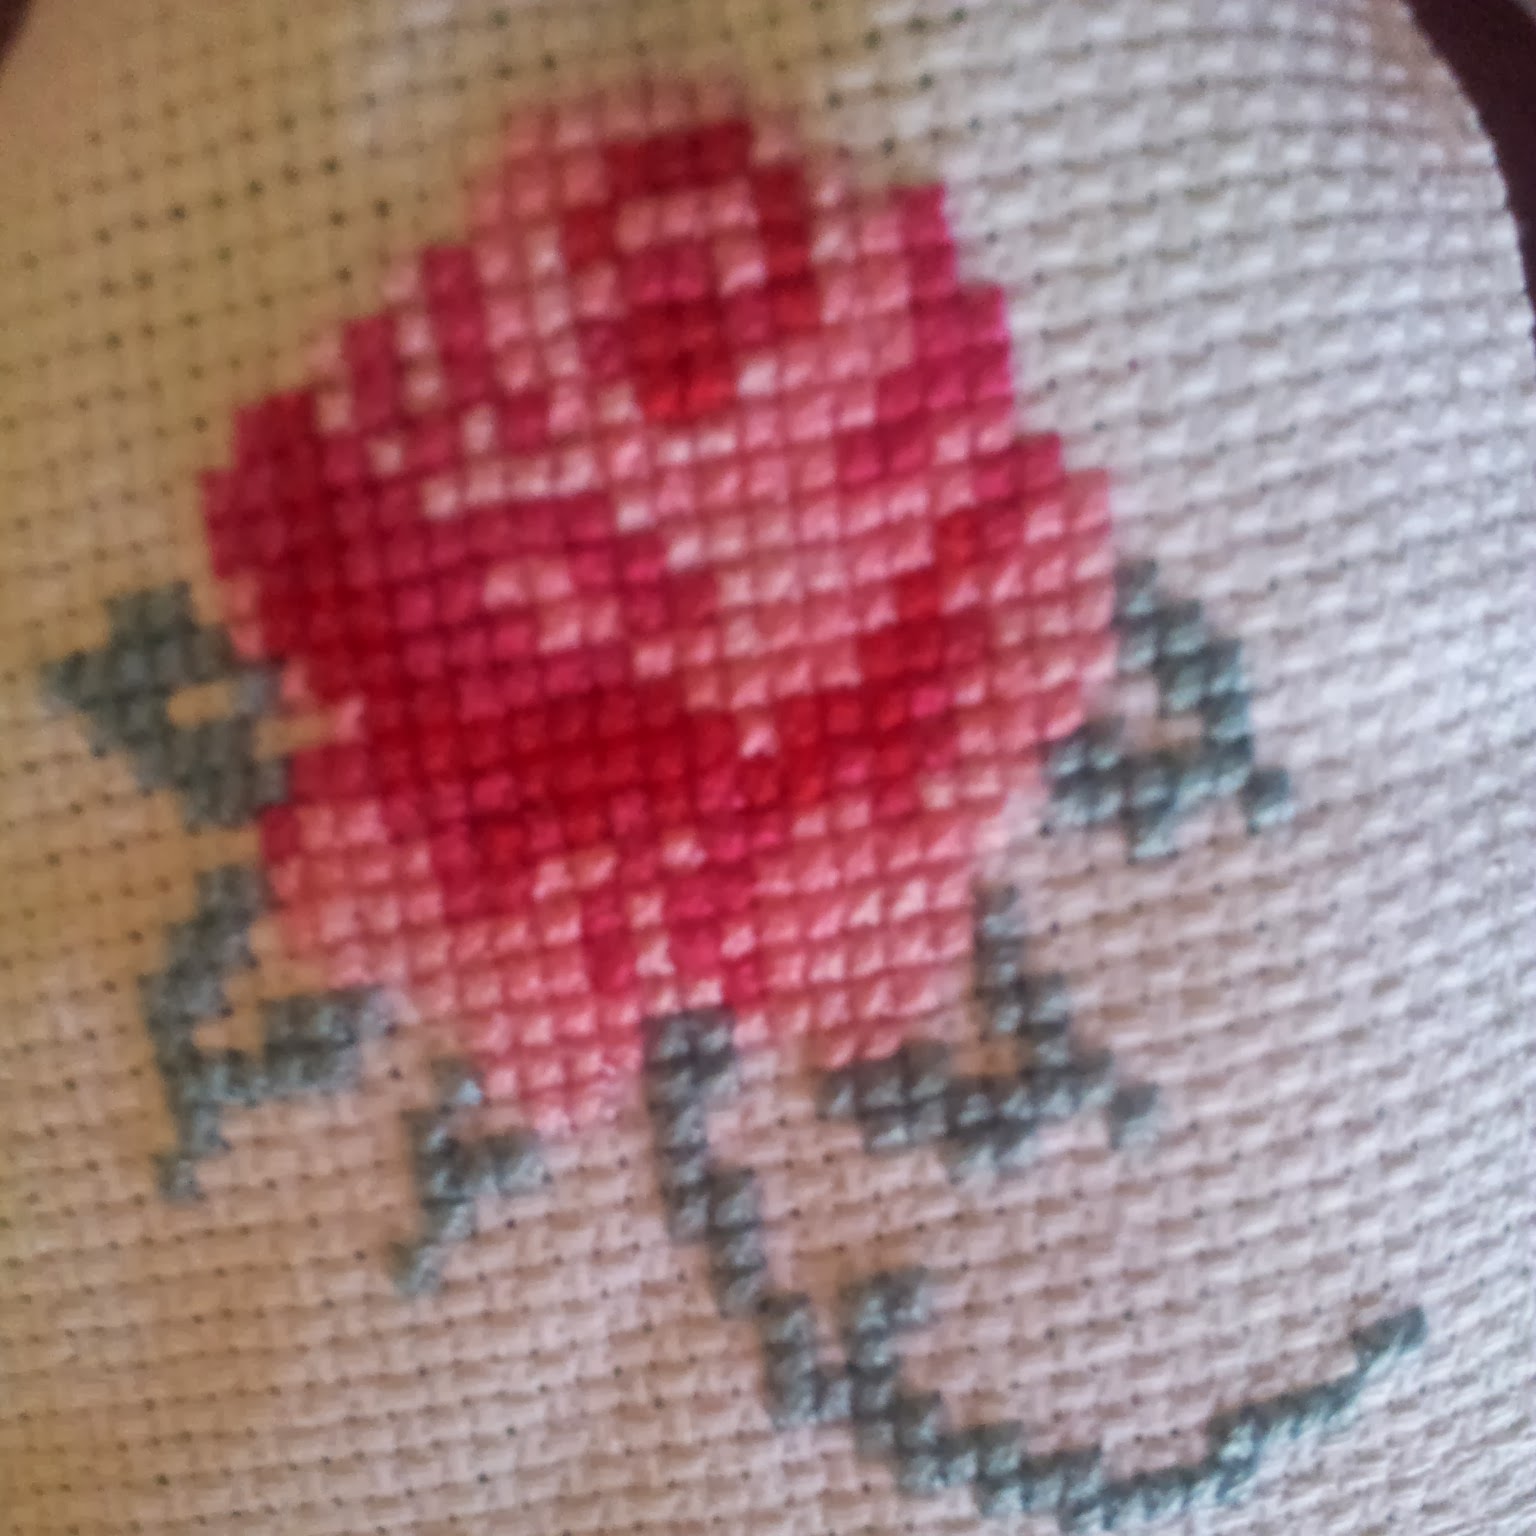
For my Nana I made this lavender sachet, embellished with a cross-stitched rose. Yeah, I didn't really think that one through, huh? ~___^
 

The rose pattern is from Mollie Makes issue thirty, but I did change it a bit. Originally there was a heart to the left of the rose, as well as some additional buds above the main flower; I didn't want the sachet to be huge though, so I reduced the rose into more of a square shape.

Lavender sachets are super easy to make, as all you need to do is sew a rectangle that is open at one end. After scooping in the dried lavender, I added a few stitches across the top and then tied on the ribbon. 

My house smelt like lavender for days after making this; it was so lovely that I may have to make one of these sachets for myself! ^___^
 

For my mum, I made this set of faux vintage bottles. They were also quite simple to make, but they look really effective. I used this tutorial and some of the jars that I kept because they are interesting shapes. (I swear I'm not a hoarder!)


I thought they looked a bit plain straight out of the oven though, so I decorated them a little bit. My mum likes a vintage, country-rustic aesthetic, so I used baker's twine, old book pages, brown paper, vintage buttons, and thick jute twine. The Coca-Cola bottle and the Sarsaparilla bottle I left mainly as is; I just removed everything except the front logos before I coloured the bottles.

I also gifted some bright yellow chrysanthemums with these bottles, but they look pretty good as is, don't you think? ^___^

Did you make any gits this year? Did you receive anything handmade? And did you/ are you having a lovely holiday? I hope you are!

- Lisa xx