Showing posts with label Atheistmess. Show all posts

Tuesday, 30 December 2014

Needle felted Piranha Plant and other gifts


Hello! It's time to show you some more of the Christmas gifts I made! I have a couple more to go, but they haven't been gifted yet (I believe in a very extended holiday period) so I'll show you those next time ^___^


For Scott I made this needle-felted Piranha Plant, of Super Mario fame. To make this, I used a very similar technique from when I made Oscar the Grouch. I used my scalpel to cut out a wedge from a large styrofoam ball which was to become the ... head (???) of the plant and then covered the ball in sheets of red felt. I needed felted the felt together where it overlapped to create a tight casing of felt around the ball. 
 

I cut out small triangles of white felt and used my needle tool to attach them to the mouth area. I also used my needle tool to ensure the bottom of the mouth was more sharply defined.
 

I rolled wool fibre into loose sausage shapes and felted them onto the ball to become the lips. I didn't felt the tops of the lips much, but was sure to felt the edges to create a more rounded shape.
 

To create the spots, I rolled fibre into loose balls and then felted them on. The balls are slightly 3D because I really wanted them to have solid colour so they are made up of a few layers of fibre each.
 

For the stem I used regular sheets of felt. I cut out a long strip and wound it around a wooden chopstick, needle felting where the sheet overlapped itself. I used a scalpel to cut a hole in the bottom of the head of the plant and inserted the stem. I needle felted where the stem met the head so that the felt wouldn't come loose and expose the chopstick.


The leaves were cut from the same sheet of green felt and needle felted only at the bases onto the stem. This gives them a nice curved shape, which I think helps make them look more leafy.


Once the plant was done, I hot glued the bottom of the stem into a paper mache flower pot that I had painted green. Then I stuffed the pot with variegated green chunky wool; this stabilised the plant so it doesn't wobble around but it's also very light. Scott really liked it and my parents thought that I had brought it. Two lovely compliments for any crafter! ^___^


My dad, Kevin, is pretty difficult to craft for since he mostly likes trees (I really should just stick to buying him a new tree every year). However, he does also like camping and happened to mention that soap on a rope would be useful for washing in the desert.


I used the instructions in "A Little Bit Crafty" by Frankie Magazine for these but they didn't turn out as well as I had hoped; they are a little bit bumpy and a little bit cracked.
 

If I were to make them again, I would ensure that my soap was in much smaller pieces before attempting to shape them into balls. I think the chunky flakes that I started off with didn't assist with the making of smooth soaps.
 

I braided cotton string to use as the ropes, which worked out well because all other actual ropes that I had turned out to be way too big. So, another suggestion: either make bigger soaps, or buy smaller ropes! 
 

For my Nana Alma and my mum, Anne, I made some lavender sachets using vintage look (but not actual vintage) handkerchiefs, ribbon, and lavender (bet you guessed that last bit, huh).
 

To make these, I cut the handkerchiefs in half, folded them in half again, and then sewed around three of the edges. You could hand sew these, but I used a sewing machine because it is so much faster (and I'm pretty lazy!).
 

Then I filled them with lavender and tied them closed with a length of ribbon. Easy peasy!


I also made these ink smudging tools for Anne; they are apparently used in scrap booking. I started off with two lengths of pine, one wide and flat and the other not so wide and not so flat, which I glued together.


I used Kevin's bench press to cut them into smaller segments and then stained them with wood varnish. I originally tried to use a saw and failed miserably. Power tools, people! They rock. I used stick on velcro dots cut in half to attach lengths of felt on and around each segment. They were a little time consuming, but once I had a little production line going it wasn't too bad.


My next post won't be until next year ... which starts in one day! OMG! It's time to start thinking about a whole 'nother years worth of crafts to create ... but, until then, Happy New Year and thanks for sticking with this little blog of mine for another 12 months. I hope we can do it all again next year!

Catch you on the flip side!

- Lisa xx

Tuesday, 23 December 2014

Perler bead sushi magnets and a felt pug hoop


Hello! I know I said you probably wouldn't hear from me this week but, well, I guess I lied! I caught up with a couple of my friends to exchange early Christmas gifts, so I figured I could tell you about the presents I crafted for them now ^___^


For Philip I made these cute little sushi magnets! ^___^ I used a cross stitch pattern from weelittlestitches for these, but made them from perler beads instead of fabric and thread.


I wasn't going to put faces on these, but they really looked like they needed something so ... googly eyes to the rescue! I think it gives them a really funny expression ^___^
 

I used E6000 to attach the eyes and the magnets and they look good enough to eat ~___^ (Only, you know. Don't).
 

Using a pattern from Urban Threads, I made this felt pug hoop for Phillipa. I think it turned out really cute! Instead of stitching all of the lines, I cut out shapes from felt and stitched them down. I feel like this is a great way to add colour without having to spend an eternity doing fill stitches.
 

Everything is stitched down with running stitch, and the roses are 3D which I thought looked really cool ^___^


I feel like the roses could have done with a few more petals, but I didn't want to make them *too* bulky.
 

I think this pug's silly little face is my favourite part ^___^ The paws are attached with only one stitch so they can be lifted up; I did the same with the tail. I'm not sure why, but having movable parts to an embroidery hoop is so appealing to me. I added some little hearts to the banner because I wasn't sure about the phrase that the pattern suggested ("True Love") but also didn't want to leave it blank.
 

This photo shows the most accurate colour of the background fabric; it is definitely purple even though it looks blue in most of the pictures I took! The back is finished off with blue felt and the same technique I always use. Boring, yes, but also neat which is what I was going for.


Now, I must continue crafting as I have, once again, left my dad's gift until the last minute. Fingers crossed I get it done!

Best wishes to everyone for whichever holiday you celebrate! I hope you have a lovely one ^___^

- Lisa xx

Friday, 27 December 2013

Cross-stitched rose lavender sachet and faux vintage jars


Hello! Did you have a nice annual festival of togetherness? I'm on to my *fourth* day of celebration today; wowzers! Today is the day I get to open my presents too, but while I'm waiting to do that I thought I'd show you two presents that I made for other people! ^___^


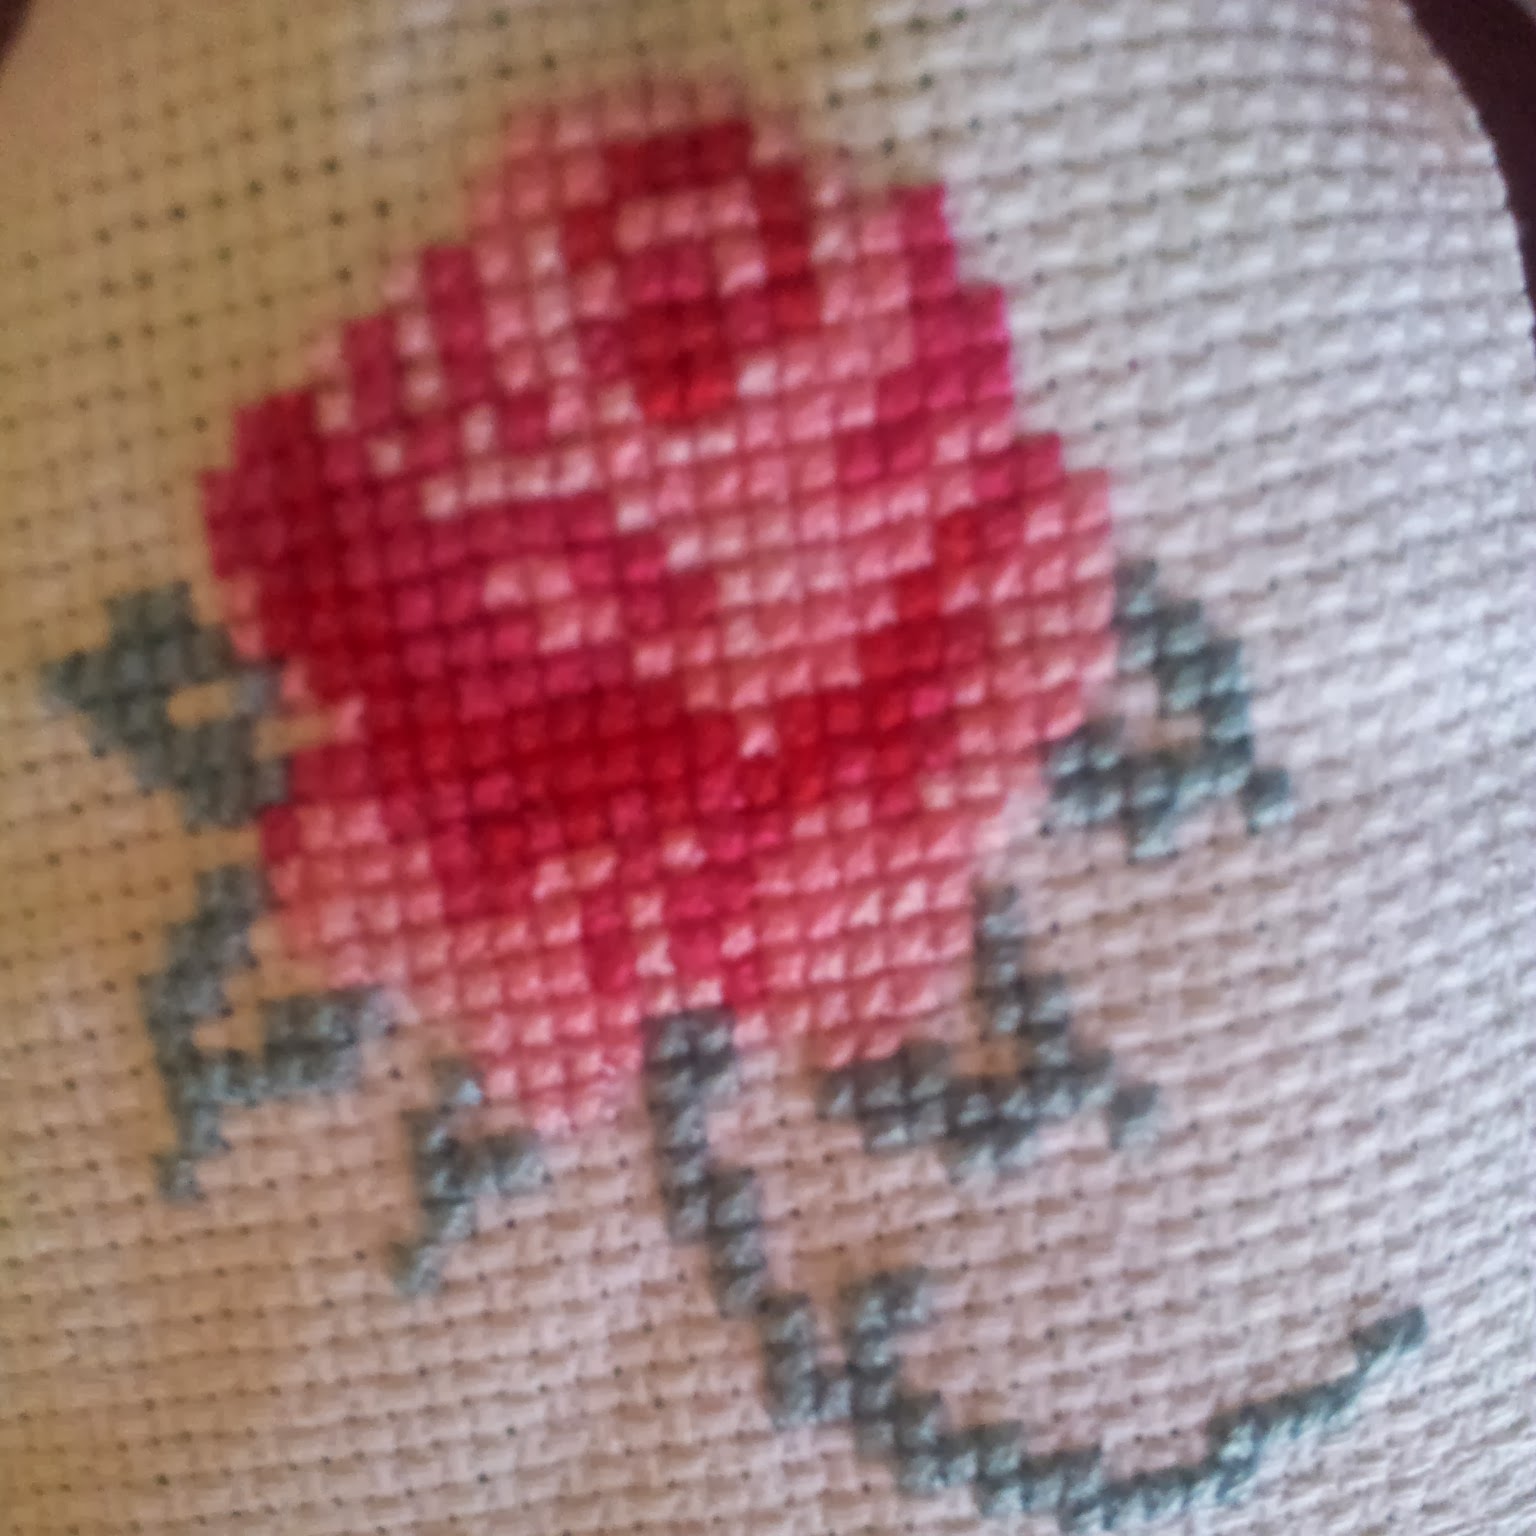
For my Nana I made this lavender sachet, embellished with a cross-stitched rose. Yeah, I didn't really think that one through, huh? ~___^
 

The rose pattern is from Mollie Makes issue thirty, but I did change it a bit. Originally there was a heart to the left of the rose, as well as some additional buds above the main flower; I didn't want the sachet to be huge though, so I reduced the rose into more of a square shape.

Lavender sachets are super easy to make, as all you need to do is sew a rectangle that is open at one end. After scooping in the dried lavender, I added a few stitches across the top and then tied on the ribbon. 

My house smelt like lavender for days after making this; it was so lovely that I may have to make one of these sachets for myself! ^___^
 

For my mum, I made this set of faux vintage bottles. They were also quite simple to make, but they look really effective. I used this tutorial and some of the jars that I kept because they are interesting shapes. (I swear I'm not a hoarder!)


I thought they looked a bit plain straight out of the oven though, so I decorated them a little bit. My mum likes a vintage, country-rustic aesthetic, so I used baker's twine, old book pages, brown paper, vintage buttons, and thick jute twine. The Coca-Cola bottle and the Sarsaparilla bottle I left mainly as is; I just removed everything except the front logos before I coloured the bottles.

I also gifted some bright yellow chrysanthemums with these bottles, but they look pretty good as is, don't you think? ^___^

Did you make any gits this year? Did you receive anything handmade? And did you/ are you having a lovely holiday? I hope you are!

- Lisa xx

Monday, 9 December 2013

Cotton string wrapped candelabra


Hello! How are you? I've had a lovely start to my uni break; I've cleaned and gardened my little heart out! One of the things I found while cleaning was this candelabra which was, you know, nice, but not really in keeping with the rustic aesthetic my style.

So, I grabbed some washi tape and some cotton thread and got to work! And now it looks like this:


Ta da!
 

And this is how it looks like when it's lit up! ^___^ Although it's not really traditionally Christmas-y, I think it goes well with my pom-pom tree so I'm going to consider it a Christmas decoration. Plus, anything with candles is automatically extra Christmas-like, right? ~___^


This was a very easy project to do, albeit time-consuming. To wrap the candelabra I cut lengths of cotton thread off the main ball and made them into smaller balls; this really helps make manovering the thread around much easier. I tied on the thread with a knot and then wrapped the thread around both the candelabra and the tail of the knot. Then I just kept wrapping!


For the actual candle-holders, I just tore off strips of washi tape and wrapped them around the glass. I used two strips because, hey, the more washi tape the better! ~___^


And that's that! ^___^ 

The next post I had to share with you was going to be a sewing project, but my machine has thrown in the towel. Oh no! So I'll need to think of something else to finish, but now that I can't do a sewing project, that's all I can think to do! Typical! ~___^

- Lisa xx

Monday, 18 November 2013

Pom-pom tree, shrinky-dink broochs, and a felt cactus brooch


Hello! How are you? I've been a bit rubish the last couple of days because I read a magazine article which advised that one should have a blog which is, above all things, original. Which, of course, sent me off into a ridiculous tail-spin of existentialism because I am a very silly human being. Sometimes I think that being into craft is kind of dreadful because one simultaneously wants to make all of the wonderful things other people are making but also wants to contribute in a way that isn't just "I made the same as this person!". But, then again, if I go more than two days without making something, the existential thing happens again and it really is just a vicious cycle! So I'm sharing with you some of the things I've done lately, even though I feel that they are highly unoriginal, and hopefully next week I'll think of something slightly less so to post.


Scott and I have decided to forgo the traditional fake plastic Christmas tree this year, which is probably just as well because we brought it from K-Mart for $5 and I'm really wondering how it's managed to *not* fall apart on us these last seven years. So, now we have a pom-pom tree (which is going to stay up all year round, methinks) which cost us a whopping $0.00, since it is made from wool I inherited from my Nana and a branch from our backyard, and it looks a million times better than the plastic tree.


Plus now I have a reason to justify buying the geometric vase that holds the pom-pom tree. Other than, "it was on sale and calling my name" ~__^
 

Also featured in these photos is the six dollar suitcase that I found at an opshop notorious for overpricing suitcases. Normally they try to sell them for $50 a pop, so I was extremely pleased with my find ^__^

Next up, I made a sweet little felt cactus inspired by this one from Bugs and Fishes, which I will be wearing as a brooch. One can never have enough novelty brooches! ^__^


I *may* have gotten a little carried away with all the tiny stitching, but I do like the end result.
 

 I also made some brooches from shrinky-dink (still one of my favourite crafting supplies), using some embroidery (and other) patterns as inspiration.


I think this little pumpkin head girl is my favourite ^__^


And I'm still going on granny squares for Scott's blanket. I believe I originally told him he'd have it for our second wedding anniversary, but I've revised that to our fifth which leaves me a year and two months to crochet 383 squares.


Hmmm, on second third thoughts, maybe he'll get it by our tenth anniversary. Maybe. ~__^
 

Now, I'm off to try and create something original. Which means, of course, that I must first invent the universe. I'll let you know how it goes ~__^

- Lisa x