Showing posts with label scrapbooking. Show all posts

Monday, 16 November 2015

Harry Potter art canvas


Hello! This year Rebecca and I decided to give each other Halloween gifts ... and then we both promptly didn't finish them in time for actual Halloween. BUT, I have finally finished Rebecca's gift and she has received it and now I can show it to you!


Bec has always said very kind things about my art canvases (which, to be honest, seems like a term which is a bit too fancy for what I actually create, but you can see them here, here, here, and here), so I decided that she better have one of her very own. I decided on a Harry Potter theme since Bec and I are Potterheads from way back, and making this type of canvas is easier if you know lots of random little things about a fandom.


In this picture you can see a library card for Hogwarts: A History with (nerd alert!) names and approximate appropriate dates for confirmed canon Hogwarts students, a laminex heart that I made from a sample card from the hardware store, a stag cutout to represent Harry's patronus, and a whole lot of stamping done with my mini alphabet set. I really love this stamp set, and I use it so much; I didn't really try to get the letters straight on this project though because I felt like it gave a more Daily Prophet style feel.


I made a winged key simply by cutting out two vaguely wing looking shapes from scrapbooking paper and sticking them underneath a wooden key embellishment. I inked the edges of the wings and curled them up a bit to give a bit more texture.


Since woodland themes are just going out of fashion in scrapbooking now, I found a huge kit of embellishments and cutouts at the discount shop for super cheap - huzzah! The wings, blue stag card, and the stag cutout from before are all from the same kit. I stuck the wings on with double-sided sticky foam which kinda makes them look like they're floating - perfect for the wingardium leviosa spell! ^___^ I wish I had brought up on supplies a few years ago when owls were in though, because no owls were included in this particular woodland kit ; ___ ;


Other things that you can spot on this canvas include a vintage suitcases sticker from a Amy Tangerine remarks set, a silver crown and Union Jack from a Ruby Rock-It Vintedge (yup, that's how it's spelt!) Imprints sheet, two clocks and a pointing hand also from Ruby Rock-It, two chipboard letters that I coloured gold with a paint pen, kraft paper tags that I wrote and stamped on to make the Hogwarts Express luggage tags and the tag under the HP, and a random gold embellished circle gift tag that I drew a lightning bolt on. Oh, and washi tape. Always washi tape.


The most important step of making an art canvas is to mod podge everything down afterwards. Seriously, I tried to skip this step because I thought double-sided tape and glue would be enough. Spoiler alert: it's not. 

I brought a few more canvases while I was at the discount store (seriously the best place to get canvases in this city) so I may have to spread out all my supplies (again) and make a couple more! What fandom would you choose? 

- Lisa xx

Tuesday, 30 December 2014

Needle felted Piranha Plant and other gifts


Hello! It's time to show you some more of the Christmas gifts I made! I have a couple more to go, but they haven't been gifted yet (I believe in a very extended holiday period) so I'll show you those next time ^___^


For Scott I made this needle-felted Piranha Plant, of Super Mario fame. To make this, I used a very similar technique from when I made Oscar the Grouch. I used my scalpel to cut out a wedge from a large styrofoam ball which was to become the ... head (???) of the plant and then covered the ball in sheets of red felt. I needed felted the felt together where it overlapped to create a tight casing of felt around the ball. 
 

I cut out small triangles of white felt and used my needle tool to attach them to the mouth area. I also used my needle tool to ensure the bottom of the mouth was more sharply defined.
 

I rolled wool fibre into loose sausage shapes and felted them onto the ball to become the lips. I didn't felt the tops of the lips much, but was sure to felt the edges to create a more rounded shape.
 

To create the spots, I rolled fibre into loose balls and then felted them on. The balls are slightly 3D because I really wanted them to have solid colour so they are made up of a few layers of fibre each.
 

For the stem I used regular sheets of felt. I cut out a long strip and wound it around a wooden chopstick, needle felting where the sheet overlapped itself. I used a scalpel to cut a hole in the bottom of the head of the plant and inserted the stem. I needle felted where the stem met the head so that the felt wouldn't come loose and expose the chopstick.


The leaves were cut from the same sheet of green felt and needle felted only at the bases onto the stem. This gives them a nice curved shape, which I think helps make them look more leafy.


Once the plant was done, I hot glued the bottom of the stem into a paper mache flower pot that I had painted green. Then I stuffed the pot with variegated green chunky wool; this stabilised the plant so it doesn't wobble around but it's also very light. Scott really liked it and my parents thought that I had brought it. Two lovely compliments for any crafter! ^___^


My dad, Kevin, is pretty difficult to craft for since he mostly likes trees (I really should just stick to buying him a new tree every year). However, he does also like camping and happened to mention that soap on a rope would be useful for washing in the desert.


I used the instructions in "A Little Bit Crafty" by Frankie Magazine for these but they didn't turn out as well as I had hoped; they are a little bit bumpy and a little bit cracked.
 

If I were to make them again, I would ensure that my soap was in much smaller pieces before attempting to shape them into balls. I think the chunky flakes that I started off with didn't assist with the making of smooth soaps.
 

I braided cotton string to use as the ropes, which worked out well because all other actual ropes that I had turned out to be way too big. So, another suggestion: either make bigger soaps, or buy smaller ropes! 
 

For my Nana Alma and my mum, Anne, I made some lavender sachets using vintage look (but not actual vintage) handkerchiefs, ribbon, and lavender (bet you guessed that last bit, huh).
 

To make these, I cut the handkerchiefs in half, folded them in half again, and then sewed around three of the edges. You could hand sew these, but I used a sewing machine because it is so much faster (and I'm pretty lazy!).
 

Then I filled them with lavender and tied them closed with a length of ribbon. Easy peasy!


I also made these ink smudging tools for Anne; they are apparently used in scrap booking. I started off with two lengths of pine, one wide and flat and the other not so wide and not so flat, which I glued together.


I used Kevin's bench press to cut them into smaller segments and then stained them with wood varnish. I originally tried to use a saw and failed miserably. Power tools, people! They rock. I used stick on velcro dots cut in half to attach lengths of felt on and around each segment. They were a little time consuming, but once I had a little production line going it wasn't too bad.


My next post won't be until next year ... which starts in one day! OMG! It's time to start thinking about a whole 'nother years worth of crafts to create ... but, until then, Happy New Year and thanks for sticking with this little blog of mine for another 12 months. I hope we can do it all again next year!

Catch you on the flip side!

- Lisa xx

Tuesday, 18 March 2014

Crafty Forever wood + paper wreath


Hello! How are you today? This week is my third week of uni, and it's already been so busy! I'm glad that I'm only working one job this year, although it does mean that my crafting budget is a wee bit tight. Luckily, I've had many years in which I hoarded craft supplies to my little heart's content, so I have a lot of stash busting to do! ^___^
 

This wooden wreath is a Kaisercraft kit; the so-called Funky Wreath. Personally, I'm a little suspicious of anything that contains the word "funky", but it was pretty cute, so I made an exception ~___^
 

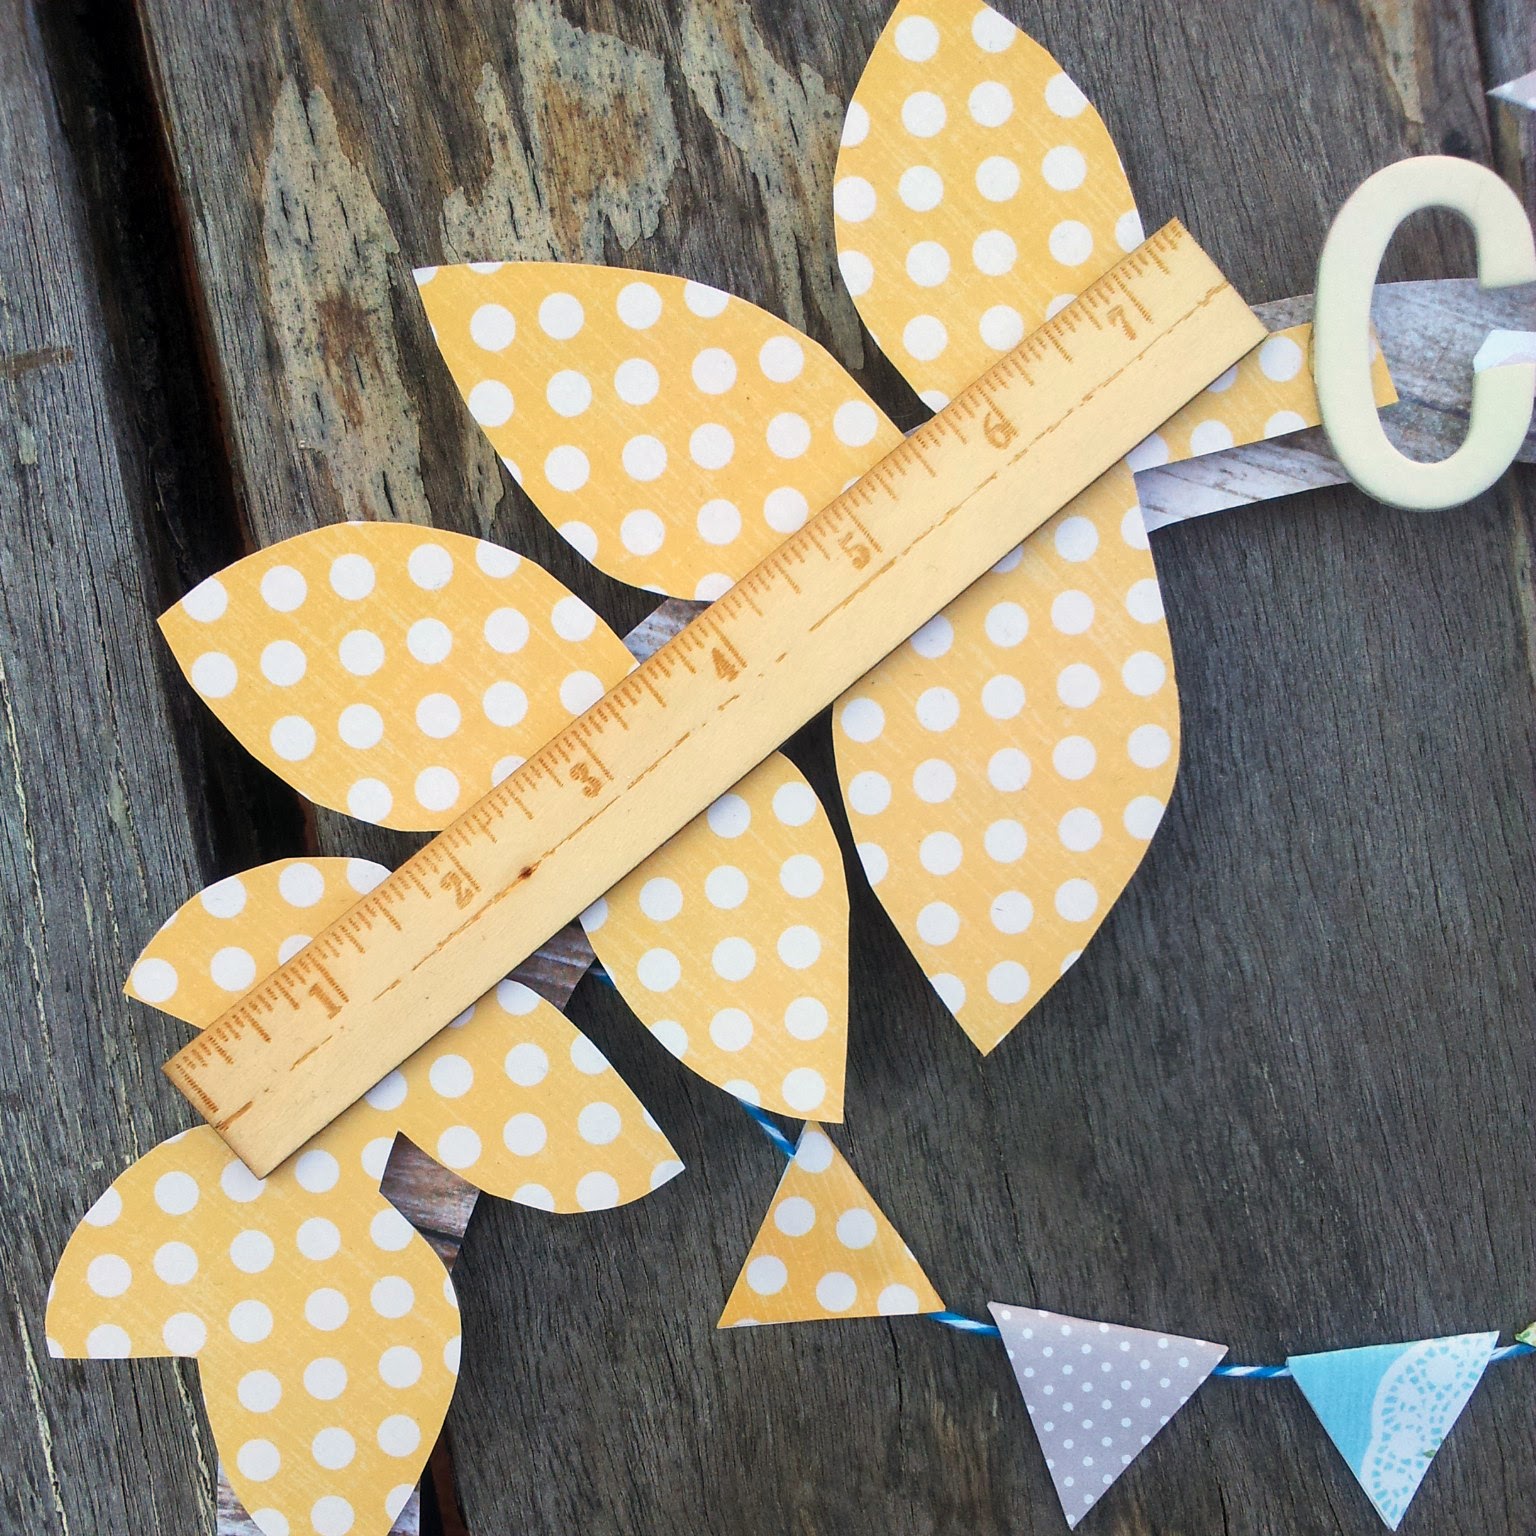
I started off by covering all the wooden pieces in scrapbooking paper, but when I put it together I felt that it looked way too busy. So I removed nine leaf pieces, and one large bird, to make a much more toned down wreath.
 

 I decided to make this a craft-themed wreath, because I'm incredibly predictable and have only, like, three real interests ~___^ The manequin flourish is another Kaisercraft product, as is the little ruler below; I wish that I had of had more crafty things to add to the wreath but my other embellishments didn't really work with the wooden ones. At least it has stopped me from going too OTT with flourishes though (this has definitely happened before!).


The letters are cardboard, and ones that I've had for a very long time so I have no idea where I got them from. They were originally green and blue striped and pink and purple argyle, and didn't go at all with the colours I was using so I spray painted them white instead.
 

The tiny bunting is probably my favourite part of the wreath; it's just so cute and little! ^___^ Bunting is super easy to make too - I just cut out diamond shapes from some scraps of paper and then glued them over a piece of bakers' string that I got from Riot.


I used hot glue to stick everything together, and that was that! I'm really glad my craftyness has come back, but of course it's during university when I can't craft as much! Well, absence makes the heart grow fonder, and all that, I guess ~___^
 

I've got a few more projects in the pipeline, so I will have something pretty to show you next week, but for now, it's back to the ol' study desk for me!

- Lisa xx

Wednesday, 10 July 2013

Two art canvases and a recovered faux book


I'm slowly getting through challenges for the Summer Nerd Games on Craftster but last night I had a burst of creativity and completed three projects! Omg, right? I also used up all my double-sided tape ... it was totally worth it though.


I brought a faux book from the Reject Shop ages ago to recover and use with my Steampunk Librarian costume but then I found a much nicer looking one at Typo and I used that instead. But now the first book has finally received its makeover! ^_^

It's quite simple, but I'm happy with how my new copy of "Hogwarts: A History" has turned out ^_^ I just recovered the book with scrapbooking paper, added a metal drawer label for the title, and then added details with my quill and gold paint pen. 

My drawing skills are a bit lacking, so I drew a simplified version of the Hogwarts crest on the cover and just added some details with the gold pen. I think it looks nice nonetheless ^_^
 

I think my favourite part of this project was using my quill - it feels so different to regular pens and it's so fun to use ^_^
 
Then I found a couple of 6x6 inch square canvases in my stash, so I made two more art canvases to add to my little collection ^_^ First up: the polka-dot owl canvas!


I covered the canvas with this blue spotty scrapbooking paper and then set about cutting out circles from several other papers.


Then I drew tiny owls on each one. You can tell they're owls right? (I hope so!)
 

I used my tiny alphabet stamps to add the proverb (courtesy of Albus Dumbledore) and then stuck the circles down with tape and then gave everything a coating of mod podge.

Yay! All done! ^_^ I had proverbs on the brain by this time so I started on another canvas. This one is the "silver linings" canvas ^_^ I love how colourful and happy it is! The little wooden clouds had been in my stash for a while, so it was great to use them up ^_^
 

For the front of this canvas I used a piece of scrapbooking paper from my 6x6 inch paper pad, and then used a complementary piece to cover the sides.
 

I used my silver paint pen to colour in the edges of the clouds as well as draw an edging line on the fronts of them.


Can you believe I used washi tape on only one of these projects? I used five different kinds on this canvas to make up for it ~_^
 

And then finished it off with the tiny alphabet stamps again ^_^
 

And that's it! I've still got two canvases in my stash, so as soon as I get some more tape I'll do something with them too ^_^ The best thing about these projects is that they were all 100% stash! It's great to use up some old supplies ^_^

Do you have a favourite? What's your opinion on scrapbooking style crafts? (I know they're not everyone's cup of tea)

- Lisa x

Thursday, 27 December 2012

Sew On & Sew Forth art canvas


Ahoy! Did you have a great End of Year Period of Togetherness? I really enjoyed ours! Scott and I spent one entire day eating breakfast food (yum! ^_^) and then the next day seeing Scott's family and playing with our little neice and nephew at his grandma's house. I have learnt many things about building block towers and playing peek-a-book and also that singing Soft Kitty to babies actually makes them happy o_0

And then yesterday I got out my scrapbooking supplies and a 5" canvas and made this!


Yay! I'm really happy with how it turned out ^_^

Here are some close-ups of my favourite parts ...
 

Finally a use for the tiny scissors that come with sewing kits and yet are unable to cut a single thing!
 

I made these tiny spools when I was making things for the craft fair; they are about half the size of the spools I used for the necklaces.
 

This vintage lady is so awesome ^_^
 

I love 3D stickers and washi tape ^_^
 

Here's another vintage lady!

Now, here's a list of some of the things I used (I can't remember where I got everything unfortunately):

Wooden dress form made by Kaisercraft
5" square canvas from Riot
Alphabet stamps from William Topp, Northbridge
Mod Podge (you can't see this but I used it to stick down the papers and also as a varnish) from Spotlight
Thickers (spelling out "Sew On") by Amy Tangerine
Colourful border paper (used on sides and bottom of front) by Amy Tangerine
Vintage ladies paper by Grace Tyler
Pink pattern pieces paper by Crate Paper
Mini spools from Spotlight (stained, aged, and thread added by me)
Baker's Twine from Spotlight
Chip board ampersand (covered in washi tape) from stash
Craft paper from Spotlight
Washi tape from various places that I mostly can't remember - sorry!
Mini scissors from stash

Do you like it? Did you have an awesome holiday season? ^_^

- Lisa x