Hello! It's time for another update on this increasingly sporadically updated craft blog! I am wondering if I should write some posts about my plants? I am doing a lot more gardening than craft these days as even when I ignore my plants for a week they keep doing things (unlike all those WIPS ... ~___^). Something else that I have been doing lately is playing Dungeons and Dragons! My husband, Scott, wanted to have a go at being a DM (Dungeon Master) and he needed some players to facilitate the game for. So I put the call out to my friends, and Spooky, Jeneva, and Moon were all keen ... and wanted to each bring along their husband, partner, and son (respectively) so we ended up with quite a large group!

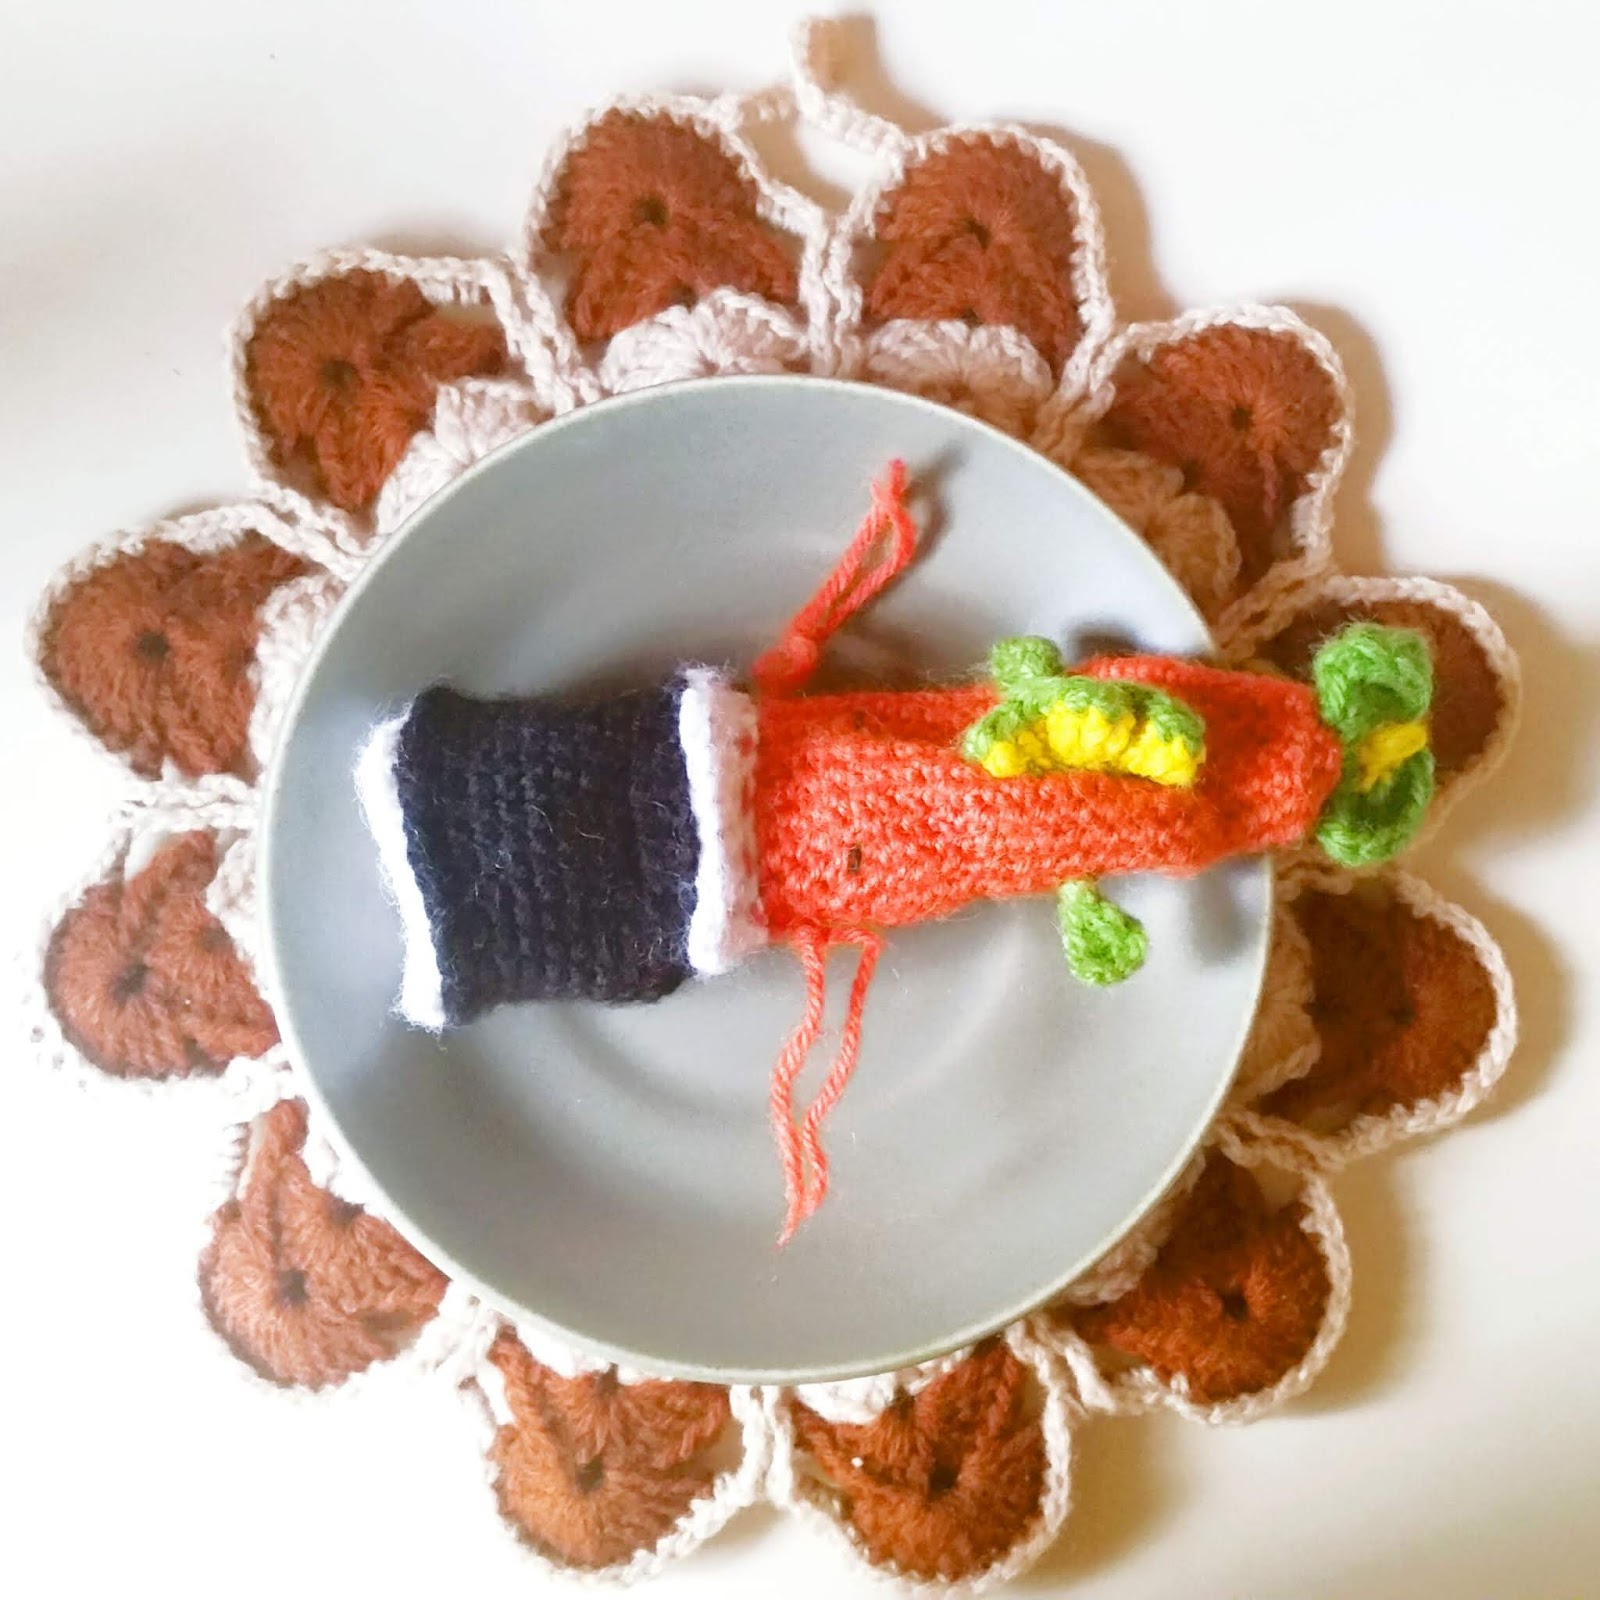
If you do not know much about D&D, all you need to know for the purposes of this post is that to play each player needs a notebook, a pen, a set of dice, and a character figurine. My character for this campaign is Seraphina Underfen, who is a Halfing Druid, but I have a couple of other figures for characters I want to play in future campaigns plus a wolf, a bat, and a unicorn because they were cute and I thought they'd come in handy ~___^

So I thought I would make a dice bag to hold my dice but then as I was making it I thought that maybe it should be big enough to hold all my things and so it got bigger and bigger and bigger until the almost ridiculously sized "dice" bag you see before you today existed! It does not hold my spell binder though, so maybe next I should make a cover for that.

The pattern which was the kicking off point for this bag is the Dragon Egg Dice Bag by Cindy de Vries on Ravelry. The alterations I made were;
- increasing the rounds on the bottom to nine (from four)
- doing nineteen rows of rows six and seven (in Cindy's pattern, row six is the base for the scales and row seven is the scales themselves)
- adding twelve rows of trebles to make the ruffly bit of the bag above the drawstring


For the drawstring, I just chained to a length that I thought looked good and then trebled into each chain stitch to make a long flat cord. I wove it through the v-stitches of the last "row six" and then just pulled it to tighten the top of the bag. I am a little concerned it might stretch with prolonged use, but it looks fine for now and I can always replace it in the future.

The yarn I used was one that I found at the discount store; the brand is "Knit&Purl" and the colourway is listed as "Myalla" but I brought some other balls of yarn which is a different colourway on the same day and they are also apparently "Myalla" so maybe that just refers to the gradient effect they both have. It's a 100% acrylic yarn and I used three 150g balls to make this bag. I used a 4mm hook for this project.


I had not done a project with the pineapple stitch before, which is the stitch that makes up the dragon scales. My scales do not lay as neatly as Cindy's, but I still like the effect ^___^ The pineapple stitch was a really interesting one to do as it's done a little differently from most other crochet stitches. I definitely want to try another project with it!

Below you can see how much bigger my bag is compared to my D20 ^___^


I'm a huge geek for stationery, so I also had to get myself a special pen to use for our D&D sessions; I choose this pom-pom flamingo at I found at the Japanese variety store because it's simply adorable! The added bonus to this is it's also a really good pen. I went back to see if I could get another one as a backup, but they didn't have them anymore so I hope this one lasts a long time!


When I'm not laying them out for photos, I keep my pen, item cards, and figures in this adorable turtle pencil case which was a gift from Spooky ^___^ (she got it from Teeturtle!)


So in my dragon scale bag, I have my turtle pencil case, my old character sheets, and my dice ... still in their original plastic case. I wonder if I should make a dice bag to go inside my dice bag ... ~___^
- Lisa xx