Tuesday 28 October 2014

Princess Bubblegum crochet crown


Hello! I don't know about you, but I spend a lot of my time thinking about costumes. They're just such fun! I love going to Oz ComicCon and Supanova and seeing all the creative ideas that people have come up with, but Halloween has a special place in my heart. I mean, it's a spooky day where you can dress up and dance with a zombie; is there anything better? ~___^


This year, since my hair is currently pink, I've decided to go as Princess Bubblegum from Adventure Time. Yay! I'm  going to do a closet cosplay and also go as a hipster version of PB; this is mostly because I don't really like wearing my contact lens and my glasses are so black and thick-rimmed that, well, they kinda suit the part!
 

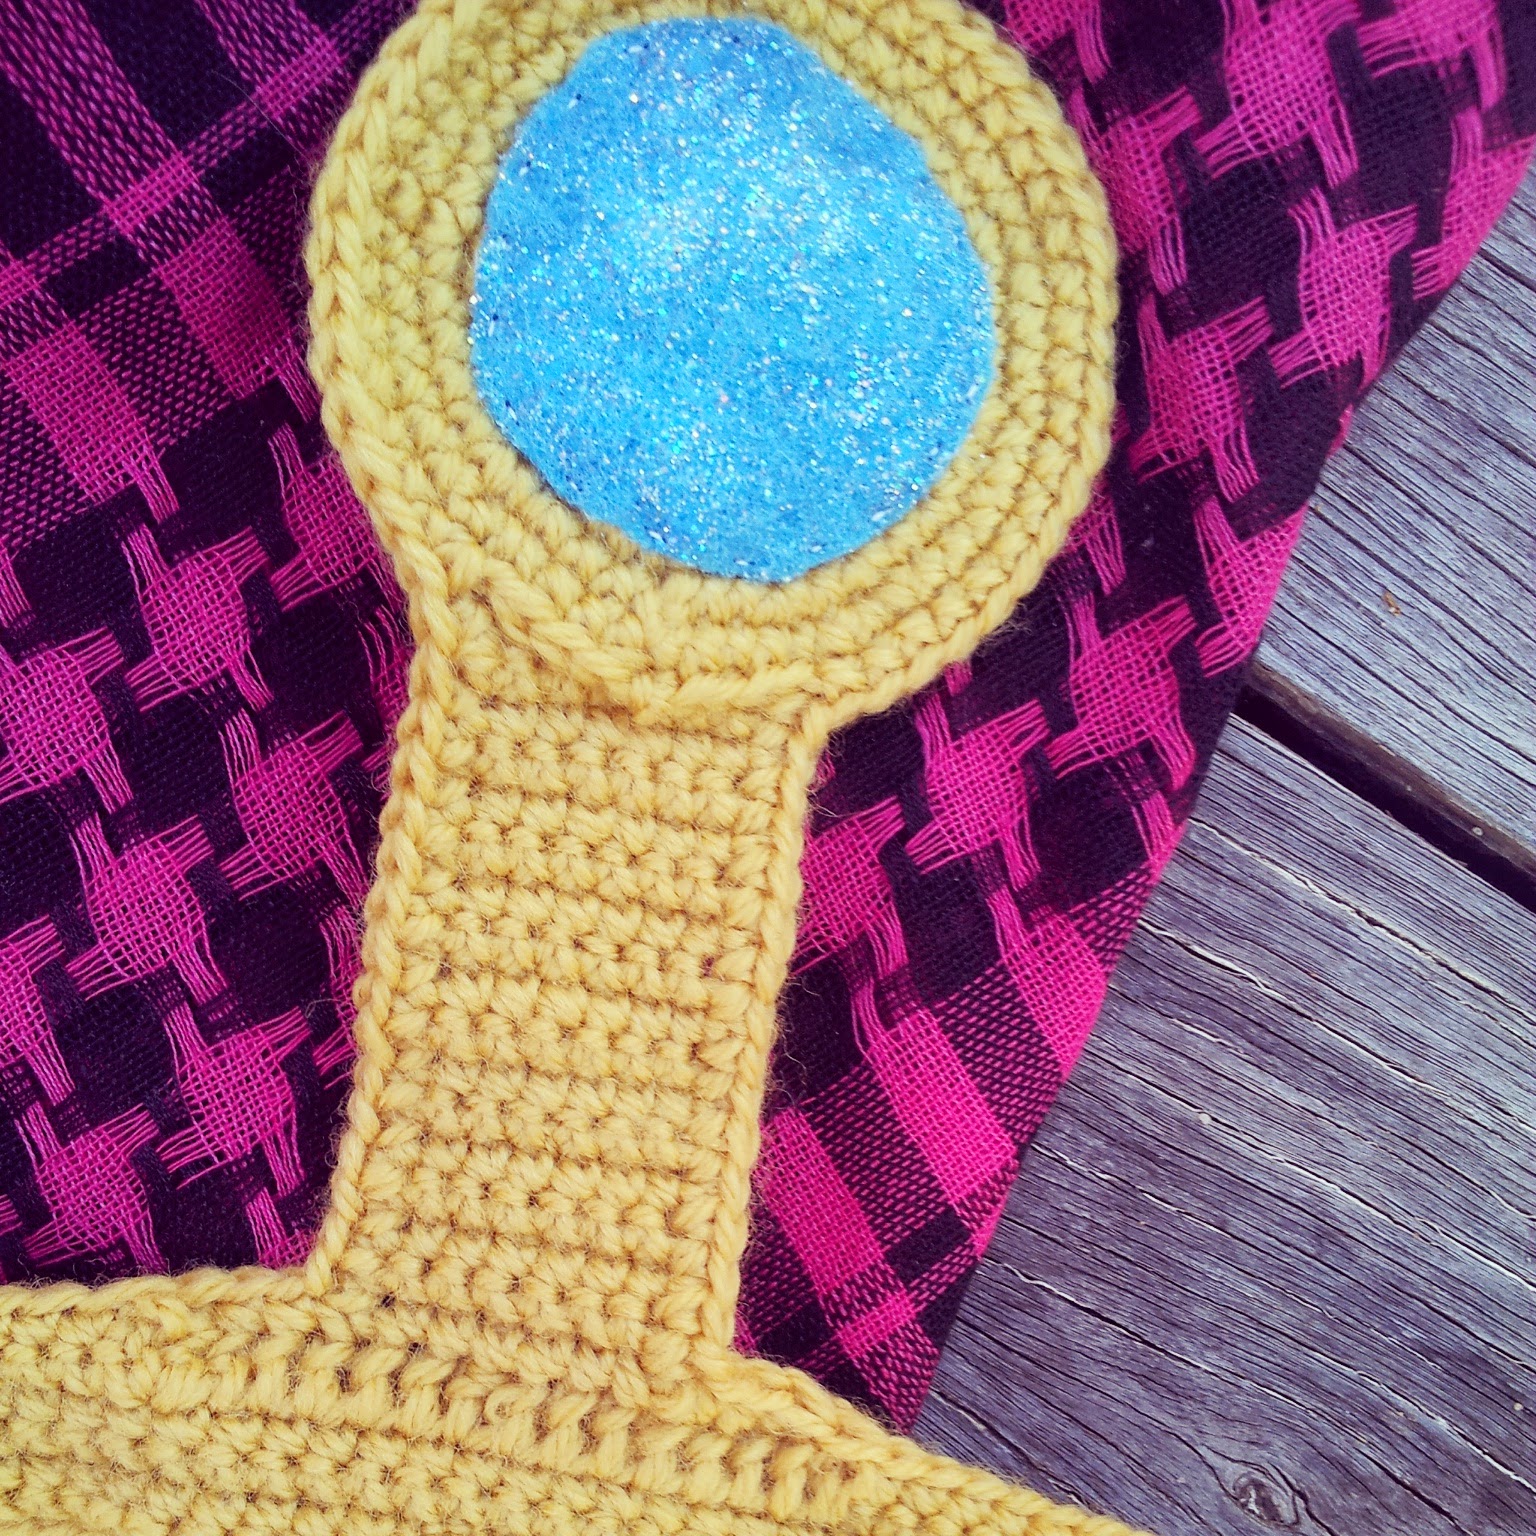
So I've got a pink top, handkerchief scarf, skirt, and tights but to be truly PB-esque I needed a crown. I found lots of different ones, made out of all kinds of different materials, but I was most inspired by a crochet version I found and so decided to give that a go.


I also wrote down what I did to make this one so you can give it a go if you like! My crown is quite a bit bigger than others I've seen which I'm still kinda on the fence about. I like it because it stands out but ... I don't know, maybe it's too big? Either way, I guess you could just alter the pattern slightly so it suits you more. I will also mention that this hasn't been tested and so there are probably mistakes; if you find any, let me know and I'll add in corrections! ^___^
 

Princess Bubblegum Crochet Crown
Using a 4mm hook and yellow yarn (I used 100% wool in an 8ply), chain 120.
Row 1: Chain one (this is your turning stitch) and then do a single stitch in each chain stitch (120 stitches)
Row 2, 3, 4: Repeat row 1
Row 5: Chain one (turning stitch). Do a single stitch in the next 53 stitches. Chain 3, treble in the same stitch you just did a single stitch in (you will have a single and a treble in the same stitch). Treble in the next 13 stitches. Chain 3, do a single stitch in the same stitch you just did a treble in. Single stitch along the rest of the row. This will give you a segment in the middle of the crown which is slightly raised. Tie off your yarn.
Row 6: Tie your yarn onto the raised treble segment, four stitches in. Make one chain stitch and then do a single stitch in eight stitches; this will give you another slightly smaller raised section.
Row 7 - 22: Chain 1, single stitch in each stitch (8 stitches) 
Row 22 - 26: Chain 1, treble in each stitch (8 stitches). You could do these rows in single stitch as well if you wanted to, but they will be covered by the round part of the crown and I find trebles faster and easier to do. Tie off your yarn.

Crochet a flat circle using single stitch; I did 12 rows and my circle has a diameter of about 7.5 cm.
Cut out a circle slightly smaller than your crochet one from light blue felt. I painted my felt circle with glitter mod podge to make it sparkle!
Sew the felt circle to the crochet circle, and the crochet circle to the end of the uppy bit of the crown (yup, that's a technical term).
Sew the two rectangle ends of the crown together so that it forms a ring. 

Tie on your end at the back of the crown, where your sewn join is. Single stitch around the edges of your entire crown. This will smooth out the blocky edges of the uppy bit and just generally make everything look nicer ^___^
 

My crown was looking a bit droopy, so I sewed a thin craft stick to the back of the uppy bit. I was worried that this would make it really uncomfortable, but I was wearing my crown around the house last night (as you do) and it was fine. I may sew a little cushion over the end of it anyway, just to make sure I don't finish Halloween with a mark on my head ~___^ Other options to fix this would be to make it shorter, or maybe use fabric starch.
 

I, as usual, have grand plans for this costume which probably won't get done. I was planning on making a visit to the craft store today to pick up some orange wool to make this amazing Science the Rat but last night I broke my toe. Well, it may only be fractured but I enjoy being overly dramatic. Still, it's meant that a lot of my plans for the week have to be delayed since walking is rather painful.


On the bright side, I will be sitting down a lot over the next couple of days which will be the perfect reason to get ahead in my assignments. Yay? ~___^

Are you crafting anything for Halloween this year? I have two more Halloween crafts on my list, but it looks like they'll have to wait until next week. I've had this zombie project in my head for *ages* so even though Halloween will offically be over, I'm still going to make them! I can't wait to show you ^___^

- Lisa xx

P.S. Does the gem part of the crown remind anyone else of the Stargate?

Tuesday 21 October 2014

Death Before Decaf hoop and a Welcome to Night Vale Cake


Last Wednesday was the birthday of one of my most bestest friends, Miss Rebecca. Of course, this meant that a celebration was in order so I texted her asking what flavour cake she would like. I got back "surprise me! But not spiders" and so promptly decided that spiders must be somehow involved (I am cruel in that way). This, in my mind, transformed into spider wolves and from there it was pretty obvious (well, to me anyway) that the cake should be Welcome to Night Vale themed.
 

I do not have a good history of cake making. I think this is mostly because I almost always try to make them too quickly. This means that my cakes are often crumbly, half stuck in the pan, and have a melted look because I tried to ice them without waiting for them to cool down. But not this time! I used my recipe for Anzac Cake but doubled it and made two round cakes. I made two because I was worried one of them would turn out awfully, but, as luck would have it, they both made it out of the oven with only minimal sinking in the middle.
 

I went all out on greasing and lining the pans with baking paper and, lo and behold, both of the cakes were removed from the pans without breaking in half! This is a minor miracle in my kitchen. I let them cool overnight, and then returned with grand icing plans. 


Since both the cakes were looking lovely, I decided to use both of them; so I made some coconut icing (desiccated coconut + icing sugar + water) which I added between the two cake layers. It's probably fair to mention at this point that this cake is not diabetic friendly - I had to take a lot of insulin to eat a slice, but it was totally worth it ~___^
 

The icing on the top of the cake is the same coconut icing, but made purple with the help of some blue and pink food colouring. This icing is pretty thick but is only really good for flat surfaces; it will just fall off if you apply it to the side of a cake. 


So for the sides I made another batch of icing; coconut + icing sugar + water + unsalted butter, which I mixed with an electric beater until it was fluffy. I added food colouring again, but made this batch lighter so that the finished cake would have some contrast. I used a butter knife to apply it; I really love the textured look I ended up with.
 

I have seen some amazing Night Vale cakes in my journeys around the internet, but I knew I was going to have to stick to something relatively simple if I wanted any chance of pulling it off. I settled on a view of the night sky above the Arby's with the Night Vale eye added in at the top.


I used tubes of writing fudge for this, because I had them on hand and because I am totally unskilled with a piping bag. 


The tube was a little too thick to properly recreate the Arby's logo, but I think it's still vaguely recognisable which is really all I was expecting anyway ~___^ For the centre of the eye I used a little bit of the extra butter icing and layered the writing fudge on top of it.

 
And when the candles were put in and lit up here's what we have; a view of the lights above the Arby's! ^___^


As you can probably tell, I had a little fun with creating a Night Vale style photo shoot for this cake; I started off thinking I didn't have much I could use as props but after a scout around our house I ended up with my LSP headphones, some plastic spiders from our Halloween decorations, and a tiny chemistry shot glass set (I have never done a shot in my life, but I also can't resist teeny glassware so ...). I also printed out the flyer for Big Rico's Pizza and an Alert Citizen Card which are now on my fridge; I think they really made the scene! I am ridiculously pleased with how this cake turned out. I made Scott and Rebecca admire it multiple times before we were allowed to eat it ~___^ 


And I can report that it was delicious; the cake was moist and held together well, and the coconut icing is a great combination with the Anzac biscuit flavour. It really was a bit enormous though, especially since there were just three of us celebrating that night. As a result, I have eaten way too much cake in the last week. My taste buds love me, the rest of my body ... ehhh, probably not so much. Still, that's what exercise is for, right? ~___^


I also made Rebecca this Death Before Decaf hoop using a pattern from Urban Threads. I think I've mentioned before how much I like their patterns; they have some great designs and I always end up buying more than I need when I visit their site. This hoop is kind of a matching pair with the Eat Your Greens hoop that I made for Bec earlier, but I think the white stitching is a lot easier to read against the purple fabric than it is against the green.
 

As per usual I printed out the pattern onto thin paper and then stitched the main part of the design through the paper. I had to spend a while ripping off the paper at the end, but it really does do a good job of ensuring that the design is replicated accurately. I would still like to try out different embroidery transfer methods, but that will have to wait until next year when I (hopefully!) have a job which allows me extra disposable income to spend on craft supplies ~___^


After I had stitched the main shapes down and removed the paper, I went back and did all the little sketchy details and the thicker sides of the "death" and "decaf" letters.
 

The roses are one of my favourite parts of this hoop; I just think they look fab. I also really like the curving ribbon which holds the text. When I first did it it looked a bit meh, but after adding in all those little lines on the back of the ribbon and the little curving details it really transformed into something special.
 

I also really love the cute little skull tea cup. This hoop would be a great present to give with a tea set and some tea bags or coffee beans. (Non-decaf includes tea, right?)

My husband, who seemingly can't live without iced coffee, was a big fan of this hoop too; I'm kinda tempted to make up another one for him/ our hoop wall. But I think that will have to wait until I regain feeling in my pointer finger ~___^


I've got one of my final assignments due this week, so I guess I better get back to doing that. However, I will be back next week with more Halloween projects (I realise that this post is not totally Halloween-y ... but it had a skull in it so that counts, right?? ~___^). I hope it stops raining so that I can do some outdoors crafts; but only time will tell!

- Lisa xx

P.S. Another big "Happy Birthday" to Bec; I hope you had a super fantabulous day ^___^


Tuesday 14 October 2014

Perler bead witch kitty Halloween wall art


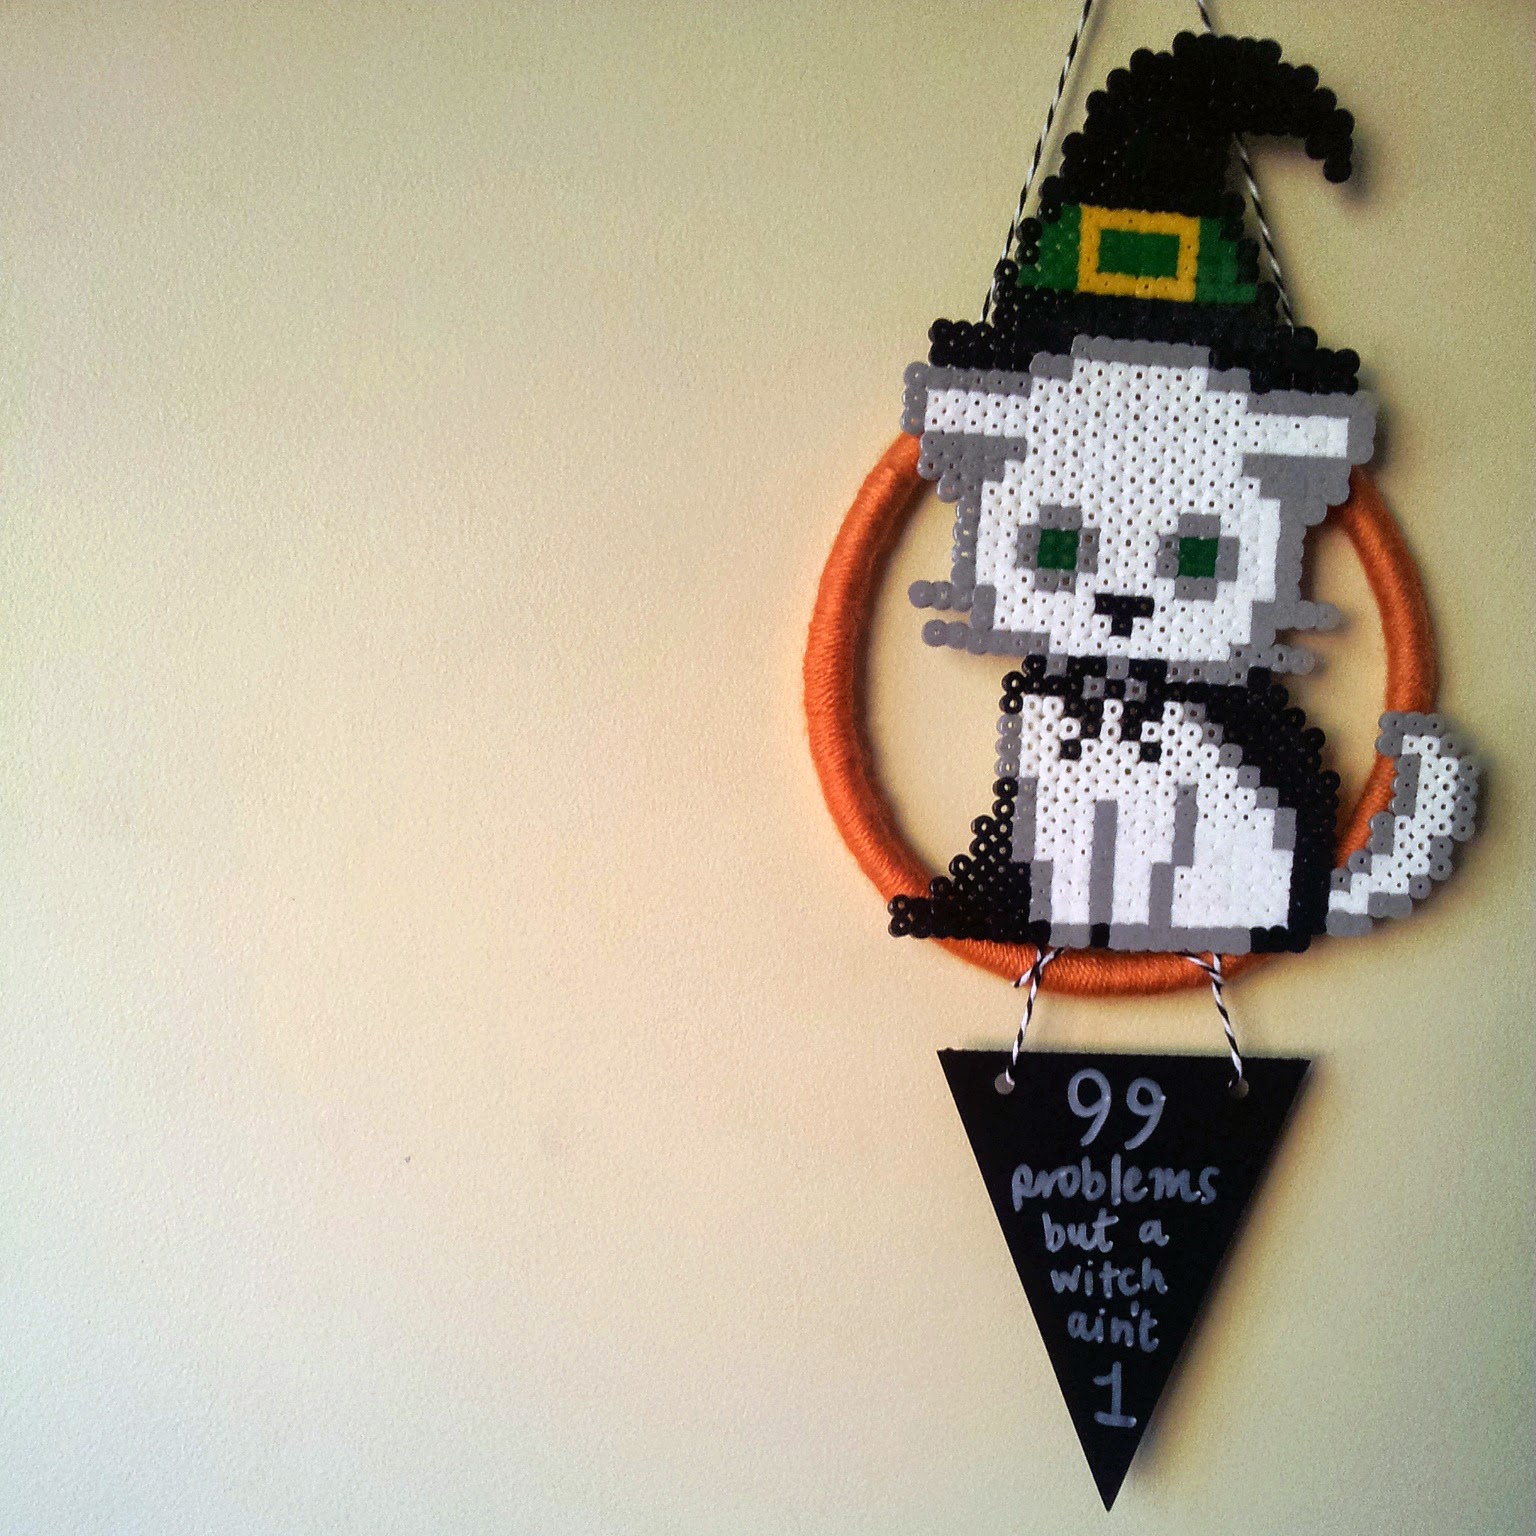
Hello! This week it was a race between two projects to see which I would finish on time for this post; my perler bead witch kitty won! This project is pretty obviously closely related to the kitty banner I posted last week. I started off that project thinking I would make five cats and have them all on a string as a banner but then I changed my mind. I used the two green cats for the banner because they kinda seemed to go together, and I was left with this witch kitty.


I've been working on an embroidery hoop hoping that I would finish it in time to post it today but since I've been doing more homework and less crafting ... it just didn't get done. I figured that since the perler bead cat was already made this would be a fast project to finish off.


I'd had this wooden hoop in my stash for a while; it's not an embroidery hoop, it's just a ring made out of what looks like either cane or vine. I have no idea why I have it, but it came in handy for this project ^____^ I wrapped it in orange wool, securing the ends with a bit of hot glue.
 

I also used hot glue to attach the cat to the ring once it was wrapped, but it still needed something. I brought these paper pendants from the scrap booking store; they are made by American Crafts and they come in a pad, so you just tear one off when you want to use it. I decided a pun was the perfect thing to add, so I got out my liquid chalk pen and added this little line.
 

The pen tip was a little thick, so I probably would have been better off with finding one of my metallic paint pens but I wanted to create a kind of blackboard look and I think that it does work in that sense.


I used some black and white baker's twine to attach the pendant and add a hanging loop and then hung it up next to some free postcards that my library has been giving out. Skulls and zombie hands? I'm pretty sure that ups the coolness levels of my job significantly! ~___^


My next Halloween project won't have anything to do with cats, but please do forgive me if I post it late. My university workload seems to be increasing no matter how many hours of study I put in and since it is my final semester I am really getting quite stressed about the prospect of not doing as well as I think I should. As I've been saying to approximately everyone lately; I can not wait until this semester is over! The end is within sight and I'm desperately hoping that once I graduate I will find a nice, calm 9-5 job that allows all my spare time to be spent crafting ^___^ Only four weeks to go ... the countdown is on!

- Lisa x

Tuesday 7 October 2014

Frankenkitty and Zombikitty Halloween banner


Hello! As promised, here is the first of my Halloween projects. Yay! ^___^ I've been meaning to make a banner to go above my TV for a while now, so I figured this was the perfect opportunity. I used some cute cross-stitch patterns to make the two perler bead cats; one is a Frankenstein's monster and the other is a zombie. They're more cute than creepy though!


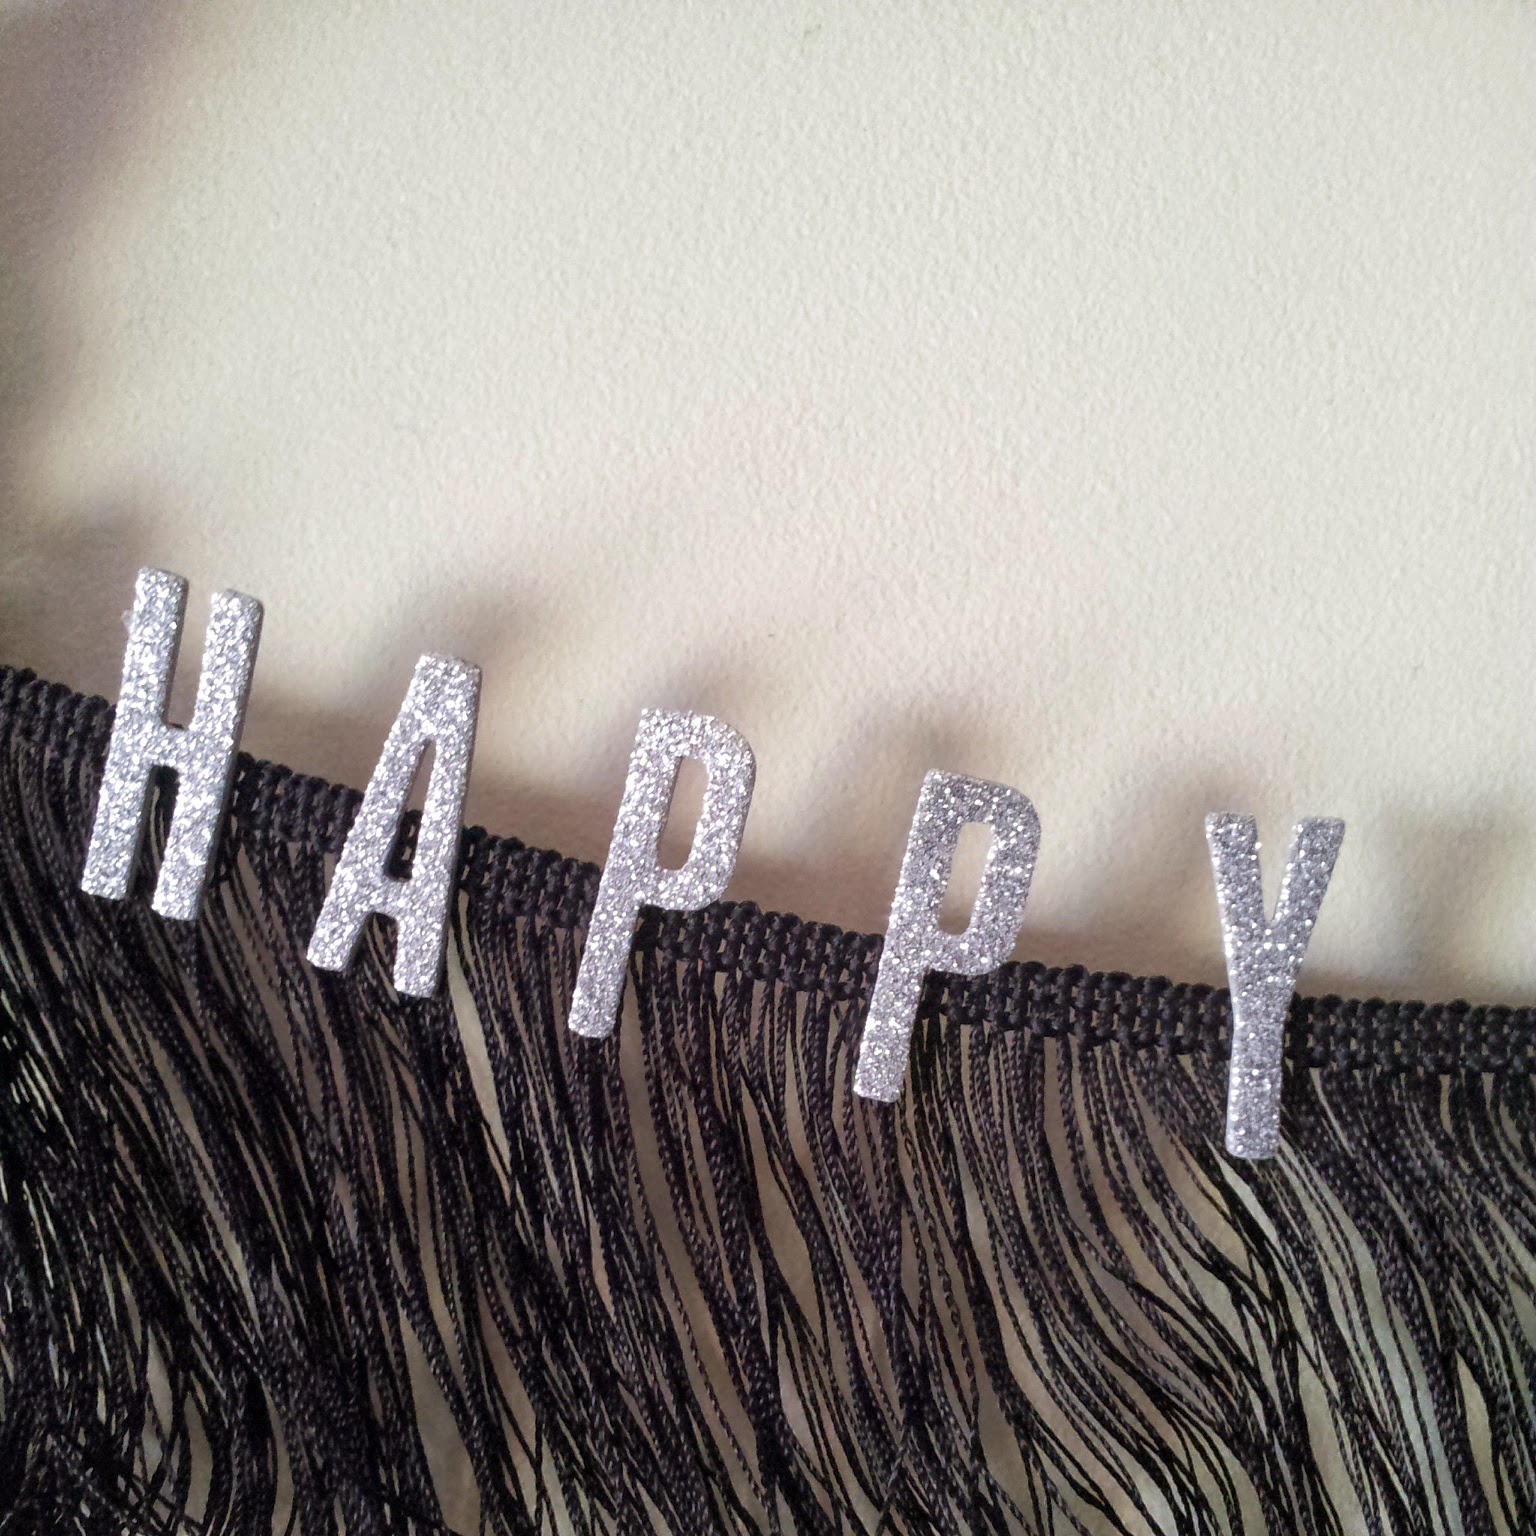
I'm not sure what this type of fringing is called (all I know is that it reminds me of the kind of dresses flappers used to wear) but I've seen it used on a few banners before and since I had some in my stash I figured it would be the perfect thing to use ^___^


All in all, this was a really easy project to make. Creating the kitties took a bit of time, as perler bead projects normally do, but I made them while catching up on TV shows so it wasn't so bad ^____^ The cats are about the size of my hand, so the banner is eye-catching, but not massively huge.

My favourite parts are the glow-in-the-dark perler beads; can you tell I'm kinda obsessed with glowing things at the moment? ~___^ After I had finished ironing the cats (and leaving them to cool down) I used hot glue to attach them to the fringe banner, and I also attached a loop of wool on their backs to use for hanging.
 

I used some glittery silver "thickers" (yes, that's really what they are called!) to spell out the words; since they have sticky backs I just pressed them onto the fringing. I may need to reinforce them with glue later on, but they are doing fine at the moment! ^___^

I wish I had a fireplace to create a display above, but for now my TV will have to do! I've added the glittery skulls I made to the top to pretend that I have a mantelpiece ~___^

In other news, I've only got five more assignments to go this semester! They're all big ones, but I'm excited to be nearing the end of my degree ^___^ Now I'm just hopeful that I can find a job in my field! Fingers crossed, hey? 

- Lisa xx