Showing posts with label unicorn. Show all posts

Thursday, 18 May 2017

Blast from the past: "Don't give up your daydream" glittery unicorn pegasus sign


Another blast from the past: this glittery unicorn pegasus sign. I have this on top of one of the bookshelves in my bedroom - it's so pretty and sparkly!


You'll need a piece of wood or canvas for this project; I used a 7cm x 38cm piece of plywood because that's what I had in my stash ^___^ The first step is to paint it pink!
 

I have a stencil pack from Typo which includes this unicorn pegasus; if you don't have a stencil you could make one by cutting out the shape with a scalpel from a thin piece of plastic like a transparency sheet. I used an old paintbrush to spread mod podge over the stencil; I did it a bit thick though so I'd recommend trying for a thinner layer.
 

Then you can cover it with glitter! Yay!  Pro tip: shake the excess glitter off onto a piece of paper with a fold through the middle. This makes it a lot easier to return the leftover glitter back to the jar.
 

While you wait for your mod podge to dry, use a ruler and washi tape to make guidelines for your words.
 

Use the washi tape to guide where you place the base of your letters; the ones I used are called "thickers" and are by American Crafts. When I'm using letter stickers, I find writing out the phrase and then counting to determine which letter is in the middle of the line makes placement a little easier.


Carefully remove your stencil when the mod podge is mostly dry but still a little tacky (this will also make it easier to clean off your stencil!). Leave it to dry completely and tap off the excess glitter again. After this, you will probably still have loose glitter around your unicorn. Glitter is almost impossible to get rid of completely, so instead of trying to remove every speck of it, make it a feature! I used my dry paintbrush to brush little flecks of glitter all over my sign. Then you can use spray varnish to seal your sign and leave it to dry.


Most of the signs and canvases in my house just lean against the wall (mostly because I hate drilling holes to hang things!) but you can add a hanger with a couple of nails and a piece of wire.


I don't normally go for inspirational or motivational artworks, but I really like this one! Do you have a favourite inspirational quote? And would it be improved with the addition of a glittery unicorn? I think we both know the answer to that one ~___^

- Lisa xx

Wednesday, 14 December 2016

Unicorn and T-Rex Roller Derby Trophies


Hello! As it's coming up to the end of the year, my roller derby league recently had the annual aWARDs ceremony (our league is named WARD, geddit? ~___^), where we recognise excellent contributions to the league! Obviously, we needed trophies, but we had a fairly limited budget. DIY to the rescue!
 

I was originally thinking wood for the bases of the trophies but then I started thinking about cutting thirty pieces of wood ... and sanding them ... and I decided that I didn't want to do that! Plus, not only did I have a limited budget, I also had a very limited time span to actually construct the trophies between work and other commitments (i.e. one day).
 

So I wandered around the hardware store under I stumbled upon the plumbing section and found these push on caps! They are solid white plastic, and pretty cheap! They did come with some raised writing on them, but a quick sand with my Dremel got rid of that! I will note here that if you're going to sand plastic, be sure you wear appropriate safety gear because there was plastic dust EVERYWHERE. A dust mask + goggles are a must, and if you've got one of those CSI style plastic coveralls then that probably wouldn't go astray either! ~___^
 

After sanding (and wiping away all the dust!) I super-glued my animals to the bases. I got my animals at the Reject Shop but unfortunately they didn't have enough horses for the unicorns. So some zebras and donkeys also got re-purposed!
 

I made horns using some Sculpey - I only used a tiny bit from my stash so if you were buying new, one little pack would be more than enough.
 

After baking for about ten minutes on a low heat and letting them cool, I super-glued them onto the relevant animals.
 

And also one dinosaur! Dinocorn? T-rexicorn? Unisaurus?


A couple of coats of gold spray paint made them look all shiny and special and then all I had to do was stick on the names of the trophies (I printed them onto white card and attached them to the trophies with double-sided tape) and give a quick coat of sealant. 
 

Here they all are, ready to be awarded!
 

Although I made the trophies, I didn't have anything to do with collating the votes to determine the aWARD winners so I was very pleasantly surprised when I was awarded Most Improved NSO! So one of the golden T-Rex trophies came back home with me; we're buddies now.

- Lisa xx

Sunday, 1 May 2016

How to make succulent planters from ceramic moneyboxes


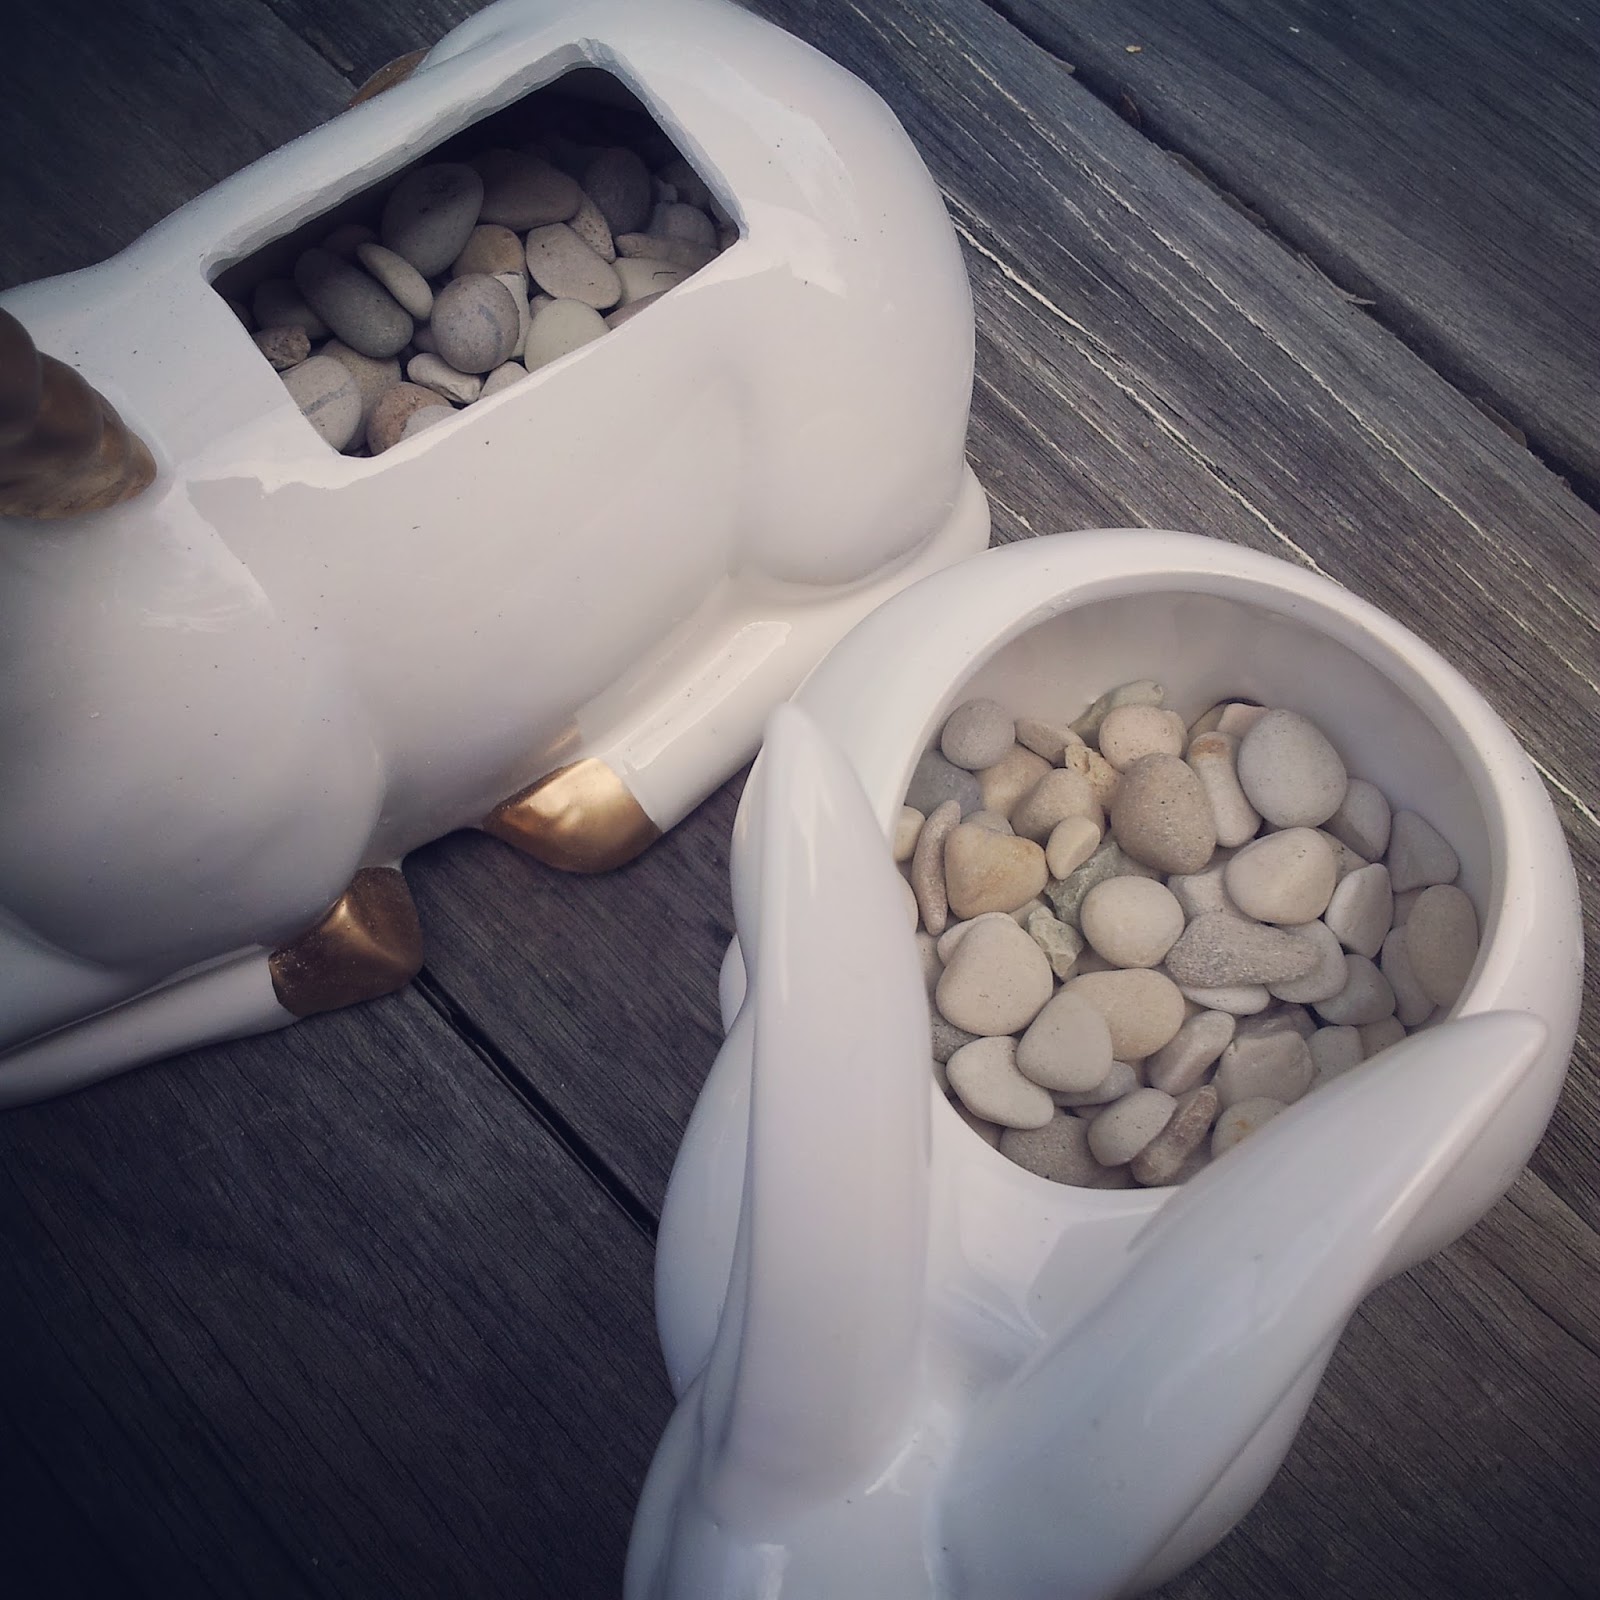
Hello! My experiments in growing succulents from cuttings and leaves have reached the stage where I have a *lot* of new plants, and no where near enough pots. To remedy this, I headed off to the discount store (because I am nothing if not cheap) but they only had plain plastic pots in their gardening section, which didn't rouse much excitement. However, as I was heading back out via the homewares section, I spotted an amazing unicorn money box and a really sweet little bunny dish. You know what they say, "when life gives you moneyboxes, make planters!" ~___^


I'm really pleased with how well they turned out, so read on if you'd like to make your own versions! ^___^


I started off with the unicorn moneybox by using a permanent marker to measure out a rectangle shape. I made mine 5.5cm x 3 cm, but the size is really dependent on the shape of your object and the size you want the plant hole to be.


I attached the ceramic cutting wheel to my Dremel (#EZ545, with the EZ Lock Mandrel, for those playing along at home) and started cutting along the marked lines.
 

It cut through the ceramic like butter! Only with, like, a hecka ton of dust. I was wearing safety glasses, ear muffs, and a dust mask during this project which kinda seemed like overkill when I began but, hey, at least I didn't get any ceramic dust in my lungs.
 

To tidy it up a bit, I went around the edges with a long rounded pink grinding stone attachment (no idea what number is this, sorry!) which really helped make everything look neater and also feel less sharp.


Since the moneybox came with a hole in the bottom, I decided just to take out the rubber plug and use that for drainage. If you don't think that is sufficient for your project though, you can drill some extra holes!
 

I'm not actually sure what this bunny thing is; I guess maybe it's a decorate trinket dish? It's cute and already had a hole in the top for plants, so the only thing it needed is some drainage holes.
 

 I used  a permanent marker to put dots where I wanted my drainage holes to be. I didn't manage to drill exactly on top of the dots, but they worked as a guideline anyway.


I got a 6mm P&N diamond core drill bit for this part of the project, which is designed to cut through ceramics and glass. It is meant to be used only for wet drilling, so I also grabbed my trusty spray bottle.


 As you can see, my holes are not the neatest, but probably no one will be looking at them from this angle anyway! To drill them, I started with the drill on an angle to make a notch in the ceramic and then I slowly straightened the drill. I sprayed the bit with water once every ten seconds and didn't get any cracks - yay!


I placed a large flat rock over the hole in the base of the unicorn, and then added a layer of small pebbles on the bottom of both planters. Then all that was left to do was add some cacti and succulent soil, and the plants!


The unicorn planter has a Jellybean plant (Sedum pachyphyllum, I think, but I'm not sure) and a mystery succulent. It kinda looks like Sedum praealtum, but it doesn't have the red edge. Whatever it is, it grows from leaves really well! The host leaf doesn't die though, so it does end up a bit funny looking; a tiny new plant with one huge leaf!


The bunny planter was intended as a birthday present for my friend Catherine, so I decided to try and fit a few different plants in there. Catherine may have to transplant them out if they all live! 
 

The large plant on the top is Hoya, next to that with the pink tipped leaves is Mother of Thousands (Kalanchoe daigremontiana), on the bottom is another pup of the mystery plant, and left of that is a tiny Jellybean plant, and another mystery plant; I think it's a type of Sedum but I haven't been able to make a positive ID. I brought the Hoya as is, but all the other plants are pups from other plants that I own; I thought it was pretty cool that I had enough little graduates from the plant nursery to fill this planter!
 

I'm excited to go looking for more unsuspecting victims ceramic vessels at the op shop now that I know I can turn them into planters! In fact, I have a ceramic owl figurine on my bookcase which I'm thinking might need to have a plant or two in it ...

- Lisa xx