Showing posts with label home decor. Show all posts

Friday, 14 April 2017

Fabric flag brooch wall display


The other day I was looking for the perfect brooch to complement my outfit. I have a huge brooch collection which I kept in a basket, but it wasn't the perfect solution because I was constantly digging through this basket to find the brooch I wanted and I was becoming worried about this causing damage to the brooches. On this particular day I decided I had had enough of the basket and that it was time to make a wall display!


This was super easy to make, so if you'd like to make one too, here's what you'll need:

- fabric
- scissors
- pins
- sewing machine/ needle and thread
- ruler/ measuring tape (or both!)
- dowel
- picture hanging kit
- thin wire (for hanging, you might get some with your kit!)
- electric drill
- wood saw (optional, but very useful!)
 

I pulled some cute pink fabric from my stash (leftovers from my Bee cosplay!), ironed it, and cut it into a rectangle. My rectangle was 70cm wide and 110cm long.


Then I measured out where I wanted the point on my flag to be. I measured to the middle of the bottom of the rectangle (i.e. 35cm from each side), measured 22cm up from the base on both sides, and then joined these marks together with a ruler.


Then I cut out the point and over-locked all the sides (except for the top because that was on the selvedge edge).
 

I used a matching thread to hem the over-locked edges.


I created a little pocket for the dowel to go through simply by folding down the top edge 5cm and sewing along the edge.


I drilled a hole in my wall and added the picture hanging kit. I cut a length of wire and wrapped it around the dowel once (at each end) and then twisted the remaining wire around itself to keep it secure. I found the wire kept slipping in towards the fabric and making the flag bunch up, so I used my saw to cut little grooves into the underside of the dowel; the wire sits in the groove and doesn't slip!


Then all I had to do was add all my pins and brooches to the flag! I love being able to see my brooches all at once and it's easy to add and remove them from the flag ^____^

- Lisa xx

Tuesday, 9 August 2016

Jake the Dog Plastic Bag Holder


Hello! Do you feel like practical things are made so much better with just a touch of impracticality? Like, I have a rice spoon. Boring. I have a rice spoon that is a pastel pink rabbit and its ears are the spoon scoop - excellent!! I decided recently that I really needed a plastic bag holder - and that it should totally look like Jake the Dog.


My Jake has a 65cm long torso and, including his arms and legs, is about 118cm long in total. He is only 14cm wide though; I can't decide if I like the skinny look best (because it kind of looks like he really has stretched) or if I should have made him wider.


To make Jake, I started off by cutting two wide strips of yellow fabric (15cm wide and 70cm long), six skinny strips (5cm wide and 35cm long), and two really long skinny pieces (5cm wide and 72cm long).


Then I used a plate to round off both ends of the wide strips of fabric; this will be Jake's head and bottom.


In one of the wide strips, I cut two holes with a 10cm diameter. I didn't want to make a traditional plastic bag holder where the bags go in and out the top and bottom because I thought it would make Jake look a bit weird. This solution, to be honest, also looks a bit weird! So I guess it's up to you which weird you like best ~___^


I sewed two skinny strips in half and threaded them with about 27cm of elastic.
 

I folded up the raw ends and sewed them closed, which prevents the elastic from moving around and makes the next step slightly easier.
 

I pinned the elasticated strips in place around the holes and sewed the raw edges together. 
 

The result are these strange scrunchie looking openings. I think I could have made the elasticated strips wider, but these openings work well enough as is.
 

The next step was to make Jake's facial features. To make the ears I drew a square 5cm by 7cm and then curved off one of the short sides. I cut four of them, sewed them into pairs, and lightly stuffed them. I also made a tail, 4cm wide at the base and 1cm at the tip and 7cm long, which I sewed and stuffed the same way as the ears.


 Jake's eyes have two pieces each; the black circles are 3cm diameter and the white circles are 2.5cm. His nose is 1.5cm in diameter and his mouth is the same size, but cut in half to make a semi-circle. His eyes, nose, and mouth are all felt. To make the puffy thing that his nose sits on, I drew a circle eight cm in diameter and then turned it into a shallow horse-shoe shape. I cut out two pieces, seamed the raw edges leaving a small gap, turned it right way round, and stuffed it with polyfill. I sewed all of the facial pieces on by hand.


For the legs I used the four leftover skinny pieces; I just rounded off the ends, sewed them together, and turned them right way round to stuff them. I stuffed them pretty firmly, but left a large gap at the top to make them easier to sew to Jake's body.
 

The arms are made from the really long skinny pieces of fabric. There is no need to round the edges because both ends are sewn into Jake's torso, but otherwise they are made the same way. I didn't take a photo of the next step (d'oh!) but all that is left to do is to pin the ears, arms, legs, and tail onto the torso and sew the torso together; you don't need to leave a gap because you can use the holes for the plastic bags as turning holes! Then you can turn Jake the right way around and - ta da!


Jake the Dog Plastic Bag Holder!


He managed to fit in our entire plastic bag hoard, and he really brightens up the laundry room, so I'm very glad I've made him!
 

- Lisa xx

Monday, 16 November 2015

Harry Potter art canvas


Hello! This year Rebecca and I decided to give each other Halloween gifts ... and then we both promptly didn't finish them in time for actual Halloween. BUT, I have finally finished Rebecca's gift and she has received it and now I can show it to you!


Bec has always said very kind things about my art canvases (which, to be honest, seems like a term which is a bit too fancy for what I actually create, but you can see them here, here, here, and here), so I decided that she better have one of her very own. I decided on a Harry Potter theme since Bec and I are Potterheads from way back, and making this type of canvas is easier if you know lots of random little things about a fandom.


In this picture you can see a library card for Hogwarts: A History with (nerd alert!) names and approximate appropriate dates for confirmed canon Hogwarts students, a laminex heart that I made from a sample card from the hardware store, a stag cutout to represent Harry's patronus, and a whole lot of stamping done with my mini alphabet set. I really love this stamp set, and I use it so much; I didn't really try to get the letters straight on this project though because I felt like it gave a more Daily Prophet style feel.


I made a winged key simply by cutting out two vaguely wing looking shapes from scrapbooking paper and sticking them underneath a wooden key embellishment. I inked the edges of the wings and curled them up a bit to give a bit more texture.


Since woodland themes are just going out of fashion in scrapbooking now, I found a huge kit of embellishments and cutouts at the discount shop for super cheap - huzzah! The wings, blue stag card, and the stag cutout from before are all from the same kit. I stuck the wings on with double-sided sticky foam which kinda makes them look like they're floating - perfect for the wingardium leviosa spell! ^___^ I wish I had brought up on supplies a few years ago when owls were in though, because no owls were included in this particular woodland kit ; ___ ;


Other things that you can spot on this canvas include a vintage suitcases sticker from a Amy Tangerine remarks set, a silver crown and Union Jack from a Ruby Rock-It Vintedge (yup, that's how it's spelt!) Imprints sheet, two clocks and a pointing hand also from Ruby Rock-It, two chipboard letters that I coloured gold with a paint pen, kraft paper tags that I wrote and stamped on to make the Hogwarts Express luggage tags and the tag under the HP, and a random gold embellished circle gift tag that I drew a lightning bolt on. Oh, and washi tape. Always washi tape.


The most important step of making an art canvas is to mod podge everything down afterwards. Seriously, I tried to skip this step because I thought double-sided tape and glue would be enough. Spoiler alert: it's not. 

I brought a few more canvases while I was at the discount store (seriously the best place to get canvases in this city) so I may have to spread out all my supplies (again) and make a couple more! What fandom would you choose? 

- Lisa xx

Wednesday, 19 August 2015

Three Addams Family crafts


Hello! Do you like the Addams Family? I really hope you said yes, because today I've got three easy and quick crafts inspired by our favourite creepy family to show you! I didn't watch heaps of TV or movies growing up, but the Addams Family is one that definitely sticks out in my mind; I wanted to be a cross between Morticia and Wednesday when I grew up, and spent a good portion of my teenage years dressing entirely in black to achieve such a look ~___^


This first project is one that I have been meaning to do for ages! I don't know why I put it off for so long as it wasn't difficult to do and I really love how it turned out ^___^ I prefer having black pillowcases since otherwise they do tend to end up stained by my hair dye, but if you wanted to make your own you could really use any colour. I do feel like black is apropos though!


To make them, I ironed the pillowcases to get most of the wrinkles out and wrote out "mon cher" and "cara mia" onto them with white chalk.


Then I used a paintbrush to go over the letters with white fabric paint. I did about three layers of paint to try and get the lines a relatively even weight; they're still not perfect but the extra layers also helped the white letters pop more against the black fabric.


I left them to dry overnight and then gave them a quick iron, with a cloth over the letters to protect my iron. Depending on what type of fabric paint you use, you may not need to iron your project but it makes me feel a bit more confident that it will survive the wash!


I think these would be perfect for a housewarming gift for a couple, or maybe even a wedding present! Depends how kooky they are, I guess ~___^


Next up is the craft that inspired this whole post: a Morticia quote canvas. This is seriously the easiest craft ever!


I was feeling a bit uninspired one day so I was digging around in my craft room and came out with a blank square canvas and some black glittery letter stickers. I decided that there really isn't any other colour best suited to black than more black, so I painted the canvas with a mixture of black paint and glitter mod-podge. I slopped it on nice and thick to give it some texture and then when it had dried, I just glued on the letter stickers.


I know gluing stickers may seem a bit strange, but they're made for attaching to paper and so weren't sticking as well as I wanted them to. I've put this canvas in our lounge room, and when the sun hits it it really does sparkle! Which is great because, after all, black *is* such a happy colour! ^___^


My last project was going to be something different to this family motto necklace, but I had a total craft fail and couldn't rescue it in time! I'm sure it's still salvageable, but it's going to take a bit longer than I had hoped.


So, instead, I got out the sculpey and whipped up this necklace. I used the same technique as the derby name necklace I made for Electra Fire, but made it bigger as the Addams' Family have got quite a long creed! In case you can't read it, the motto is "Sic Gorgiamus Allos Subjectatos Nunc" or, "We Gladly Feast on Those Who Would Subdue Us".


I made the pendant from black clay, stamped it with my tiny alphabet stamps, added holes with a thick needle, and baked it for 20 minutes at about 150oC. I wanted a tarnished metal look, so when the pendant was done baking, I covered it with silver acrylic paint and, while it was still damp, rubbed at it with a tissue to show some of the blackness underneath.


I used a fine felt tip pen to add some black in the indentations of the words and then I added the chain by threading jump rings through the holes. And that's it! A pretty necklace, but not just pretty words ~___^


Until next time, do do do do *snap snap*

- Lisa xx

Tuesday, 28 July 2015

"Let's be mermaids" papercraft pendant


Hello! Next time Summer comes around and I'm complaining about how hot it is, will you remind me of this Winter? I have been stuck in Struggletown, folks; my immune system is caving to the pressure and I have been sick soooo much. Happily, I have two days off work and I plan to rest up and hopefully be well enough to do some skating later this week! To help pull myself out of the Winter doldrums, I decided to make something to remind me of warmer weather ... and mermaids, because why not? ~____^


Here's what you'll need to make your own:
- lots of paper (I used a combination of scrapbooking paper, glittery card, card that I had practiced my watercolours on, and crumpled brown paper bags)
- a circle template
- scissors
- a pen or pencil
- a large piece of thick paper or cardboard
- glue (I used a glue stick)
- a ruler
- some string
- alphabet stamps and ink and/or a felt tip pen
 

The first thing I did was cut out my base banner shape; it's 30cm wide across the top, 31cm long down to the top of the pointy bit, and the edges of the pointy bit are 22cm. I used a quilting ruler to help measure out my pendant shape which was really helpful because it's big and see through. The card I used was recycled from a massive envelope which Rebecca once gifted me a hoop in; as you can see, it has folds and a hole in it but this won't matter because it will all be covered up ^___^
 

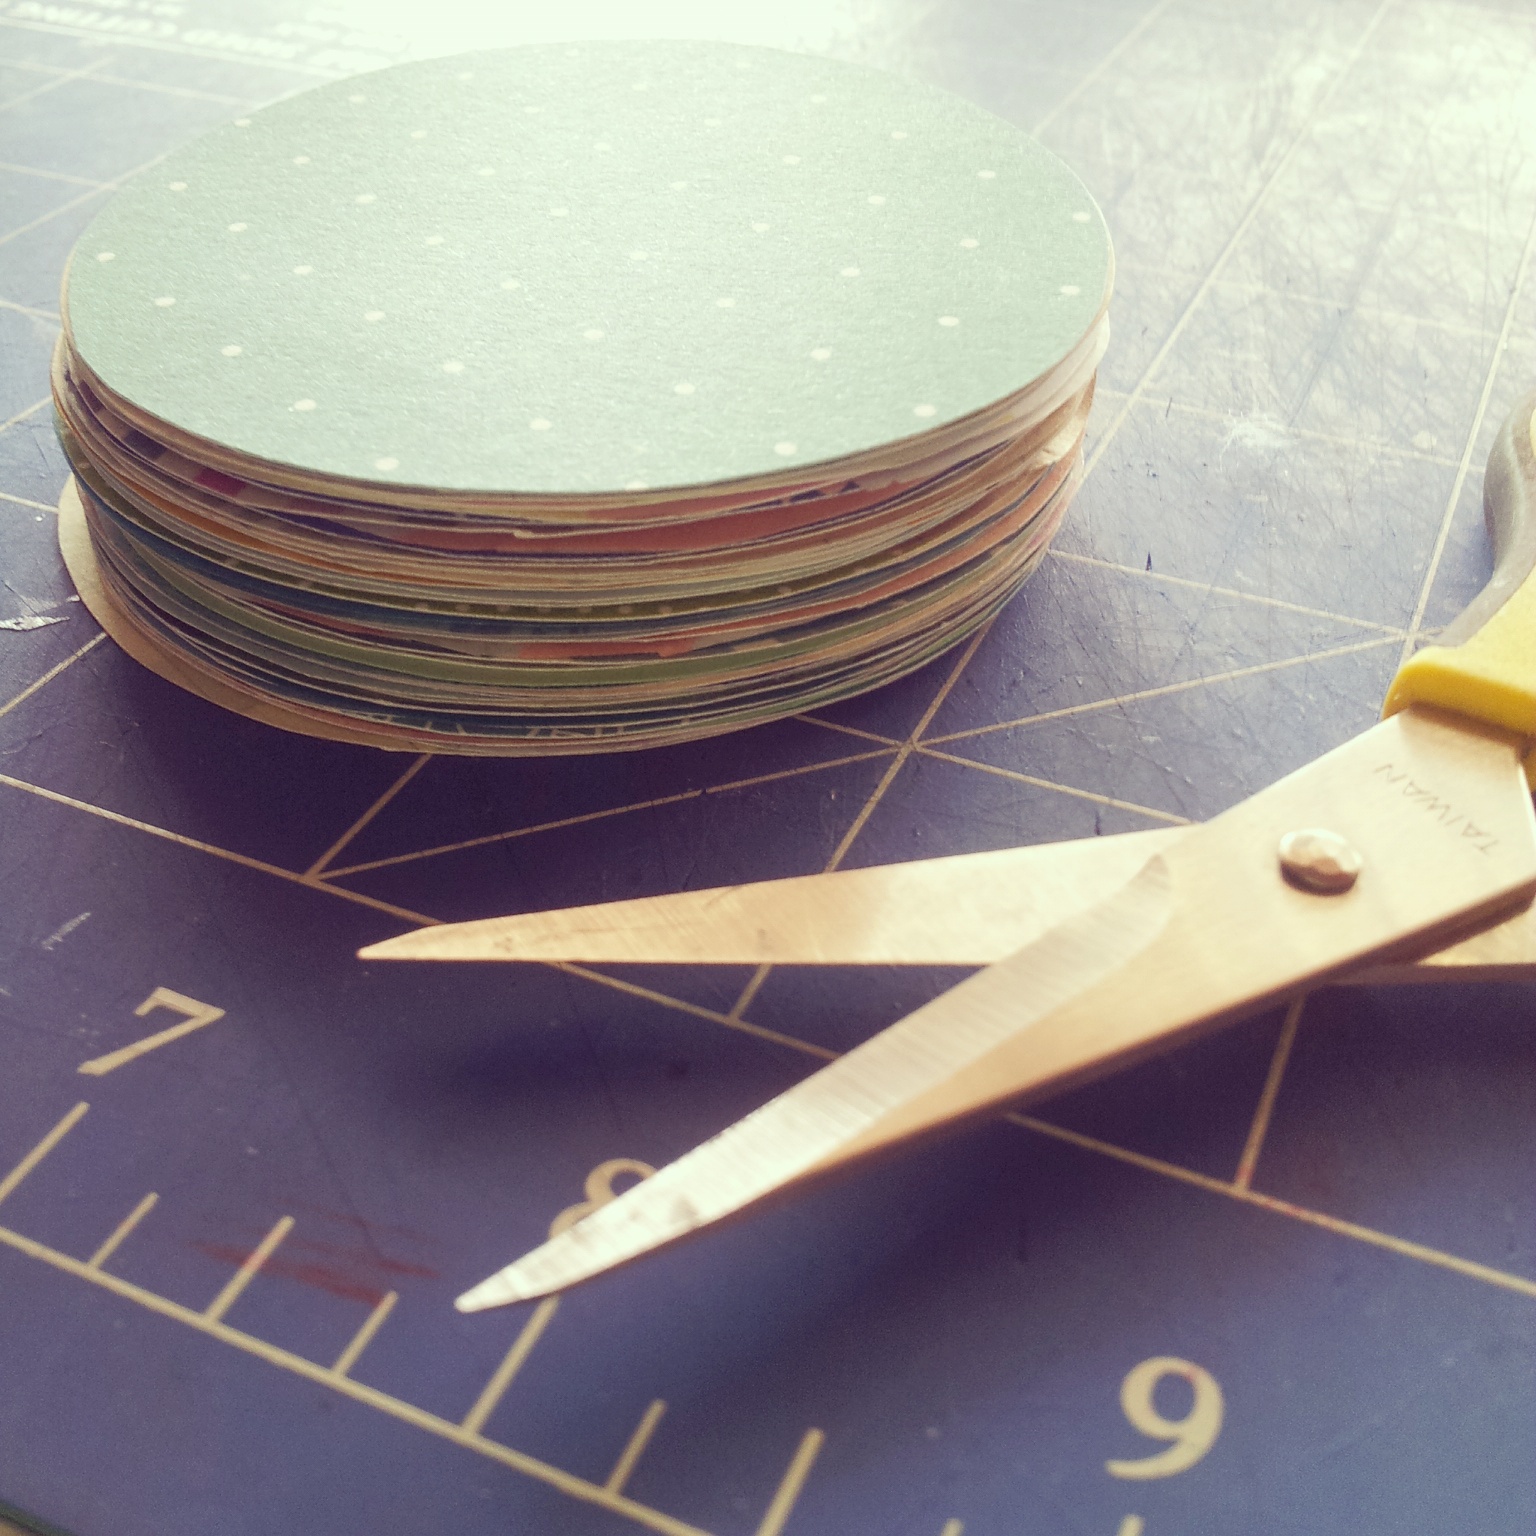
For my circle template I used a chipboard scrapbooking embellishment which I don't like and will therefore never use. Except as a template ~___^ The diameter of the circle template is 6.5cm. If you have a large circle punch, this would be the perfect time to use it; otherwise, you can do what I did which is to draw heaps of circles onto the back of your papers and then cut them all out. 
 

I used about 62 circles to cover my pendant, but I cut out more than that so I could play mix and match while I was laying them out. I have no idea what I'm going to do with the leftovers, but I'm sure I'll think of something!


 Use your glue to start sticking down the circles, starting at the bottom and moving your way up. Try to place the circles so that they are about halfway down on the circles of the previous row, and just touching on the sides - I found this is the best way to get a scaly look.


Once you've covered your entire pendant with circles, trim off the edges of the overhanging circles; just follow the edges of the base pendant to do this but only do the top and the sides - leave the circles on the angled edges as they are.
 

I folded a remaining bit of card in half, glued it together, and then glued it onto the back of the pendant to make a tube that holds the hanging string. To thread the string though, tie it onto something like a pen and then drop it through the tube. Then you can tie a knot in the ends of the string and pull it through the tube so that the knot is hidden.
 

I stuck an extra circle over the hole in the base of the pendant, just to tidy it up a bit. Plus, I like to have dates on things I make!
 

I used my tiny alphabet stamps and black ink to add "let's be mermaids" to one of the scales - this really reminds me of childhood summers when we would play mermaids in the backyard pool. I don't have an apostrophe stamp, so I added that in with a felt-tip pen.


I've hung this in our lounge room, and I really feel like it's helping to bring a little bit of Summer back into our home (although, unfortunately, none of the warmth - brrrr!).
 

This project is fantastic for using up scraps of pretty papers, and I like how it creates a kind of eye-spy effect. 
 

I tried to stick to a primarily blue and green colour scheme, but I also added in some pink, silver, yellow, and brown to break up the shades and add interest. 
 

On most of the circles I only added glue to the top half, which has allowed the bottom and sides to lift up; I actually really like this effect and think it helps the circles look even more like scales.
 

So now I've done projects on unicorns, jackalopes, and mermaids ... perhaps next I should do something on the Loch Ness Monster? ~___^

I'm still going on my knitted hat - I'm honestly the slowest knitter, but hopefully the next couple of days of rest, cold medication, and soup will also give me some time to also do a couple more rows of colourwork. Only one more month of Winter to go! Hopefully I can finish it by then ~___^
 
- Lisa xx