Showing posts with label mod podge. Show all posts

Monday, 16 November 2015

Harry Potter art canvas


Hello! This year Rebecca and I decided to give each other Halloween gifts ... and then we both promptly didn't finish them in time for actual Halloween. BUT, I have finally finished Rebecca's gift and she has received it and now I can show it to you!


Bec has always said very kind things about my art canvases (which, to be honest, seems like a term which is a bit too fancy for what I actually create, but you can see them here, here, here, and here), so I decided that she better have one of her very own. I decided on a Harry Potter theme since Bec and I are Potterheads from way back, and making this type of canvas is easier if you know lots of random little things about a fandom.


In this picture you can see a library card for Hogwarts: A History with (nerd alert!) names and approximate appropriate dates for confirmed canon Hogwarts students, a laminex heart that I made from a sample card from the hardware store, a stag cutout to represent Harry's patronus, and a whole lot of stamping done with my mini alphabet set. I really love this stamp set, and I use it so much; I didn't really try to get the letters straight on this project though because I felt like it gave a more Daily Prophet style feel.


I made a winged key simply by cutting out two vaguely wing looking shapes from scrapbooking paper and sticking them underneath a wooden key embellishment. I inked the edges of the wings and curled them up a bit to give a bit more texture.


Since woodland themes are just going out of fashion in scrapbooking now, I found a huge kit of embellishments and cutouts at the discount shop for super cheap - huzzah! The wings, blue stag card, and the stag cutout from before are all from the same kit. I stuck the wings on with double-sided sticky foam which kinda makes them look like they're floating - perfect for the wingardium leviosa spell! ^___^ I wish I had brought up on supplies a few years ago when owls were in though, because no owls were included in this particular woodland kit ; ___ ;


Other things that you can spot on this canvas include a vintage suitcases sticker from a Amy Tangerine remarks set, a silver crown and Union Jack from a Ruby Rock-It Vintedge (yup, that's how it's spelt!) Imprints sheet, two clocks and a pointing hand also from Ruby Rock-It, two chipboard letters that I coloured gold with a paint pen, kraft paper tags that I wrote and stamped on to make the Hogwarts Express luggage tags and the tag under the HP, and a random gold embellished circle gift tag that I drew a lightning bolt on. Oh, and washi tape. Always washi tape.


The most important step of making an art canvas is to mod podge everything down afterwards. Seriously, I tried to skip this step because I thought double-sided tape and glue would be enough. Spoiler alert: it's not. 

I brought a few more canvases while I was at the discount store (seriously the best place to get canvases in this city) so I may have to spread out all my supplies (again) and make a couple more! What fandom would you choose? 

- Lisa xx

Tuesday, 28 October 2014

Princess Bubblegum crochet crown


Hello! I don't know about you, but I spend a lot of my time thinking about costumes. They're just such fun! I love going to Oz ComicCon and Supanova and seeing all the creative ideas that people have come up with, but Halloween has a special place in my heart. I mean, it's a spooky day where you can dress up and dance with a zombie; is there anything better? ~___^


This year, since my hair is currently pink, I've decided to go as Princess Bubblegum from Adventure Time. Yay! I'm  going to do a closet cosplay and also go as a hipster version of PB; this is mostly because I don't really like wearing my contact lens and my glasses are so black and thick-rimmed that, well, they kinda suit the part!
 

So I've got a pink top, handkerchief scarf, skirt, and tights but to be truly PB-esque I needed a crown. I found lots of different ones, made out of all kinds of different materials, but I was most inspired by a crochet version I found and so decided to give that a go.


I also wrote down what I did to make this one so you can give it a go if you like! My crown is quite a bit bigger than others I've seen which I'm still kinda on the fence about. I like it because it stands out but ... I don't know, maybe it's too big? Either way, I guess you could just alter the pattern slightly so it suits you more. I will also mention that this hasn't been tested and so there are probably mistakes; if you find any, let me know and I'll add in corrections! ^___^
 

Princess Bubblegum Crochet Crown
Using a 4mm hook and yellow yarn (I used 100% wool in an 8ply), chain 120.
Row 1: Chain one (this is your turning stitch) and then do a single stitch in each chain stitch (120 stitches)
Row 2, 3, 4: Repeat row 1
Row 5: Chain one (turning stitch). Do a single stitch in the next 53 stitches. Chain 3, treble in the same stitch you just did a single stitch in (you will have a single and a treble in the same stitch). Treble in the next 13 stitches. Chain 3, do a single stitch in the same stitch you just did a treble in. Single stitch along the rest of the row. This will give you a segment in the middle of the crown which is slightly raised. Tie off your yarn.
Row 6: Tie your yarn onto the raised treble segment, four stitches in. Make one chain stitch and then do a single stitch in eight stitches; this will give you another slightly smaller raised section.
Row 7 - 22: Chain 1, single stitch in each stitch (8 stitches) 
Row 22 - 26: Chain 1, treble in each stitch (8 stitches). You could do these rows in single stitch as well if you wanted to, but they will be covered by the round part of the crown and I find trebles faster and easier to do. Tie off your yarn.

Crochet a flat circle using single stitch; I did 12 rows and my circle has a diameter of about 7.5 cm.
Cut out a circle slightly smaller than your crochet one from light blue felt. I painted my felt circle with glitter mod podge to make it sparkle!
Sew the felt circle to the crochet circle, and the crochet circle to the end of the uppy bit of the crown (yup, that's a technical term).
Sew the two rectangle ends of the crown together so that it forms a ring. 

Tie on your end at the back of the crown, where your sewn join is. Single stitch around the edges of your entire crown. This will smooth out the blocky edges of the uppy bit and just generally make everything look nicer ^___^
 

My crown was looking a bit droopy, so I sewed a thin craft stick to the back of the uppy bit. I was worried that this would make it really uncomfortable, but I was wearing my crown around the house last night (as you do) and it was fine. I may sew a little cushion over the end of it anyway, just to make sure I don't finish Halloween with a mark on my head ~___^ Other options to fix this would be to make it shorter, or maybe use fabric starch.
 

I, as usual, have grand plans for this costume which probably won't get done. I was planning on making a visit to the craft store today to pick up some orange wool to make this amazing Science the Rat but last night I broke my toe. Well, it may only be fractured but I enjoy being overly dramatic. Still, it's meant that a lot of my plans for the week have to be delayed since walking is rather painful.


On the bright side, I will be sitting down a lot over the next couple of days which will be the perfect reason to get ahead in my assignments. Yay? ~___^

Are you crafting anything for Halloween this year? I have two more Halloween crafts on my list, but it looks like they'll have to wait until next week. I've had this zombie project in my head for *ages* so even though Halloween will offically be over, I'm still going to make them! I can't wait to show you ^___^

- Lisa xx

P.S. Does the gem part of the crown remind anyone else of the Stargate?

Monday, 23 June 2014

Lumpy Space Princess Cosplay


Hello! Today I can finally show you my finished LSP cosplay! Yay! I had so much fun wearing this costume, and a couple of people asked for photos and hugs which feels like the best kind of validation ~___^


Here's the whole costume - as one guy at the con described it "whoa, that's a lot of purple!". Yes, good sir, it is! ^___^ I spent a lot of time looking for the perfect purple dress to wear, but in the end decided that it would be easier to just make one. I apparently forget how difficult dress-making fairly regularly! ~___^ I'm lucky enough to have Rebecca as a friend as she not only made the pattern for the bodice, let me borrow her sewing machine, and held my hand through making this dress, but also sewed in the center back zip for me (I am awful at zips!). She is an absolute champion and I have my fingers crossed that she will blog about her amazing Marcelline costume soon (hint hint, nudge nudge ~___^). You've already seen my shoes, my belt was from my Hipster Wonder Woman costume, and my tights were purchased from a department store.
      

I ordered my wig from an ebay store, and I am so so happy with it. It's really beautiful and soft, and is really comfortable to wear! I'm quite tempted to buy a few other colours, I'm sure they'd come in handy ~___^


The star is a hairclip made from felt and glittery mod podge, with a clip glued to the back. The mod podge is great because it also makes the felt a bit stiffer, which means it doesn't feel like it's flopping all over your head ~___^


My necklace is made from shrinky-dinks and nail polish. I was inspired by Tatty Devine necklaces when I was planning this one; I'm happy with how this turned out, but I'm still considering buying a 'real' one ...


I originally coloured in my shrinky dinks with Sharpies, but I wasn't really happy with the intensity of the colours. However, going over them with glittery nail polish made them look brighter, shinier, and most importantly, sparkly! ~___^

I think that having a bag is a highly important part of cosplay, and I was a little worried that people wouldn't know who I was meant to be (although this didn't actually turn out to be an issue!) so I decided to make myself an LSP handbag. 

I used the same pattern that I used to make my LSP plushie, but I printed it out on A3 paper instead of A4 to make it a more generous bag size. I found the most amazing purple glittery vinyl at Spotlight and just knew this had to be the fabric I used - it's just so pretty! ^___^
 

Since my sewing machine is still broken, I hand stitched the bag together and used a lot of hot glue for most everything else ~___^ LSP's face is made from leather scraps glued onto the vinyl; I painted some black leather with gold paint and glitter mod podge (I'm getting a lot of use out of that tub!) for her star and her face is the same black leather unpainted.

Her arms are hot glued together as well, mostly because I'm a bit lazy and a little bit because I thought having no stitches would look nicer. 

The chain straps are connected to the bag via some very large metal rings and these little loops of vinyl that are sewed in between the two layers of the bag. I used a metre of chain for the strap and it's a great length.

The zip is also hot glued in and is mostly hidden by the flaps on the back of the bag. I used a vintage zip that I had in my stash which means that it sticks a little sometimes, but it was also free so I don't mind too much ~___^
 

Of course the best thing about cons is the merch, right? ~___^ I really love to pick up handmade things so Artist's Alley is my favourite area ^___^ I got this amazing watercolour illustration of Wonder Woman and also some button badges of Adventure Time characters and Catbug by Nic Lawson. ^___^ I also brought some wonderful hair bows and some more button badges, but unfortunately I didn't think to write down the store names so I don't actually remember who made them! >___<


I also got this Jubly-Umph tin necklace of an anatomical heart; I could have honestly brought so many of their pieces! 
 

And I lined up for a stupid amount of time so that I could meet John Barrowman - yay! It wasn't so bad because I made friends with some lovely people in the line around me, and he was very nice when I finally did get to the front of the line ^___^

I wish I could have met Ming-Na Wen as well, and there were a couple of panels that I wanted to go to that I couldn't; next year I'm definitely going for both days! ^___^

- Lisa xx

Tuesday, 17 June 2014

Old lady shoes to Lumpy Space Princess shoes!


Hello! I'm on uni break! Huzzah! Now, don't get me wrong, I love studying and I love my course but after finishing off three massive final essays, I am so so so glad not to have to reference anything for almost two months ^___^ *And* it means that I have more time to actually spend time with my friends and family, and, of course, do many many crafts! I'm currently working on a Lumpy Space Princess cosplay for Supanova and I'm quite pleased with how it's coming along. I'll take lots of photos of it on the day, but until then, I thought you might like to take a look at my special glittery shoes ^___^


Aren't they mathematical? ~___^ One of the hardest things about cosplaying (and, to be honest, general fashion) for me is the shoes. I have dreadful flat feet so if I want to walk around for longer than half an hour without pain, I have to wear special orthotic shoes with my orthotic inserts. I love my inserts for, you know, allowing me to walk properly, but finding cute orthotic shoes is so hard! If any shoe companies are listening; vintage style orthotic shoes would be good for both actual old ladies and old ladies at heart! ~___^
 

So anyway, I found these Kumfs at an op-shop and since they were my size and only $3, I brought them even though beige isn't really my colour. Wanna guess how many times I wore them? Yup, about zero. I tried them on with so many outfits, but I just couldn't make them work. Which was kinda good because it meant I had no regrets covering them in glitter!


To do this, I covered the shoes in a layer of glitter mod podge and then, with the shoes sitting in a small metal box, I shook purple glitter all over them. For the first couple of layers I didn't do anything on the straps, which made it easier to move the shoes around without getting mod podge and/or glitter all over me. Well, I still got glitter everywhere, but that's just an occupational hazard ~___^
 

I did about three layers of glitter and modpodge on the shoes, one layer on the straps, and then an additional two layers of modpodge over everything to seal it.


However, when I tried to buckle up the shoes, I ended up taking off a layer of glitter from the straps. They were also quite difficult to get through the buckle as the modpodge made them both thicker and stiffer. Bummer! >___<
 

I decided that covering up the straps was the way to go, so I picked up some lovely thick satin ribbon from the craft store and made up some bows ^___^ To make the bows I used two long lengths of ribbon (about 37cm/14.5 inches) and two short lengths (about 4cm/ 1.5 inches). I sealed the ends by passing them through the flame on a match, then sewed the ends of the long ribbon together to make a circle. With the smaller lengths, I sewed the non-sealed edges together to make it into a thinner tube.


I flattened out the circle made from the longer pieces of ribbon and pinched it in the middle - this is where it starts looking like a bow! ^___^ I put a couple of stitches in to make sure it wouldn't move, then I wrapped the small tube around the center of the bow and sewed the sealed edges together. The center of the bow was too small to cover up the clip-on earring bases I wanted to use to attach it to the straps, and I wanted to ensure the bow would lay relatively flat to cover up the ends of the shoe straps. So I hot glued two clip-on earring backs to each ribbon; they are positioned so when the bows are clipped onto the shoe, they cover the whole strap ^___^

 
The inside of the shoes are still not that pretty, but that won't be obvious once they're on my feet so I haven't done anything to them. I'm still working on the dress to go with them, and I'm also making a matching purple glittery handbag! I'm really pleased with how these turned out, and I'm really looking forward to wearing them to the con!


I can't wait to show you the finished cosplay, it's going to be very purple and very glittery and totally fresh to death! ~___^


- Lisa xx

Friday, 27 December 2013

Cross-stitched rose lavender sachet and faux vintage jars


Hello! Did you have a nice annual festival of togetherness? I'm on to my *fourth* day of celebration today; wowzers! Today is the day I get to open my presents too, but while I'm waiting to do that I thought I'd show you two presents that I made for other people! ^___^


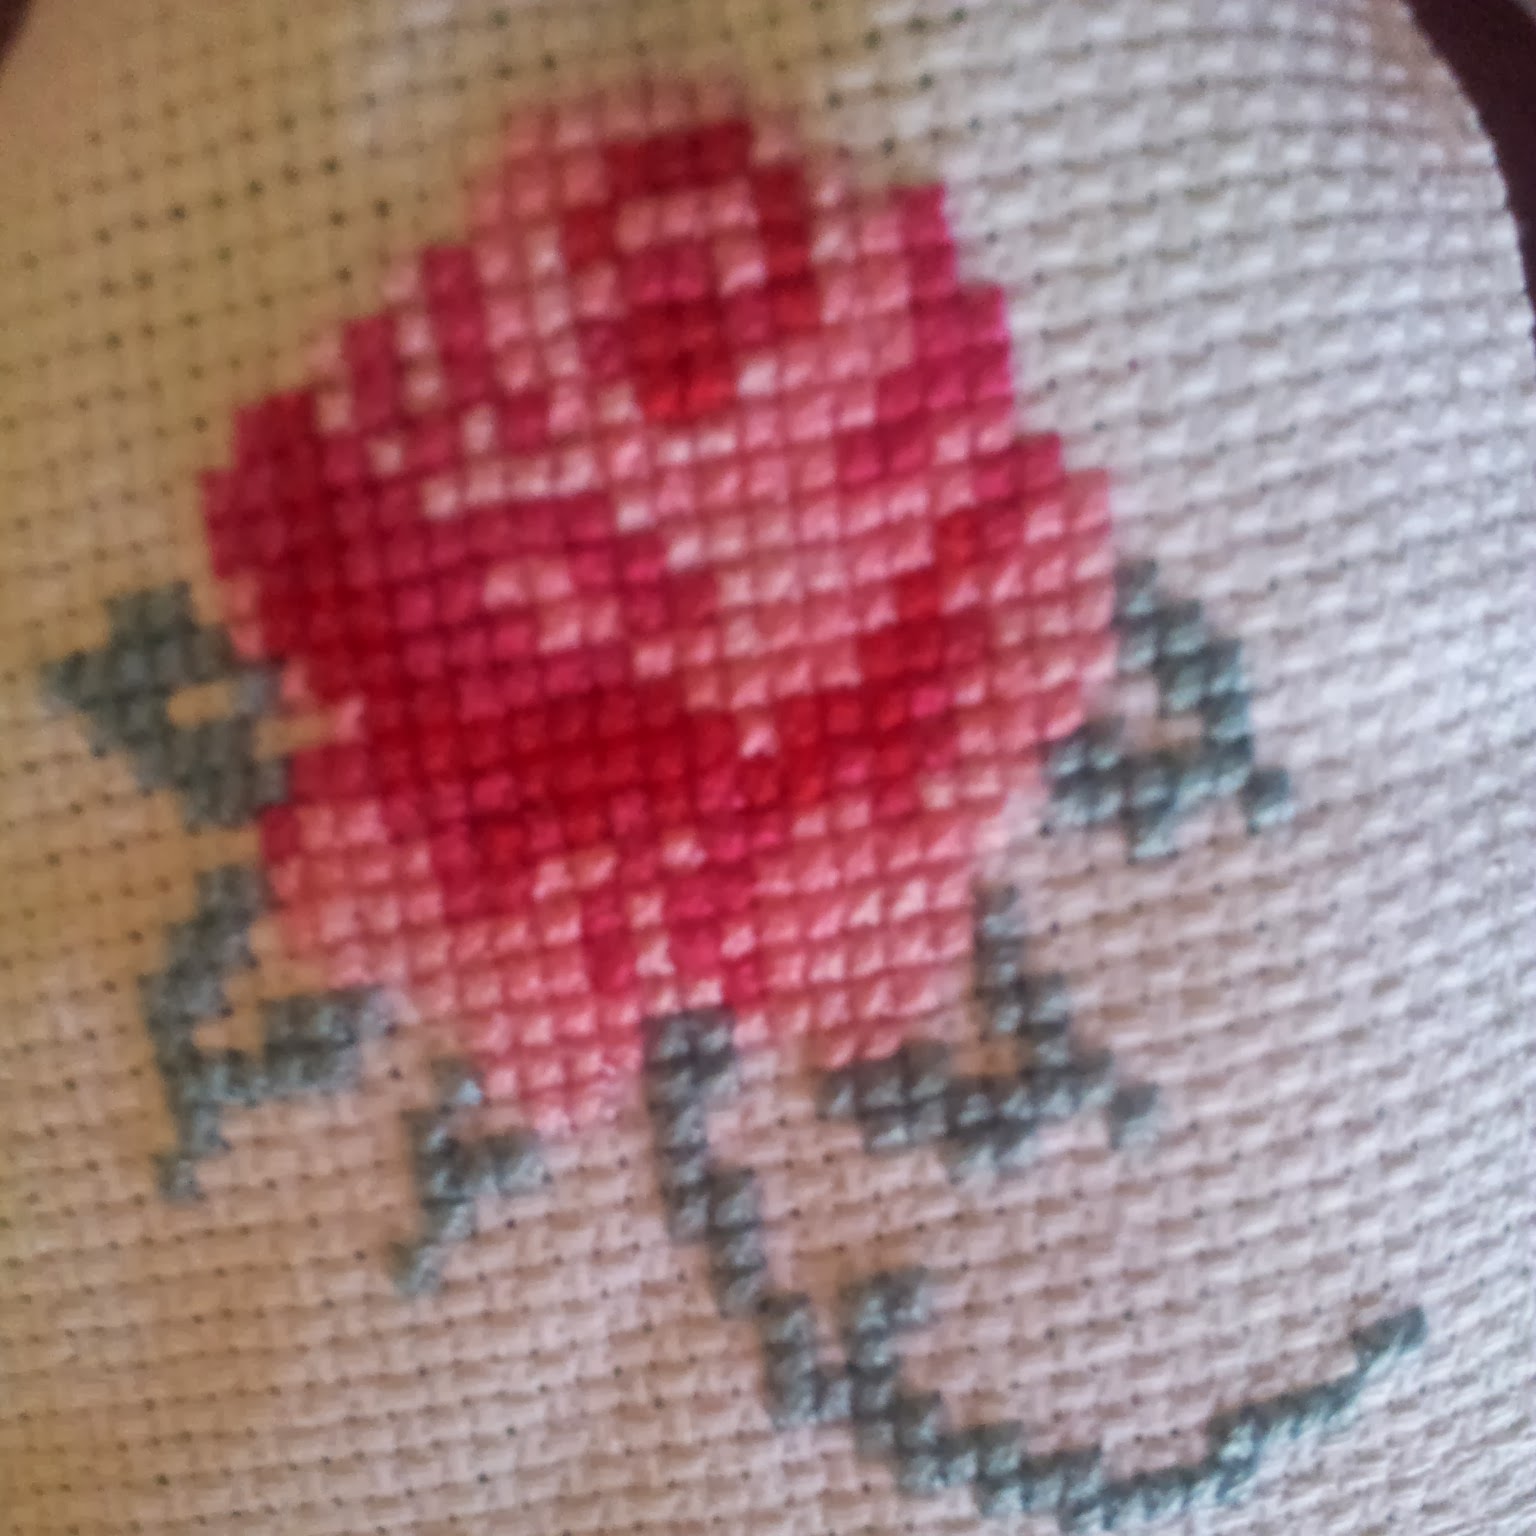
For my Nana I made this lavender sachet, embellished with a cross-stitched rose. Yeah, I didn't really think that one through, huh? ~___^
 

The rose pattern is from Mollie Makes issue thirty, but I did change it a bit. Originally there was a heart to the left of the rose, as well as some additional buds above the main flower; I didn't want the sachet to be huge though, so I reduced the rose into more of a square shape.

Lavender sachets are super easy to make, as all you need to do is sew a rectangle that is open at one end. After scooping in the dried lavender, I added a few stitches across the top and then tied on the ribbon. 

My house smelt like lavender for days after making this; it was so lovely that I may have to make one of these sachets for myself! ^___^
 

For my mum, I made this set of faux vintage bottles. They were also quite simple to make, but they look really effective. I used this tutorial and some of the jars that I kept because they are interesting shapes. (I swear I'm not a hoarder!)


I thought they looked a bit plain straight out of the oven though, so I decorated them a little bit. My mum likes a vintage, country-rustic aesthetic, so I used baker's twine, old book pages, brown paper, vintage buttons, and thick jute twine. The Coca-Cola bottle and the Sarsaparilla bottle I left mainly as is; I just removed everything except the front logos before I coloured the bottles.

I also gifted some bright yellow chrysanthemums with these bottles, but they look pretty good as is, don't you think? ^___^

Did you make any gits this year? Did you receive anything handmade? And did you/ are you having a lovely holiday? I hope you are!

- Lisa xx